Assigning a name to installments in an installment plan
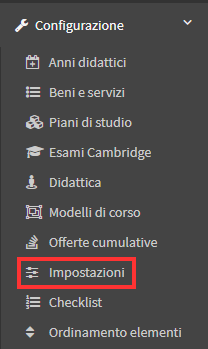
This guide will explain how you can Assign names to the installments in an installment plan, first you will need to go to Configuration→ Settings→ Installments:
Once here you will have to enable the option "Enable management and setting of installment name" which precisely allows you to assign the Name to the various installments:

Once this option is enabled, it will be possible to name both the installments that are part of the standard Installment Plans entered in Configuration→ Settings→ Installments and the installments that are directly linked to Courses or Goods/Services (for guidance on their configuration click here).
Once configured you must proceed to create an order from the "Student Enrollment" section:
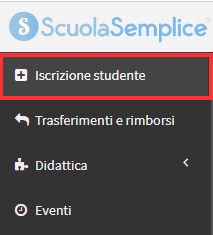
Once you have selected the Student you are enrolling and the Course or Good/Service you are purchasing you will be able to proceed to select the installment that is to be applied to the order:
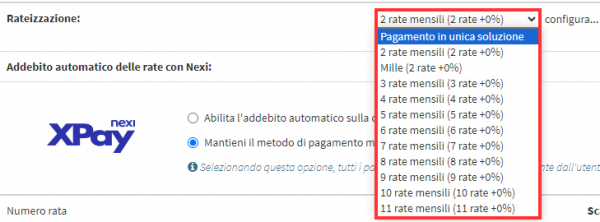
Once the installment is selected, it will be possible to enter for each installment the name of it via the "Installment Name" field provided in the order installment summary:

By then proceeding to create the order and accessing "Manage Installments and Payments," it will be possible to view the installments with the names that have been assigned to them:

The names entered will be visible both in the various sections of the management system (e.g. , Income/Expenditures, Student Fees) and in the Reports where order accruals are reported and in the contracts that will be generated from those orders