Creating Locations and Classrooms
There are two paths through which you can go to add a new location; in fact, the two areas are interconnected.
From the menu that is collapsed on the left side of the management system, you can access Master Data → Locations.
Through this path you can directly access the list of locations, and then directly select the Add New Location item, located in the upper right-hand corner:

Alternatively, they can be accessed directly from the classrooms. From the left-hand menu, select Master Data → Classrooms.
Click the button in the upper right-hand corner Manage Locations (This will allow the system to access the section that can be reached from Master Data → Locations).

Below always at the top right of the screen, click Add New Location, the screen that comes up is as follows:
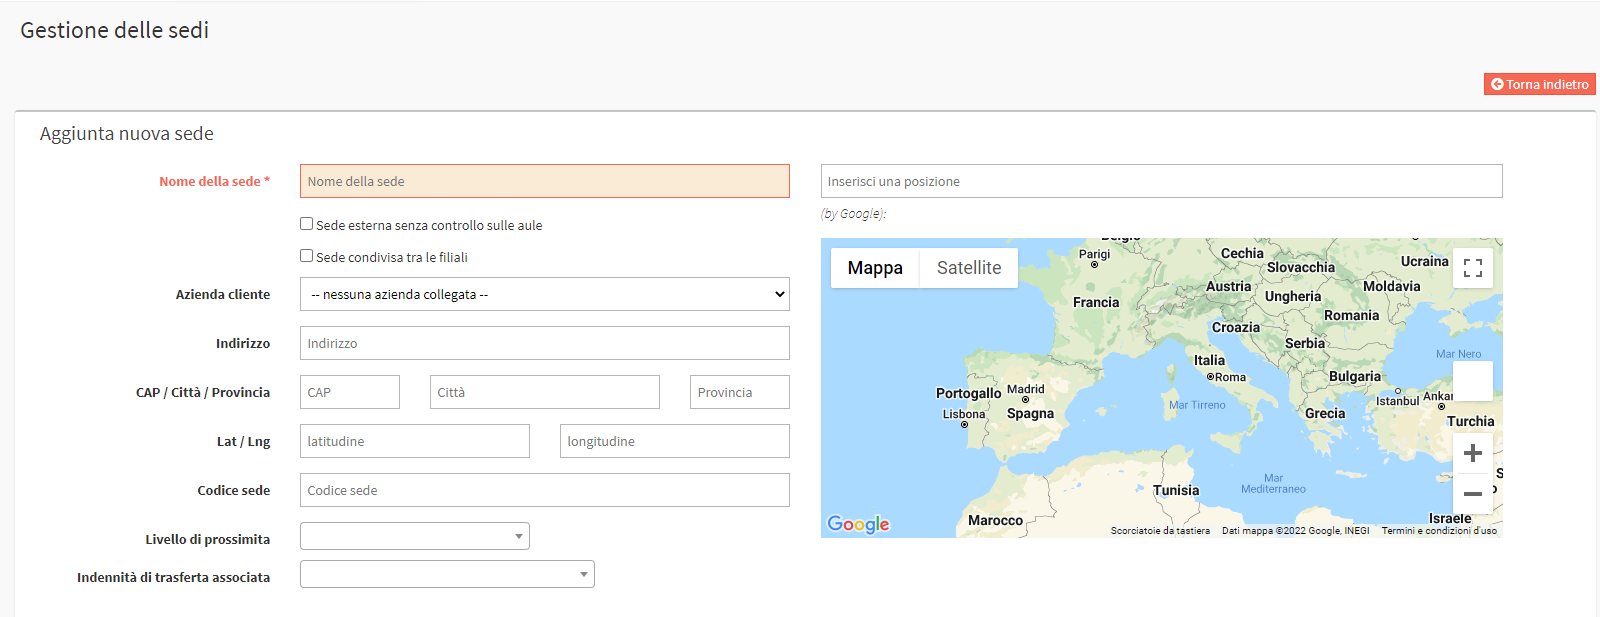
Please note: You may choose to use the "External venue without classroom control" flag. In this way, the venue itself will serve as a classroom. Click here on the guide for External Venues without control over Classrooms.
In the section Enter a location, if you enter the location the coordinates will be loaded automatically:
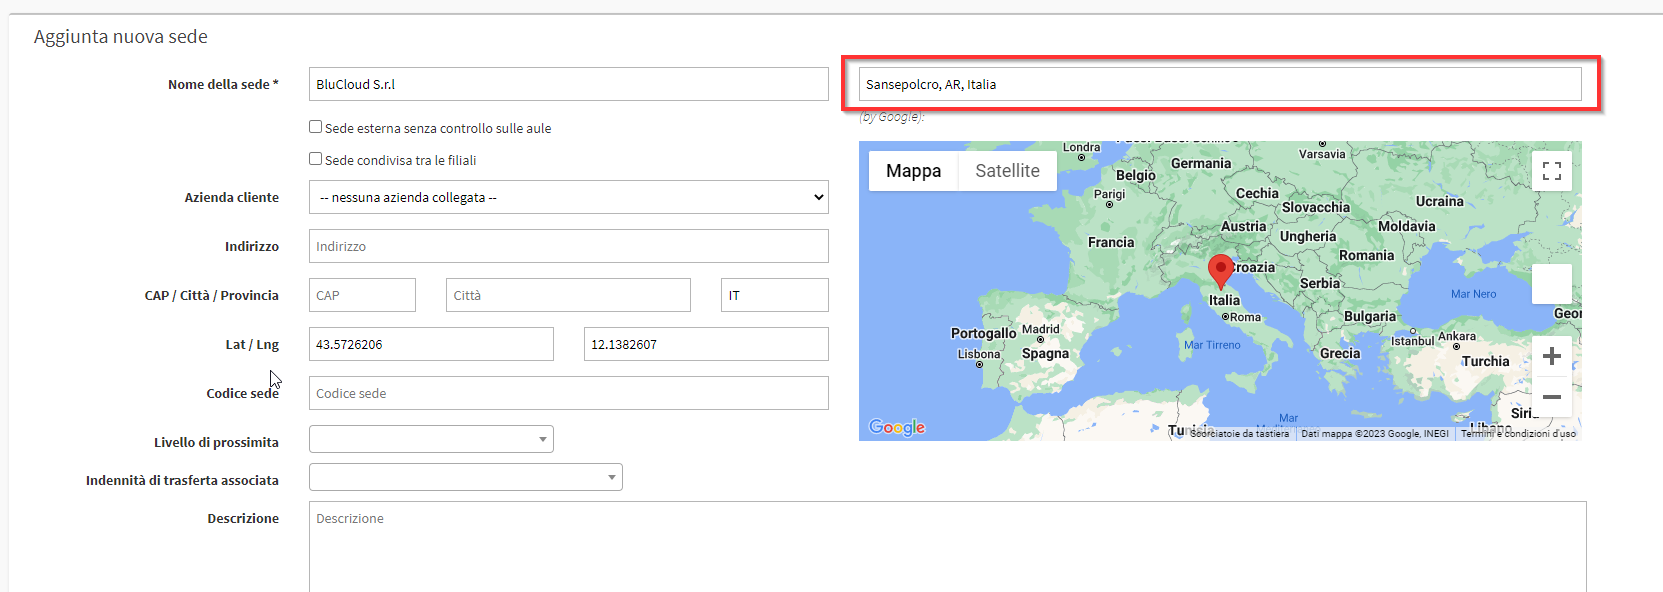
This will allow Teachers to open directly in Google Maps the location of the Venue in the navigator from the App of ScuolaSemplice.
To save the new venue simply click the green icon Add Location:

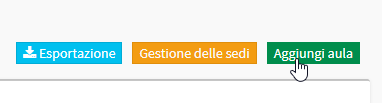
To enter a new classroom navigate to Master Data → Classrooms and then click the button at the top right of the Add Classroom screen:
When adding a new classroom it will be necessary to connect it to a location. There are in fact only two required fields: "Classroom name" e "Location."
