Setting the school's logo in the layout of the Crm & Marketing section offerings
This guide will show how to set the logo and footer in the offer layout in CRM&Marketing.
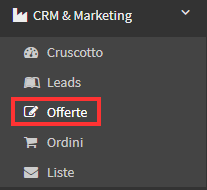
This will be done by accessing the CRM&Marketing→ Offerings section:
Once here you will have to enter Configuration via the appropriate button:

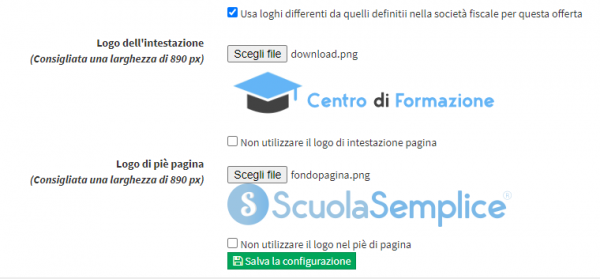
Once here, scrolling to the bottom of the page you will have to enter the checkmark "Use logos different from those defined in the disc company for this offer."

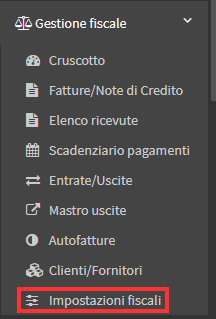
If this check mark is not entered, the system will use the logos entered in Tax Management→ Tax Settings by entering the modification of the company in the system:
Once the check mark is entered the fields in which to insert images will be shown, it is also possible to indicate that both the Header and Footer Logos are not used in the offer by entering the check mark in the appropriate fields:

Once the files containing the logos have been uploaded, you can proceed to save the changes using the "Save Configuration" button
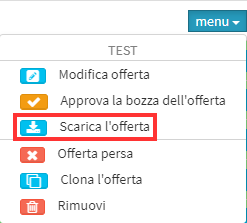
Then going to the list of offers and downloading one of them from Menu→ Download Offer:
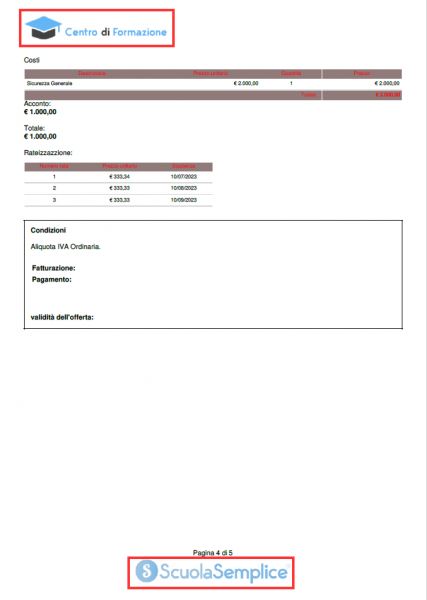
The two logos will be inserted at the beginning and end of each page of the offer, respectively:
