Settings and Zoom Report
To read the guide on Zoom settings for corporations and funds click here.
Navigate to Configurations → Integrations → Integration with Zoom to access all settings related to integration with Zoom.
A list of all virtual classrooms with linked Zoom email will be displayed at the top:

L'Zoom Authentication API will be renewed automatically every day when you first use the Zoom integration. If this has not been validated automatically you will need to validate it with theorange button that appears on the screen, if the procedure is not successful you probably have removed the permissions to use the integration from the Admin/Host Accounts connected to ScuolaSemplice, you will need to disconnect and reconnect them again to restore the validation of the API and proceed to the classic use of Virtual Classrooms (Click here for the guide on integration to Zoom).
Under the list of Virtual Classrooms will be numerous settings that may be useful in the daily use of Zoom integration with ScuolaSemplice:
-
Enable zoom for funded distance learning:
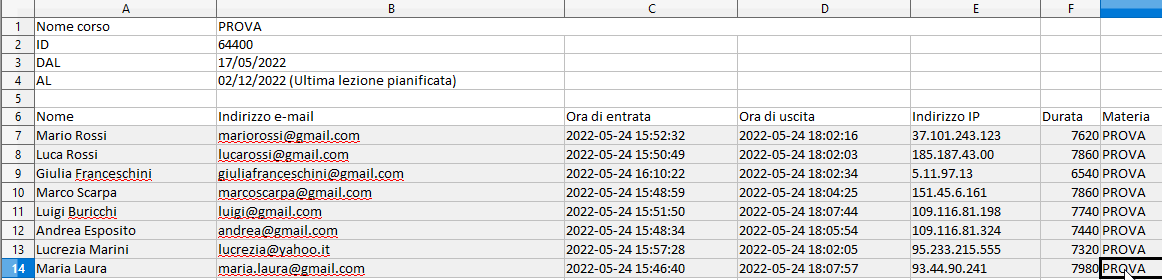
NOTE: This is the only setting that allows the IP addresses of all Students and Teacher to be recorded.
If checked allows access to the session only through ScuolaSemplice, this will generate a detailed attendance report suitable for Schools holding funded courses. The report will be available in theCourse Lecture Schedule → Export → FAD + IP Export:
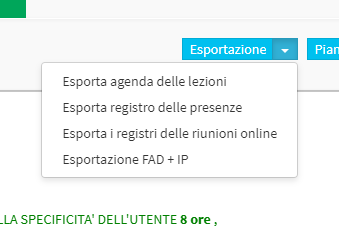
The exported file will look like this:
-
Students will only connect to the meeting from the web (not from the Zoom client):
Turns off the sending of emails containing the link to join the Meeting via Client, forcing entry only from the Web, this will allow the checkmark on the option "Use internal system for detecting meeting access via the Web".
-
Users can connect to meetings only if they are logged into Zoom:
By checking this option, users once they click on the link will see this page appear where they will have to enter their Zoom account information:

If they try to enter an email not linked to a Zoom Account they will receive an error:
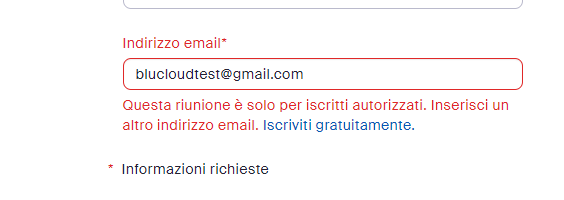
They will only be able to proceed by registering on the platform and entering their credentials.
-
Enable the registration form on Zoom before entering the meeting:
With this checkmark on, the meeting will require the user to register on Zoom; they will need to fill in the First Name, Last Name, and Email fields in order to access the Session:
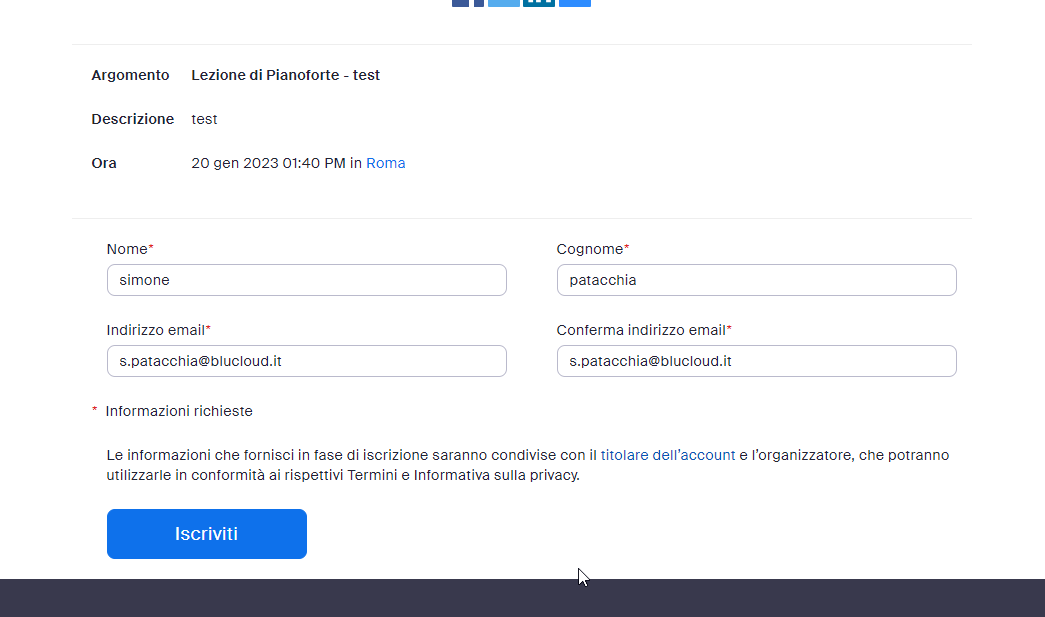
Once you sign up you will see the link to access the meeting directly.
-
Do not automatically create meetings:
The meeting will not be created automatically, it must be started from the General Calendar (Right-click on the lesson → Create Meeting) or from the lesson agenda (click on the PC screen icon next to the lesson)
-
The lecturer will join the meetings as a host:
As soon as the Lecturer connects to the meeting he/she will become the Host of the meeting.
-
- Students can enter the meeting before the host: Students will be able to connect even if the Host (the Lecturer or the Secretary) has not yet entered.
-
Enables access as host from web:
Allows you to start a meeting directly from the Web (not the Zoom client). The two keys must be generated to enable this feature. Click here for the complete guide.
-
- JWT API Key: To be generated on your Zoom Account.
- JWT API Secret: To be generated on your Zoom Account.
-
Students will wait in the waiting room before being admitted to the meeting:
If checked, Students must wait in Waiting Rooms before entering the meeting. Only the host can let participants in.
-
Sending invitation email to:
- students and tutors: The email with the access link to the Zoom meeting will be sent to both the Student and the connected Tutor, if any.
- Only students if they have their email: Only students who have the email entered in their records will be sent the email containing the link to the Zoom meeting.
- Do not send any Email (access via Web or App): No Email will be sent, the only access allowed will be via the Web or App account.
Automatic meeting closure
- Do not terminate meetings automatically after class end time: The meeting will have to be closed manually by the Host.
- End meetings after class time only if there are other classes after, before the next class about minutes before: Ends meeting tot minutes before the next lesson. Only if there are lessons scheduled.
-
- It still ends the meeting automatically after the end of the lesson after about minutes: If there is no lesson scheduled it still closes the meeting after a few minutes.
- End the meeting automatically after the end of the class after about minutes: Ends the meeting automatically after the set minutes.
Reports from class participants
- Use the internal Web-based meeting access tracking system: It will generate an internal report from ScuolaSemplice, often more accurate and reliable than the one provided by Zoom itself (the latter will always remain available).
- Generates one attendance line per user: If a user disconnects and reconnects several times, only a single line will be generated in the log file that will count the first entry and last exit in the meeting, net of disconnections.
- Automatically apply attendance reports to class attendance: At the end of the session, attendance will be entered automatically based on the generated report.
- Enable Attendance Report Review Function: Allows to change the time of entry, exit and connection duration for each individual Student.
- Include unique meeting identifier Zoom: Indicate the id of the Zoom meeting.
- Include unique student ID in Zoom (if available): Adds User Zoom ID column in attendance export (if available).
- Include the teaching unit conducted (if available): Include in the Report the teaching unit carried out in the lesson
- Include the Lecturer's commentary on the lesson (if available): Include the Lecturer's commentary in the Lesson Report.
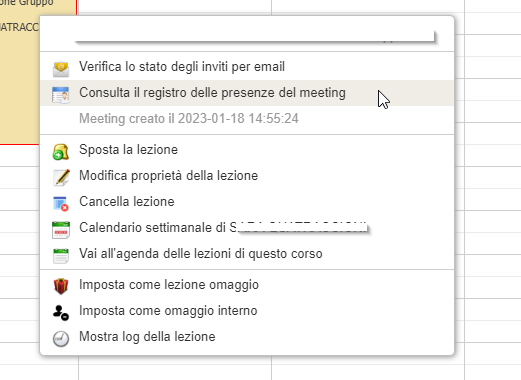
Available reports will be downloadable from the General Calendar by clicking with the right-click on the lesson of interest "View the meeting attendance record":
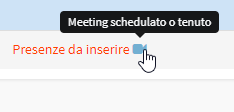
The same screen will be visible in theClass Schedule of the Course by clicking thecamera icon next to the selected lesson:
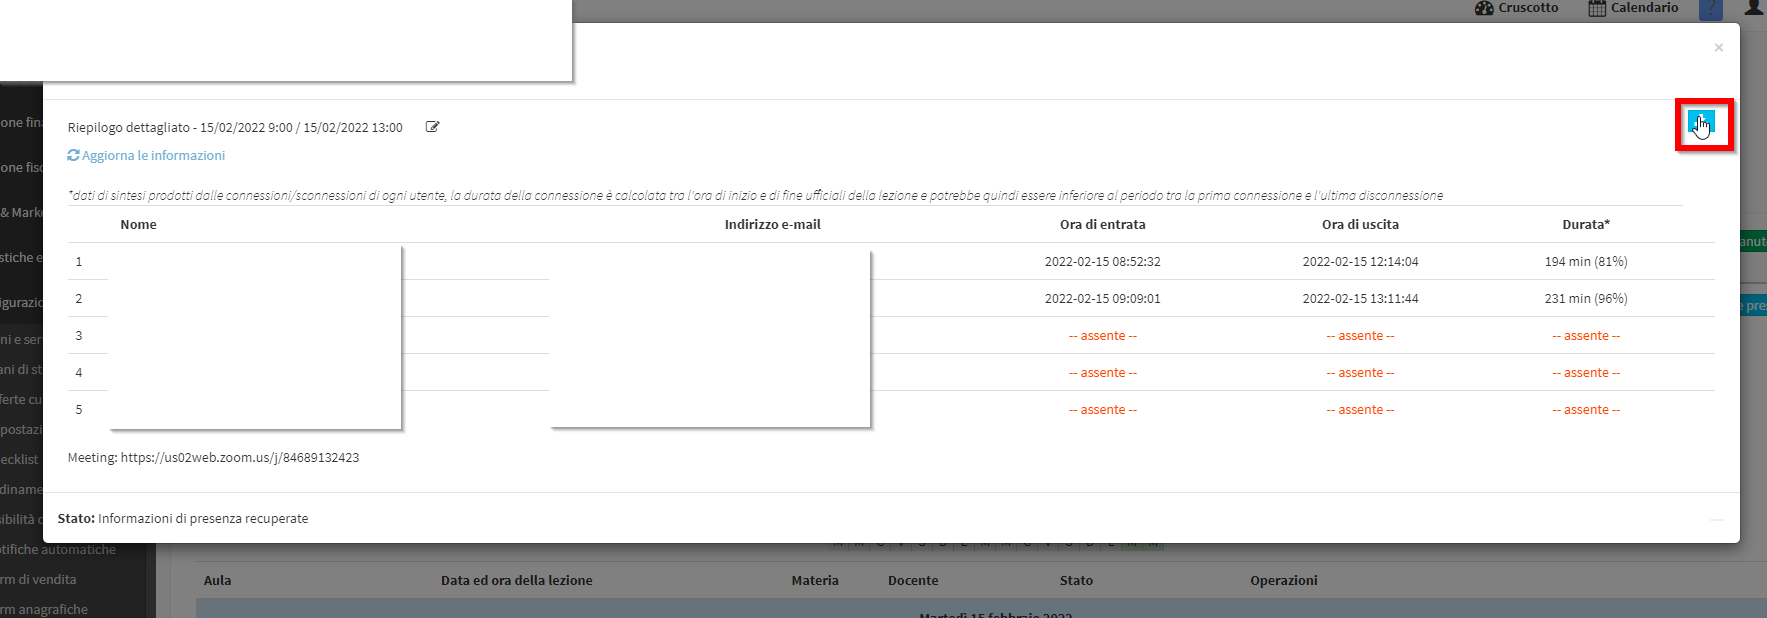
The report will look like this, you will be able to download the Excel file by clicking with the button in the upper right corner:
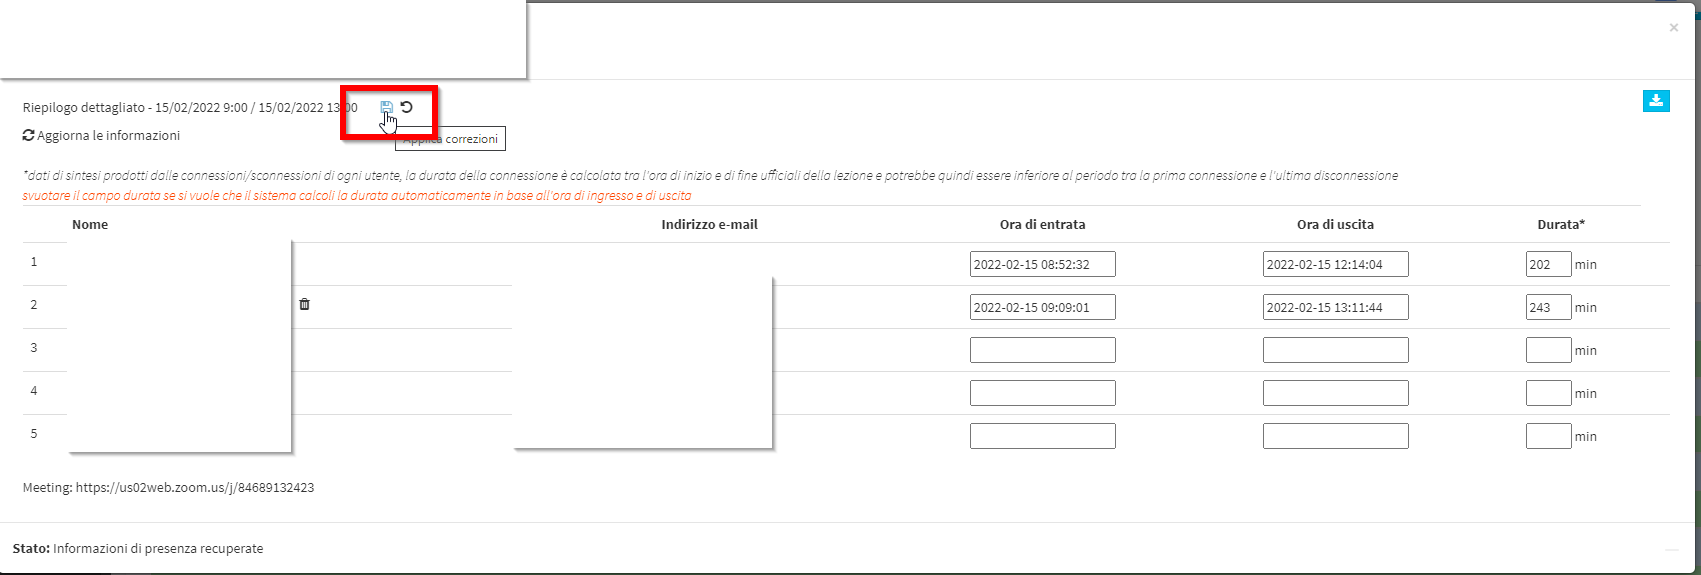
Clicking the icon in the upper left corner next to the Lesson Date and Time will allow you to make changes (if enabled in the settings):
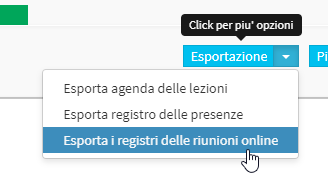
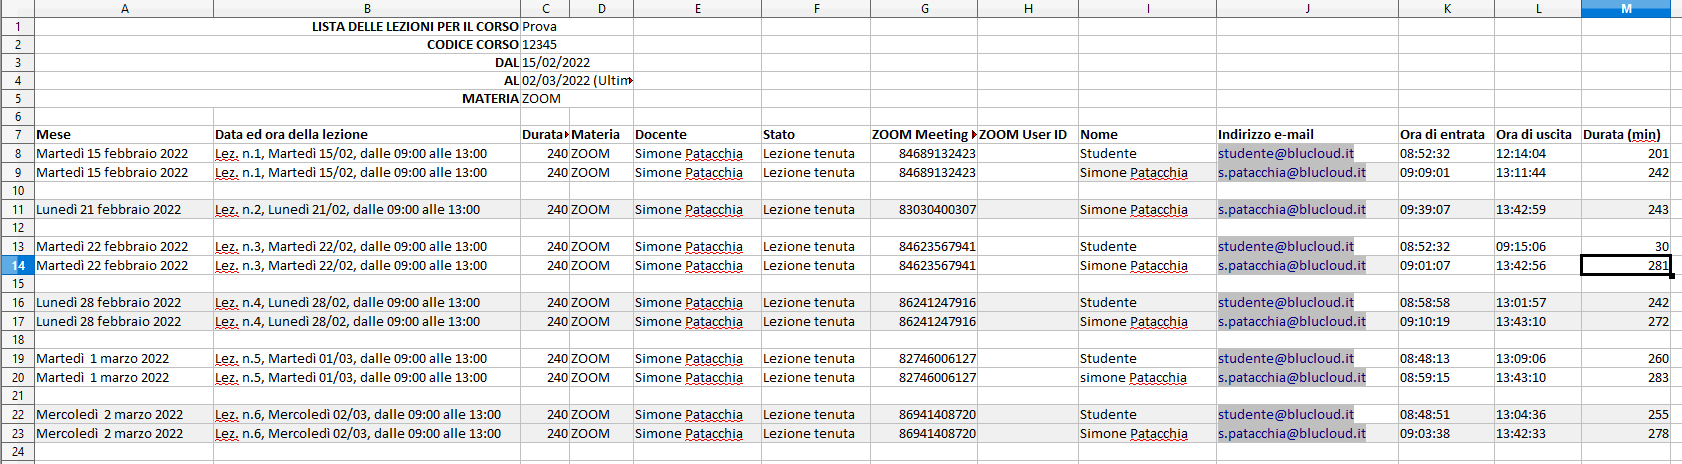
For the full report of all course lectures always browse theLesson Schedule click the blue button Export → Export Meeting Logs Online:
The Excel file will contain all Student information for all classes:
Distance between classes and other options
- For virtual lessons scheduled by Lecturers force a distance from other lessons of at least minutes : If active, Lecturers will be required to leave the set minutes between lessons.