Creating a collective course
Unlike individual courses for which the course type is unavoidable, group courses can also be directly created without a template.
In fact, for group courses, the course type represents a shortcut when the school provides fixed course templates from which to then create the collective course actual which will inherit its attributes. Typologies are also necessary in order to be able to make pre-registrations for Collective Courses..
Click here to read the guide on course types.
Creating a Collective Course without a Model
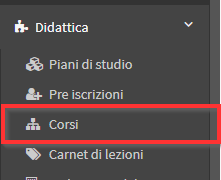
To create a new group course, navigate to Didactics → Group Courses:
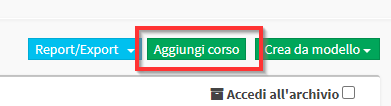
Then click the button Add Course:
Then enter the required information:
- Connected company *: This item is present only if the company flow module has been activated.
In case of an enterprise course (use this item only when the enterprise course flow is used), select the company for which you intend to create the course - Course name *: the name that identifies the course
- Course image: you can upload an image of the course
- Course Type.: (click here for detailed guidance on course types) you can choose from:
- Teaching class: multi-subject and multi-teacher course with fixed weekly schedule
- Course: single subject course with fixed weekly schedule
- Intensive course: flexibly scheduled course, each lesson is scheduled manually
- Enable the definition of differentiated lecture modules: if selected, it will be possible to define specific lecture modules within the course, each associated with a subject and a lecturer
- Name of the venue: the venue where the course is held, if any
- Educational year: select the educational year of the course
- Description: explanatory description of the course
- Open enrollment: if selected, users will be able to register independently via web form and up to and possibly up to the date indicated in the field open enrollments until the day, if present
- Subject taught *: select the subject matter of the course
- Course lecturer (multiple lect urers ) *: select the course lecturer; the drop-down will populate according to the subject just selected (in case of multi-teaching, click on "multiplelecturers" and choose the different lecturers).
N.B. The course lecturer can be defined at a later time. In fact, by choosing the "To be defined" option, it will be possible to create the course and then plan it without defining the lecturer right away, but doing so at a later time. Click here to read the article that elaborates on this topic. - Teacher pay. *: the hourly wage assigned to the teacher. It is possible to choose from:
- set manually: in this case enter the amount in the field displayed below Teacher salary (€/hour)*
- use teacher's default pay class: the amount of the teacher's default pay class (if configured from the economic settings and then associated with the teacher) is used
- uses teacher salary: the amount indicated in the teacher's master data is assigned
- no remuneration: no remuneration is assigned to the lecturer for the course
- alternatively the dropdown also displays the hourly rates set in Administration → Economic Settings, if any
- They are academic hours: If selected, specify the length of the individual academic hour and how many academic hours make up the class.
- Lesson duration (minutes)*: the lesson duration expressed in minutes, e.g. 60
- Include break: if selected, indicate the length of the break (break time is not remunerated to the teacher)
- Minimum number of enrolled students: the minimum number of enrolled students with which the course can start (though not binding, it is useful to get feedback about the status of enrollment in the course)
- Maximum number of enrolled students: the maximum number of enrolled students with which the course can start (though not binding, it is useful to get feedback about the status of course enrollments)
- Weekly classes: the frequency of weekly classes, such as one a week or one every fortnight
- Lessons in this course must be confirmed.: This item is only present if enabled from the course settings. If selected, once the course schedule has been planned, the lessons should be confirmed from the class schedule with the appropriate confirmation icon
- Type of enrollment fee: the type of cost associated with the course. It is possible to choose from:
- Monthly enrollment fee: is the amount the student pays monthly to renew enrollment
- One-time cost per enrollee: is the total amount of the entire course, per enrollee
- Lump sum cost: is the total amount of the entire course, regardless of the number of people enrolled in the course
- Cost per hour of attendance: If chosen, it will be necessary to configure hour packages (read here the guide on configuring packages)
- Cost of attendance per lesson: if chosen, you will need to configure lesson packages (read here the guide on configuring packages)
- Default installment plan: Read the specific guide.
- Course Duration.: Choose from:
- Set manually or until the end of the academic year: enter the Course start date and the Course End Date (if the End Date is not filled in, the system will automatically take the general date of the end of the academic year)
- Predetermined number of lessons: in this case enter the number of lessons in the field Number of lessons, which will start from the indicated course start date
- Predetermined number of hours: in this case enter the number of hours in the field Class Hours, which will start from the indicated course start date
- Course start date: indicate the course start date
- Define schedule now: if clicked, it will be possible to plan the class schedule immediately (this item is present only in case of a regular course). Then enter: Class Day #1, Classroom, Start time and click the button Check Schedules; if there are no scheduling conflicts, the message "Congratulations, the chosen time slot is available" will appear.
- Goodsor services included in the course: goods or services can be associated with the course, for example, teaching materials.
- Lesson management by the teacher: Read the specific guide.
- Notes: any notes and comments regarding the course
Then click on the Add Course to save the data:
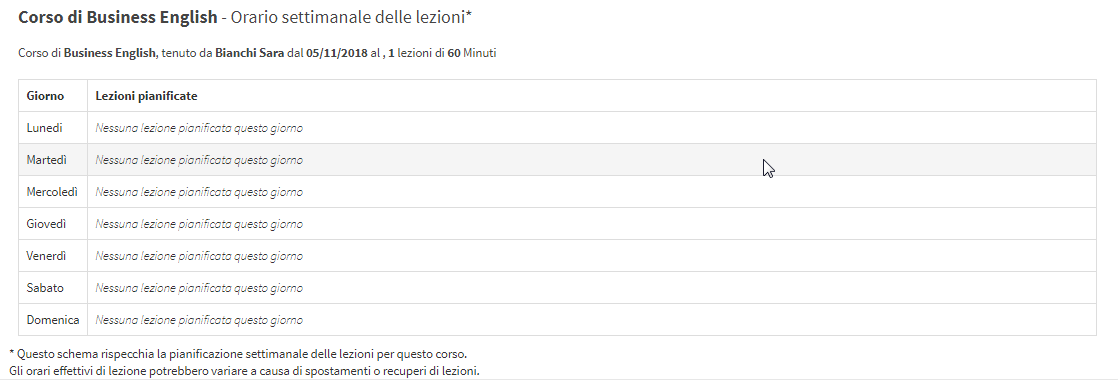
As soon as the course is created, the system shows the weekly schedule table; the schedule will be empty because it has not yet been calendared:
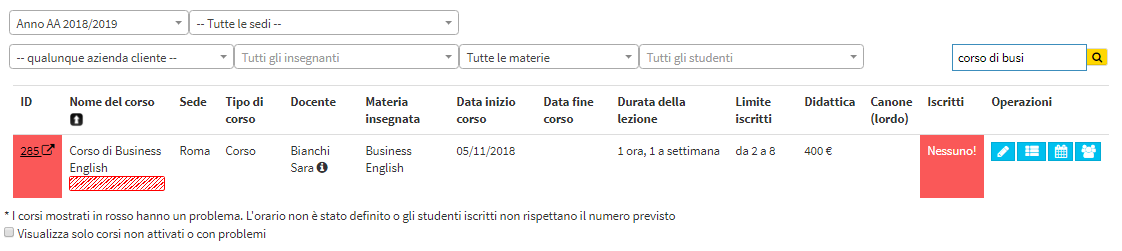
Returning to the list of collective courses instead, we see the new course with two red rectangles on the sides highlighting the course's not fully configured: the one on the left indicates that the course's class schedule has not yet been planned; the one on the right indicates that no students have yet been enrolled in the course.
N.B. The right rectangle will remain red until the previously indicated minimum number of entrants is reached, and will turn red again when the maximum number is exceeded.
Continue with the scheduling of the Course through these guides:
Pingback: Student enrollment in a group course - The Wiki of ScuolaSemplice