Project Management and Funds
The use of Projects allows for the planning and management of a Financed Budget broken down by sections.
1. Creation of Roles in Courses and Projects
First, Roles of Practitioners in Courses and Projects should be created.
1.1 Roles of Courses
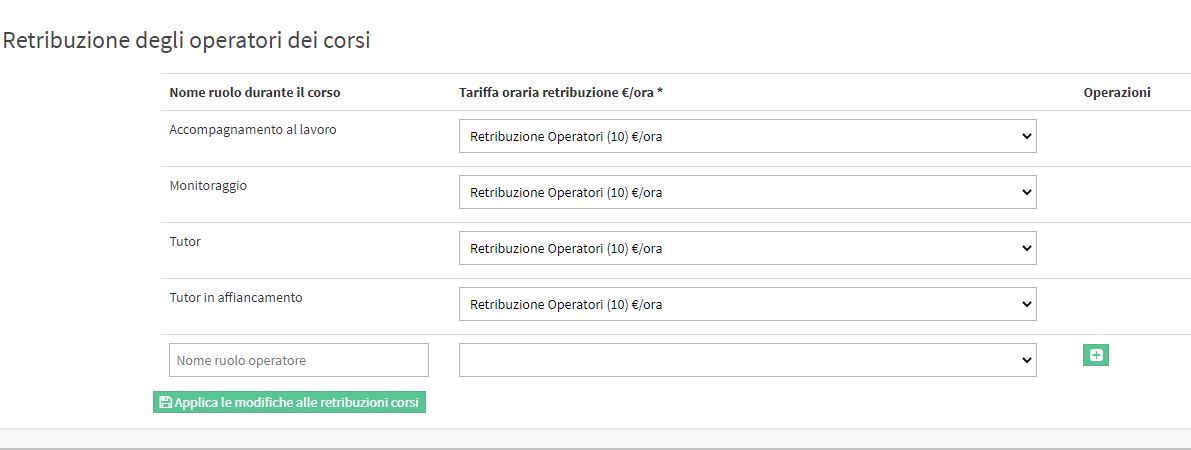
Navigate to. Administration → Economic Settings → Teacher Pay Classes and scroll down to the section Remuneration of Course Operators:

Then enter the Role name during the course and the Hourly rate of pay €/hour and click on the green icon +:

Repeat the operation For all course operators:
In order to create new pay classes, read the following guide under "Configuring Pay Classes."
1.2 Roles of Projects
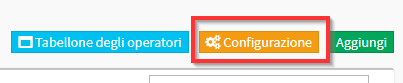
Navigate to Education → Projects → Configuration:
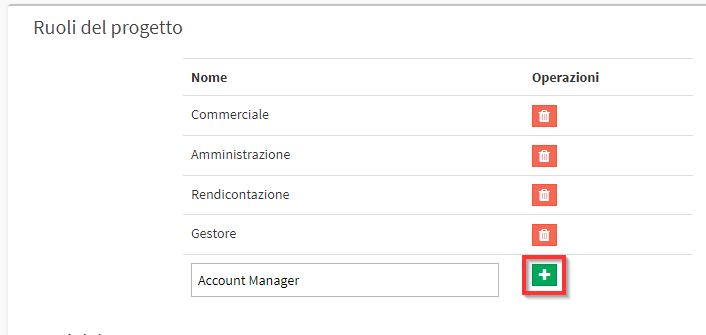
In the box Project roles enter the Name of the Roles to be created and press the green +:
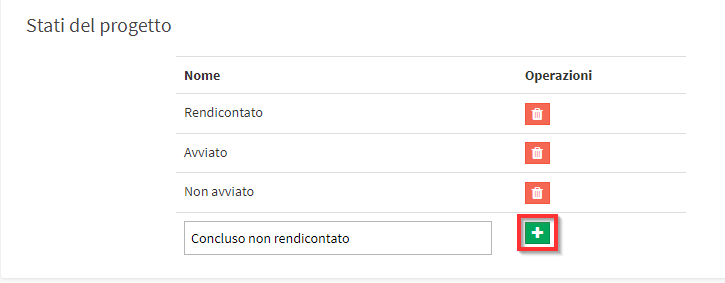
On the same screen also fill in the Project states using the same process:
2. Creation of a Fund
Now it will be necessary to create a Fund. Navigate to Master Data → Funds and click on Add New Fund or Funding:

Then enter the Name and a Description and click on Add New Fund or Funding:

Other three fields:
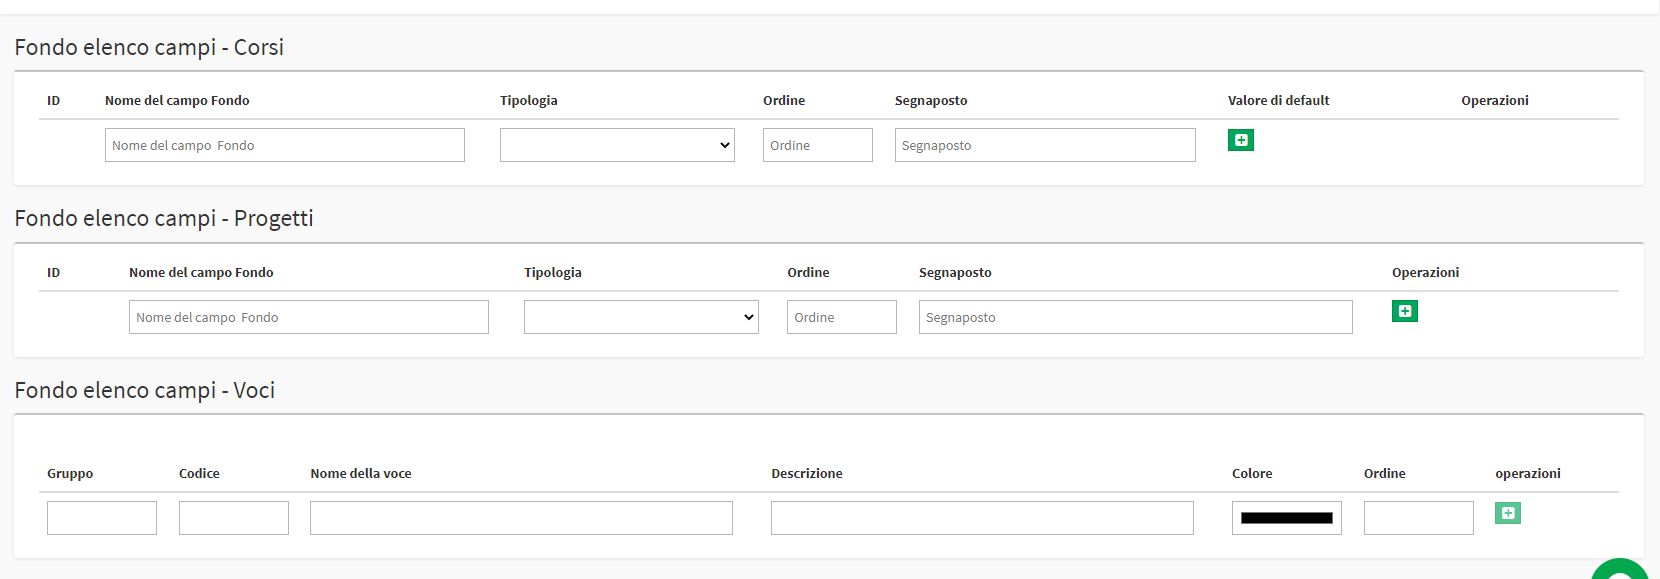
- Field List Fund - Courses
- Fund list fields - Projects
- Field List Fund - Items
3. Creation of Project Entries.
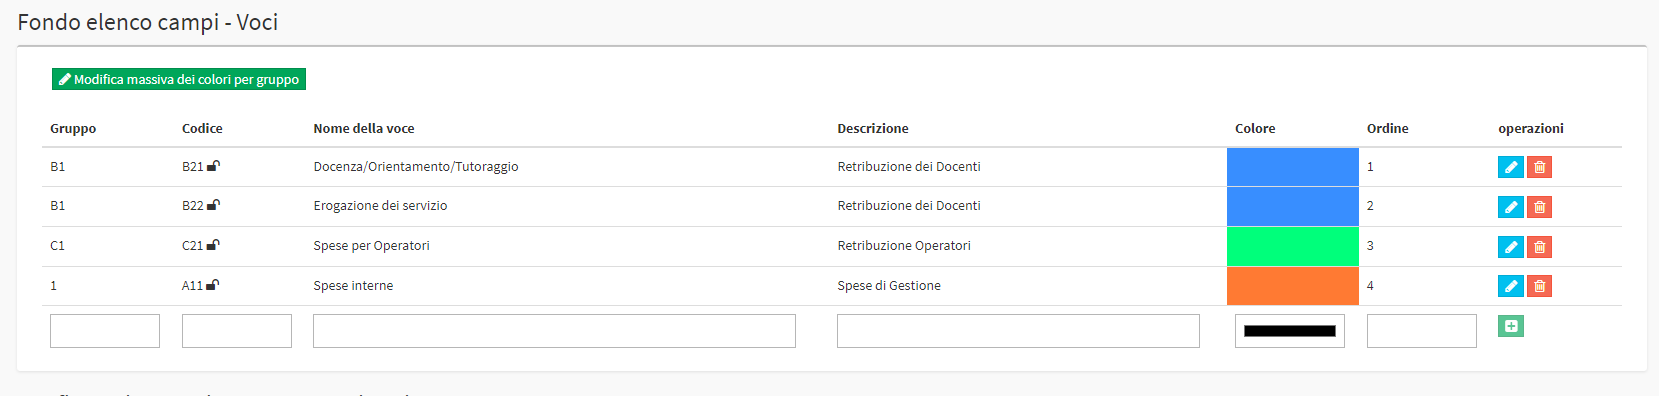
The section that must be filled in will be Field List Fund - Items, and covers all the entries in the Project.
Therefore, indicate:
- Group: Group name
- Code: Group code, if any
- Item name: Item name
- Description: Description of the item
- Color: Color of the field displayed in the Projects tab.
- Order: Order of appearance
Click on the green icon + to create the Item:

Repeat the operation for all the Entries:
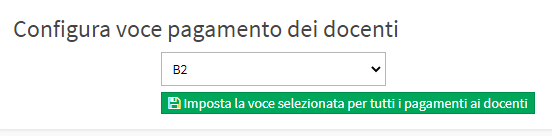
When you have finished Creating Entries you can indicate what the Entries refer to in the boxes immediately below.
Starting from the bottom in the Configure faculty payment item select from the drop-down menu the Code of the Item created in precedence related to Teacher Payment and click on Set the selected item for all payments to teachers:
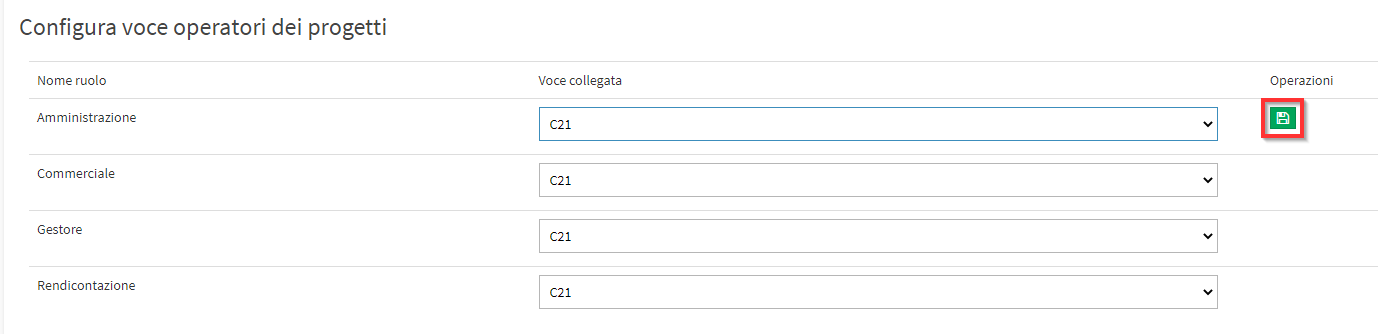
Repeat the operation for the box Configure Project Operators item. For each Role indicate the code of the item linked to the pay of the Operators for Projects and click on the green icon to save:
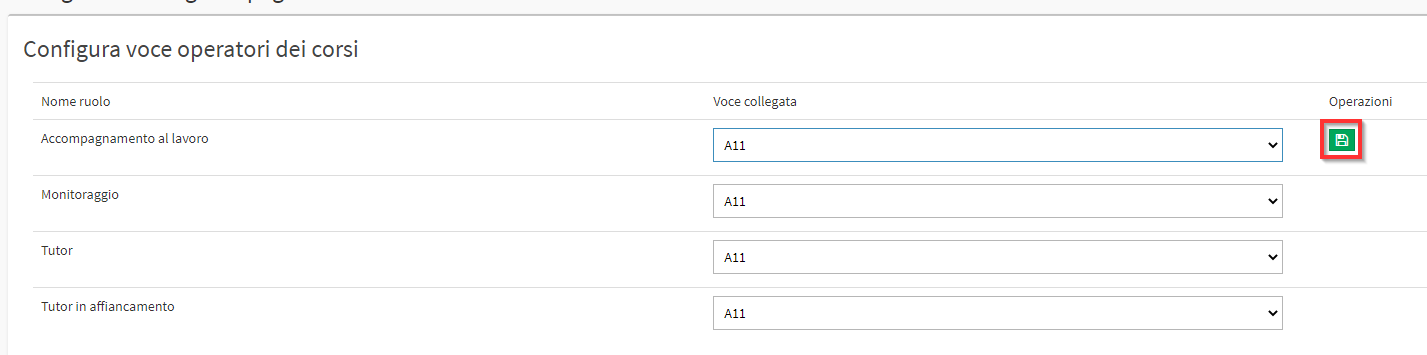
In the section Configure course operator entry for each Role indicate the code of the item linked to the pay of the Course Operators and click on the green icon to save:
4. Project Creation.
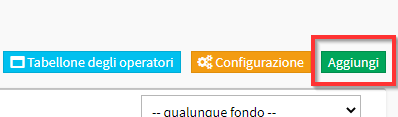
Navigate to Education → Projects and click on the green button Add:
Below enter all information required:
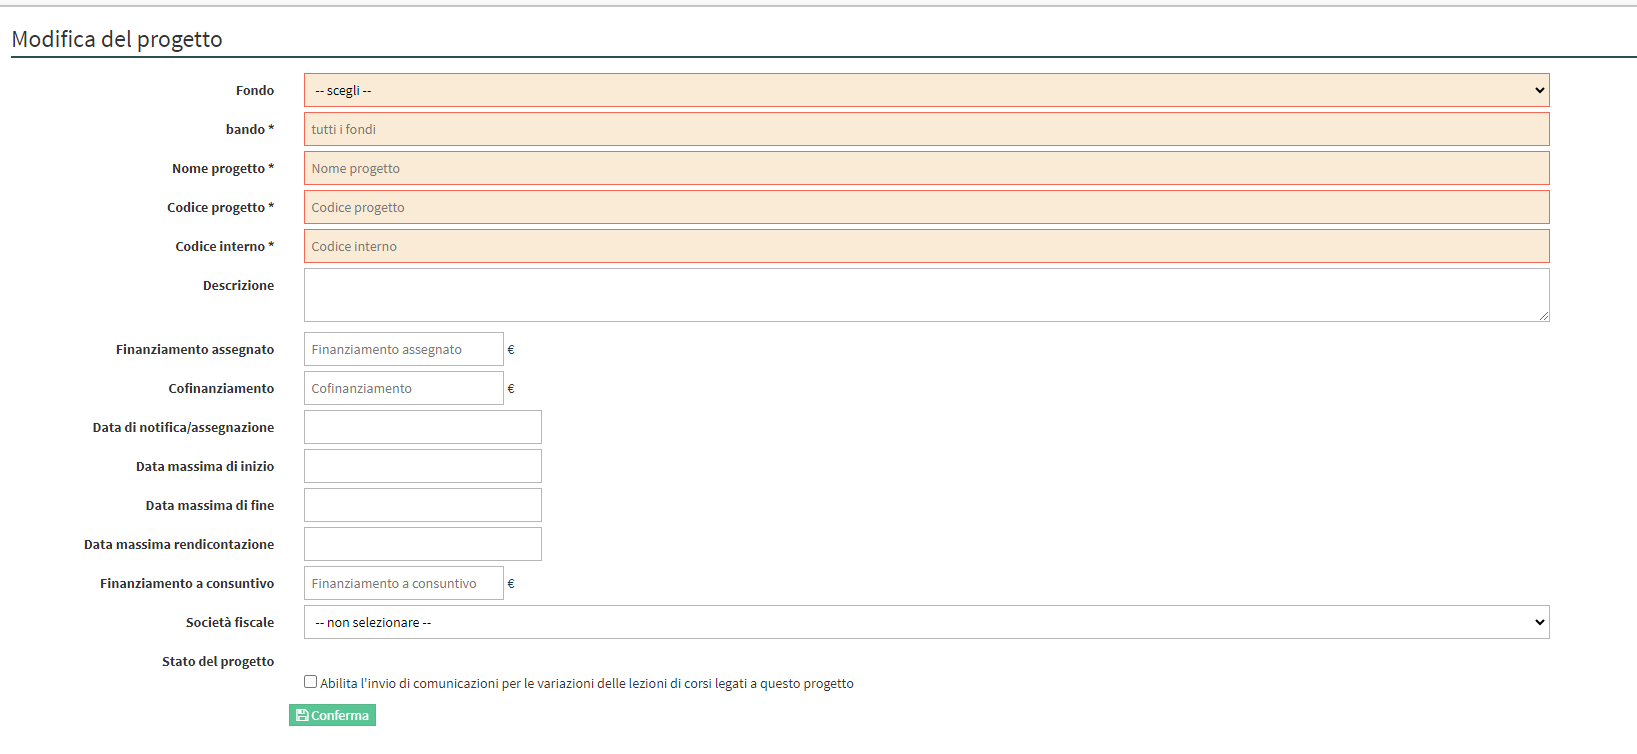
- Fund: Choose the fund related to the project.
- notice: Indicate the notice related to the Fund.
- Project Name: Name of the Project being created.
- Project Code: Code of the Project being created.
- Internal code: Internal project code.
- Description: Description or notes of the project.
- Allocated funding: Allocated budget.
- Co-funding: Co-funded budget.
- Date of notification/assignment: Date of assignment notification.
- Maximum start date: Maximum project start date.
- Maximum end date: Maximum end date of the project.
- Maximum reporting date: Maximum reporting date.
- Funding budget on balance sheet: Final funding budget.
- Tax Society: Indicate the tax company related to the project.
- Account: Indicate any account of the Company.
- Project status: Indicate the status of the project among those configured initially.
- Enable the sending of notifications for lesson changes in courses related to this project: If enabled you can specify one or more email addresses to which to send notifications of changes on classes.
To finish creating the project click on the tgreen Confirm button:
![]()
It will be displayed the project correctly created:

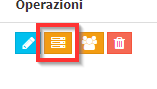
To allocate the Project Budget click on the icon Manage Project:
It will open the project with the groups created within the Fund:

The columns present will be:
- Item: Indicates the Group Code.
- Description of expenditure item: Description of the item set in the Fund.
- Anticipated by project: The amount planned by the project for that particular Item.
- Actual or remodeled: The actual amount of the project.
- Committed: Balance pending disbursement to Practitioners/Teachers.
- Paid: The total amount paid by individual item.
- Available: Available budget obtained from Current - Committed.
- Actual: Actual Budget obtained from Actual - Paid
With the pencil icon you will be able to enter or edit the Project Budget:

Indicate the Estimated Budget for each group and the current or remodeled, finally click the icon shaped like a floppy disk for save the changes:

5. Linking Courses to the Project.
To link Courses to the Project navigate to Didactics → Collective Courses / Individual Lessons and click on Edit of a Course, scroll to Funds and enter the Fund of interest and the Project linked to it:

Finally save the changes of the course with the green button Edit Course:
![]()
All Courses related to the project can be found in Didactics → Projects → Edit next to the Project of interest:

The section Courses related to the project will be found at the bottom of the page:
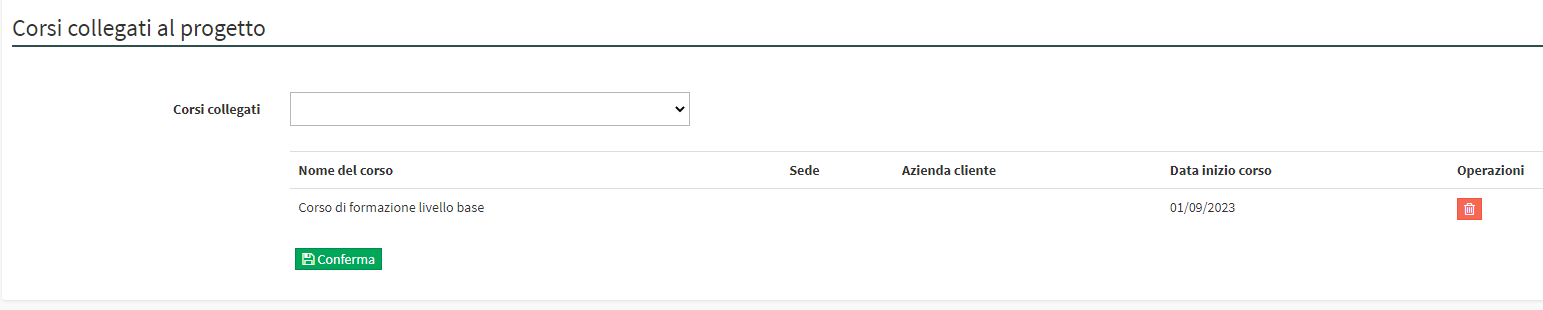
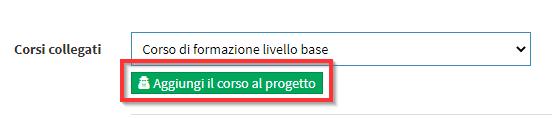
Under the heading Linked courses it is possible to link new Courses to the Project that are linked to the same Fund as the Project.
5. Linking the Operators
In order to manage the timetable and expenses for the Operators, it is first necessary to link the Teachers/Administrators to the Courses and to the Projects.
5.1 Connecting Practitioners to Courses
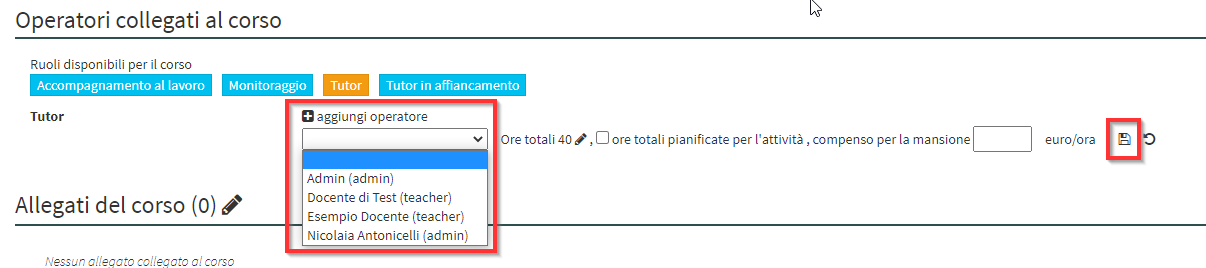
Navigate to Didactics → Group Courses/Individual Lessons and enter the Course Tab. Here find the section Practitioners related to the Course:
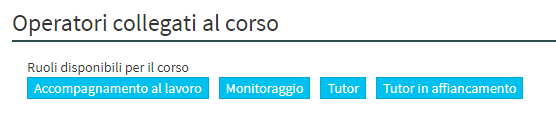
Click on the Role you want to add and click on "add operator."
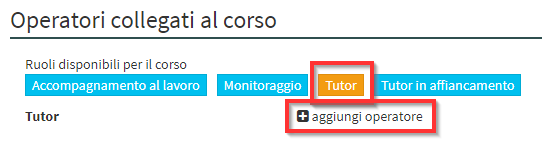
Then indicate which Lecturer o Administrator connect to the Course, indicate the Total Hours performed, the fee, and then click on the floppy disk icon to save:
Repeat the operation for all the Operators you want to connect.
5.2 Connecting Operators to the Project
Navigating in
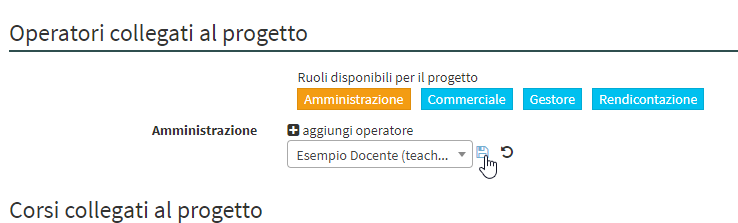
In order to connect the Project Operators navigate to Didactics → Projects → Edit next to the Project of interest:
In the box Operators connected to the project click the role to be entered and which Teacher/Administrator connect, finally click the floppy disk button to save:
6. Management of Lectureship payments
Expense items for payment related to Lectures will be automatically calculated in the Committed since the attendance in the courses will be marked.
The amount will be moved to the column Paid when the payment is disbursed to the Teacher through the standard payment procedure.
7. Management of Attendance and Workers' Compensation.
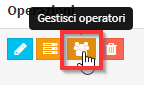
The management of Operators differs from that of Teachers. The attendance of the Operators (both of theCourses and the Project) will have to be managed manually through the section present in Didactics → Projects → Manage Operators:
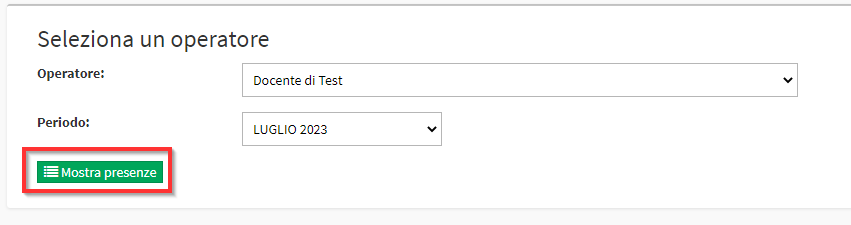
From the next screen enter the Operator and the Period of interest and click in the green icon Show Attendance:
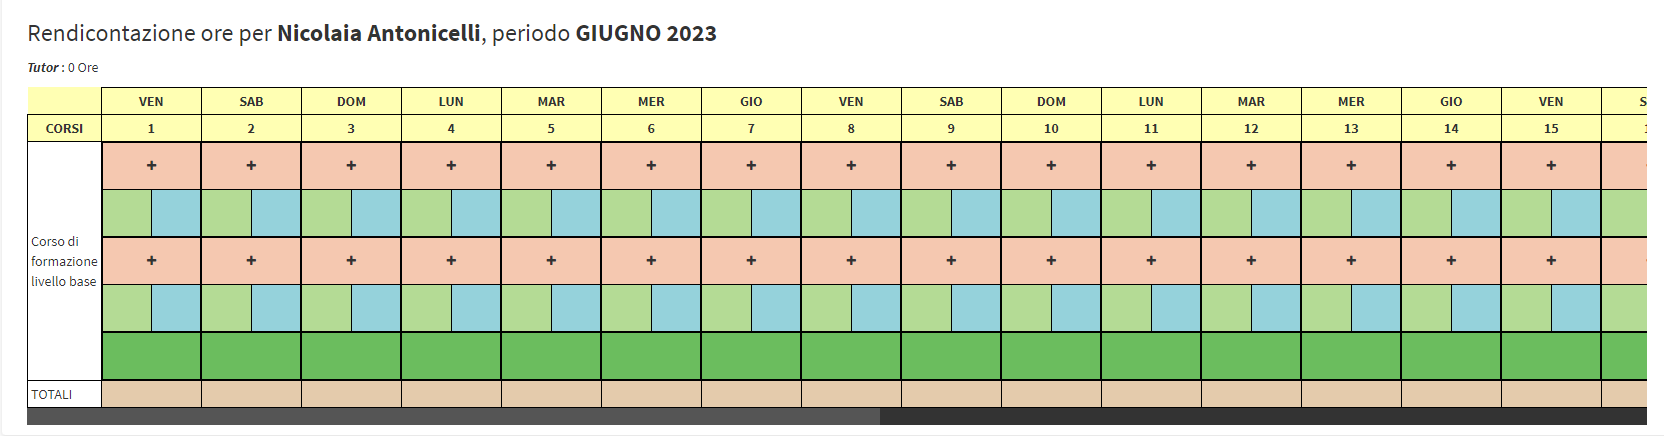
The monthly calendar of the operator with Horizontal view:
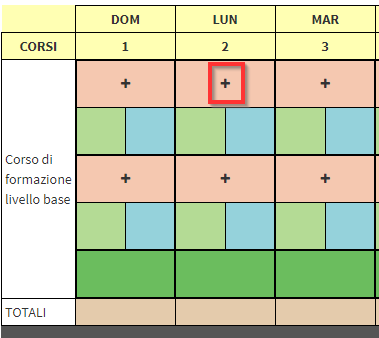
For insert a presence you will need to click on the + on the desired day:
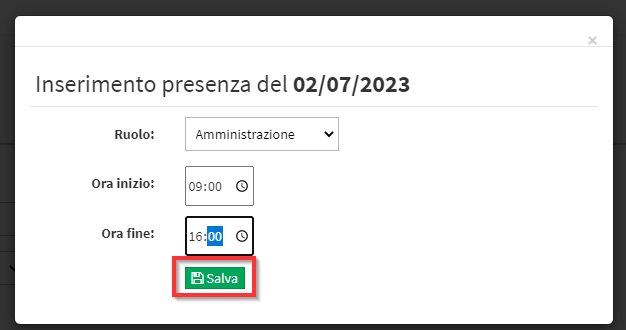
In the box that opens, indicate the Start time and of End of the activity and click on the Save:
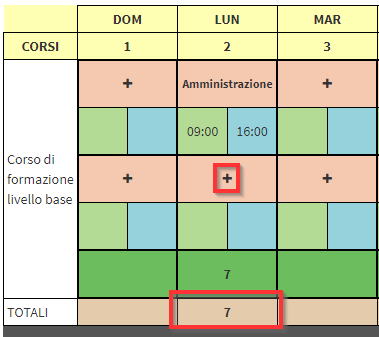
It will automatically calculate the total time to be paid, with the second key + you can enter a second activity in the day:
For edit a presence simply click in the newly created slot:
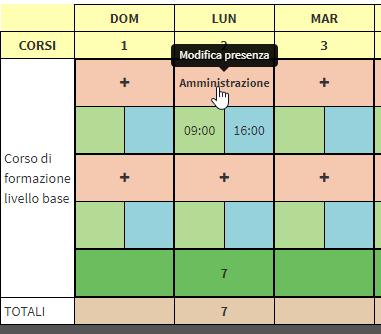
Note: If the Operator is a Teacher the committed column will be automatically filled by calculating the salary using the Teacher's default Salary Class in case of Administrators the salary will be entered manually using the method explained in step 8.
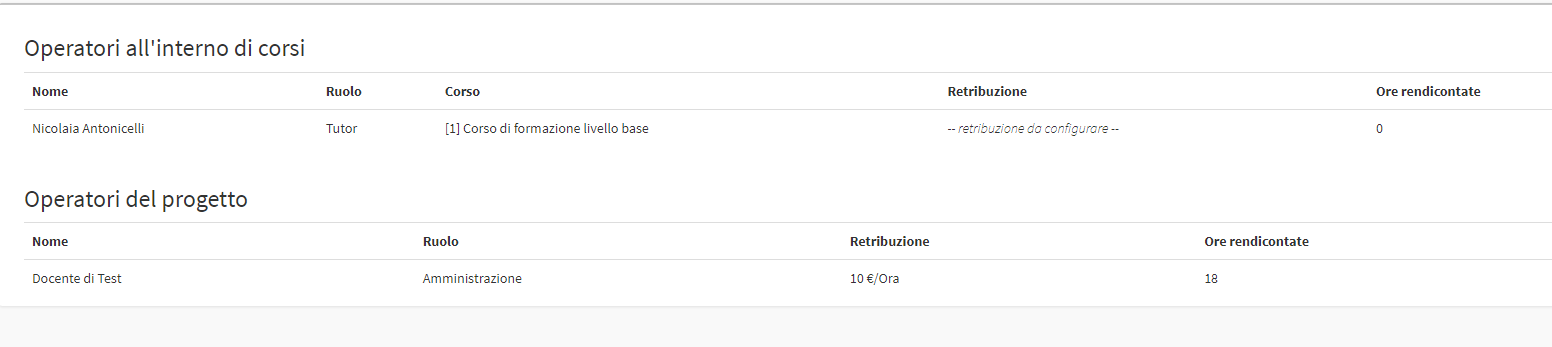
Via the blue button View operators present in the upper right-hand corner of the page:
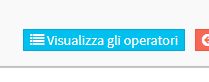
It will be accessed at the report Hours of all Operators of the Project and the Courses:
8. Manual entry of Spending Lines.
To enter expense lines manually, you must navigate to Education → Projects → Manage Project:
And then on Manage item analytics:

The project will expand with more details and the ability to insert payment lines via the green button in the shape of + located on each line item:

Some fields to be filled in will be shown:
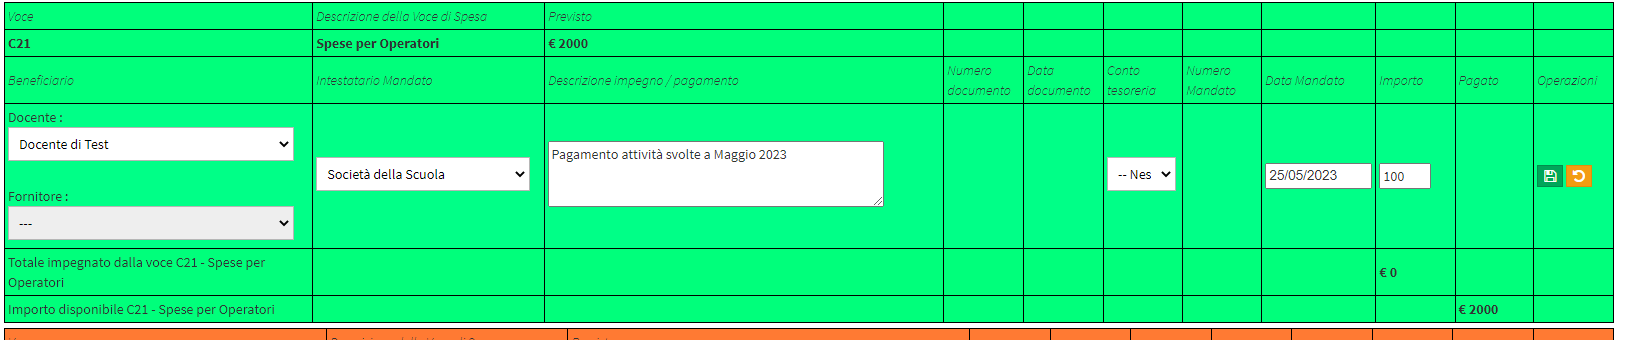
- Payee: Enter the Teacher or Supplier who is the beneficiary of the payment.
- Mandate holder: Enter one of the school's companies.
- Description: Payment Description.
- Treasury Account: Select any School Account.
- Warrant Date: Enter the date of the warrant (different from the date of payment disbursement).
- Amount: Amount to be paid.
When the insertion is finished save the line with the green button in the shape of a Floppy Disk:

The expenditure entered will remain in the committed until it is marked marked as Paid with the appropriate button:

Automatically the payment will be marked as paid on the Odierna date and it will be assigned a progressive document number:

Each item is always editable by clicking the appropriate pencil-shaped button in the Operations:
9. Adding Custom Fields
In Master Data → Funds editing a Fund, the boxes are present. Fund field list - Courses e Fund field list - Projects:
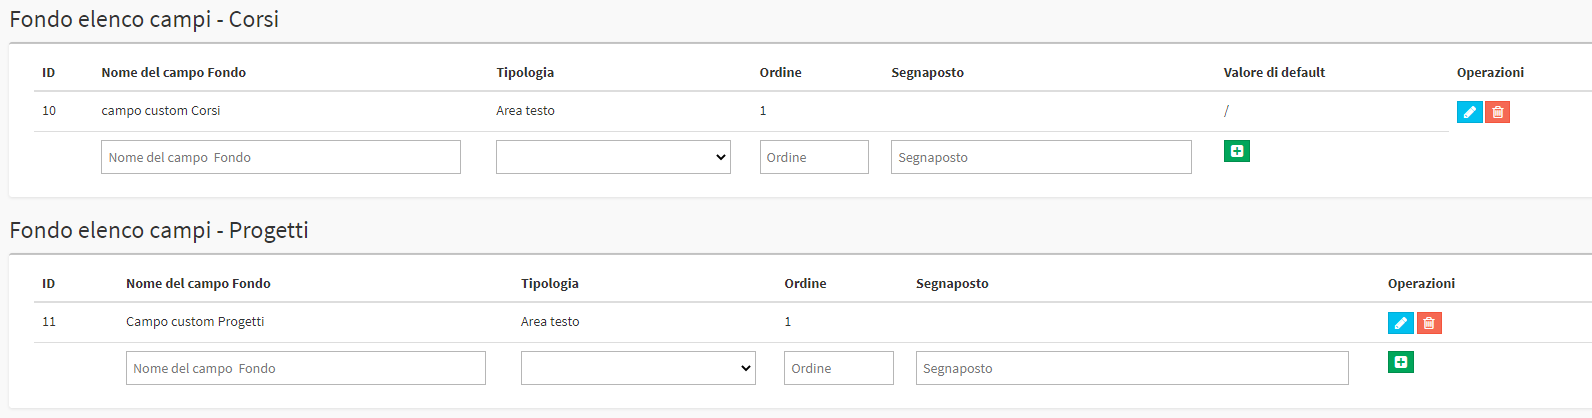
Custom Fields placed in Fund field list - Courses will appear the moment we link a Fund to a Course.

The filled-in Field will always remain visible via the icon Show Selection Values in course edit:

Custom Fields placed in Field List Bottom - Projects will appear in editing a Project:
