Email and SMS Settings
For email and SMS sending settings, from the left menu click on Administration → Email/SMS and click the Email and SMS Settings.
SMS settings
In the section on SMS, you can choose the Provider Blucloud - Business Plan:
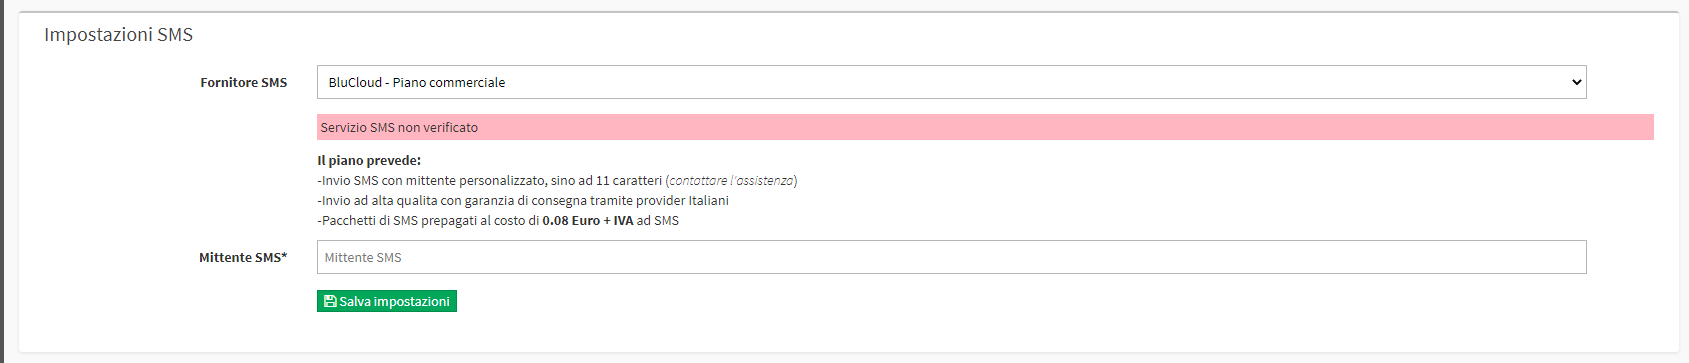
In this case, it will be possible to send SMS with the following characteristics:
- personalized sender up to 11 characters
- high-quality dispatch with guaranteed delivery through Italian providers
The cost of a single SMS is €0.08 + VAT per SMS sent.
NOTE: To enable SMS sending, it is necessary to contact support by emailing your request to support@blucloud.it.
In case you wish to use a different provider, you should contact the sales department at: commercial@blucloud.it.
Email Settings
In the section on Email, you can choose from 4 different possibilities:
- BluCloud - Demo plan
- BluCloud Free plan
- SMTP Server
- Amazon SES
- Microsoft 365 / MS Graph API
BluCloud - Demo plan

The demo plan is dedicated to those who are trying out the ScuolaSemplice service and want to test email sending from the system. In this case, you can send a maximum of 100 emails, no more than 10 emails per sending, also attachments will not be included in the emails.
It is possible to customize the sender name but the default sender email is info@blucloud.it.
Note: This service is enabled for system testing only. Once in production, it is strongly recommended to use one of the configurations explained below.
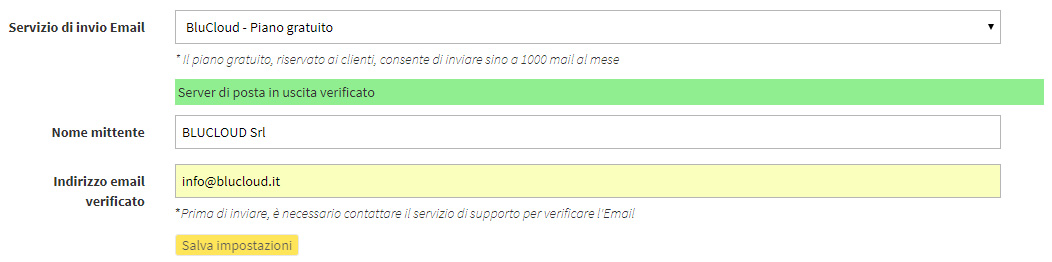
BluCloud - Free plan
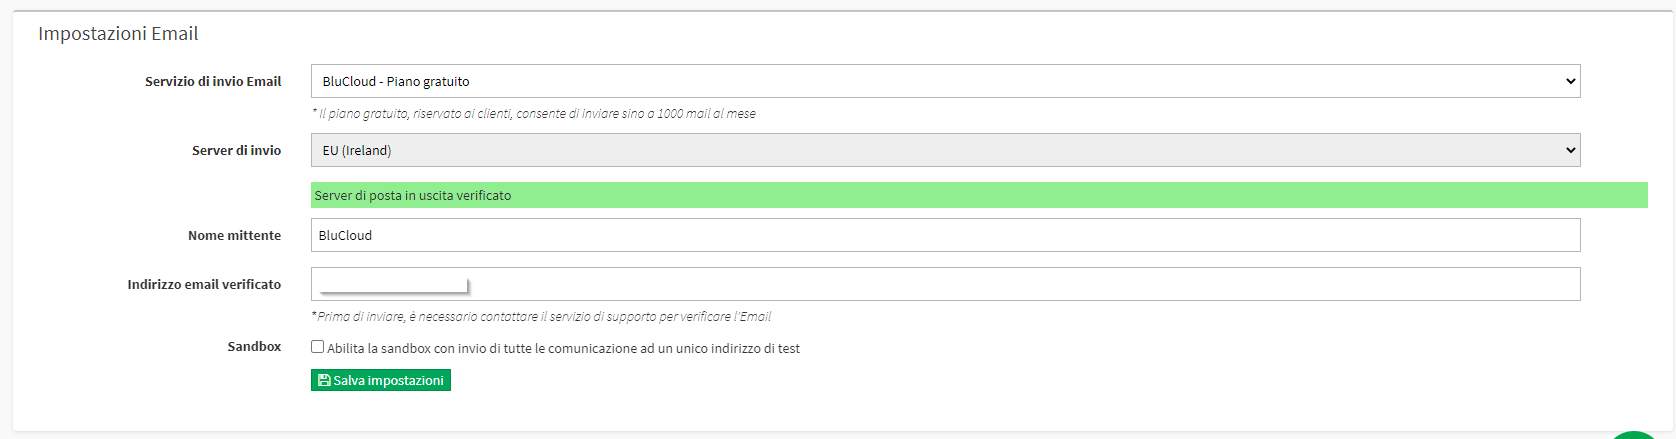
It is reserved for customers of ScuolaSemplice and allows you to send up to 1,000 emails per month.
To activate the plan, it is necessary to contact support BluCloud (email to support@blucloud.it) communicating the email address, which must be verified and enabled. To verify this address an email will be sent from Amazon Web Services containing a link, which must be clicked to validate the address.
From this point on, the email address is verified, so take the following actions from the Email settings screen:
- Set the sender name in the relevant field
- enter the newly verified email address in the field Verified email address
- Click the button Save Settings
After saving the settings, the system shows the new field Test Email.

Then enter an email address to which the system will send test mail (from the verified email address) containing a verification code and click the button Send test mail.
It is recommended that you enter a valid email address that you have immediate access to in order to retrieve the verification code sent to you.
Then retrieve the verification code and enter it in the field Verification code.

Finally, click the button Check Code Verification to complete the operation.
If the procedure was successful, the system displays an alert with a green background Outgoing mail server verified.
SMTP Server
Through this mode, any e-mail provider can be set up, entering the required configuration data of the outgoing mail server (SMTP), read the Complete Guide.
Amazon SES
Through this option it is possible to use Amazon's Simple Email Service (SES). In this case it is then necessary to have an account on Amazon AWS and set up login credentials as well as verify the email address.
Microsoft 365 / MS Graph API
Con questa modalità è possibile configurare il servizio email di Microsoft 365 tramite l’integrazione apposita, per farlo si dovrà seguire la procedura illustrata nella relativa Guida Completa.