Creation of a Client Company
In order to perform a bulk import of Client Companies read this guide.
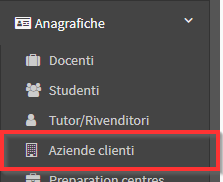
To create a Client Company navigate to Master Data → Customer Companies:

Then click on Add client company:

Note: The creation of a Customer Company automatically results in the creation of a Customer/Supplier present in Tax Management. The master data present in Customer Companies and in Suppliers will be connected with the latter which will be referenced for billing data.
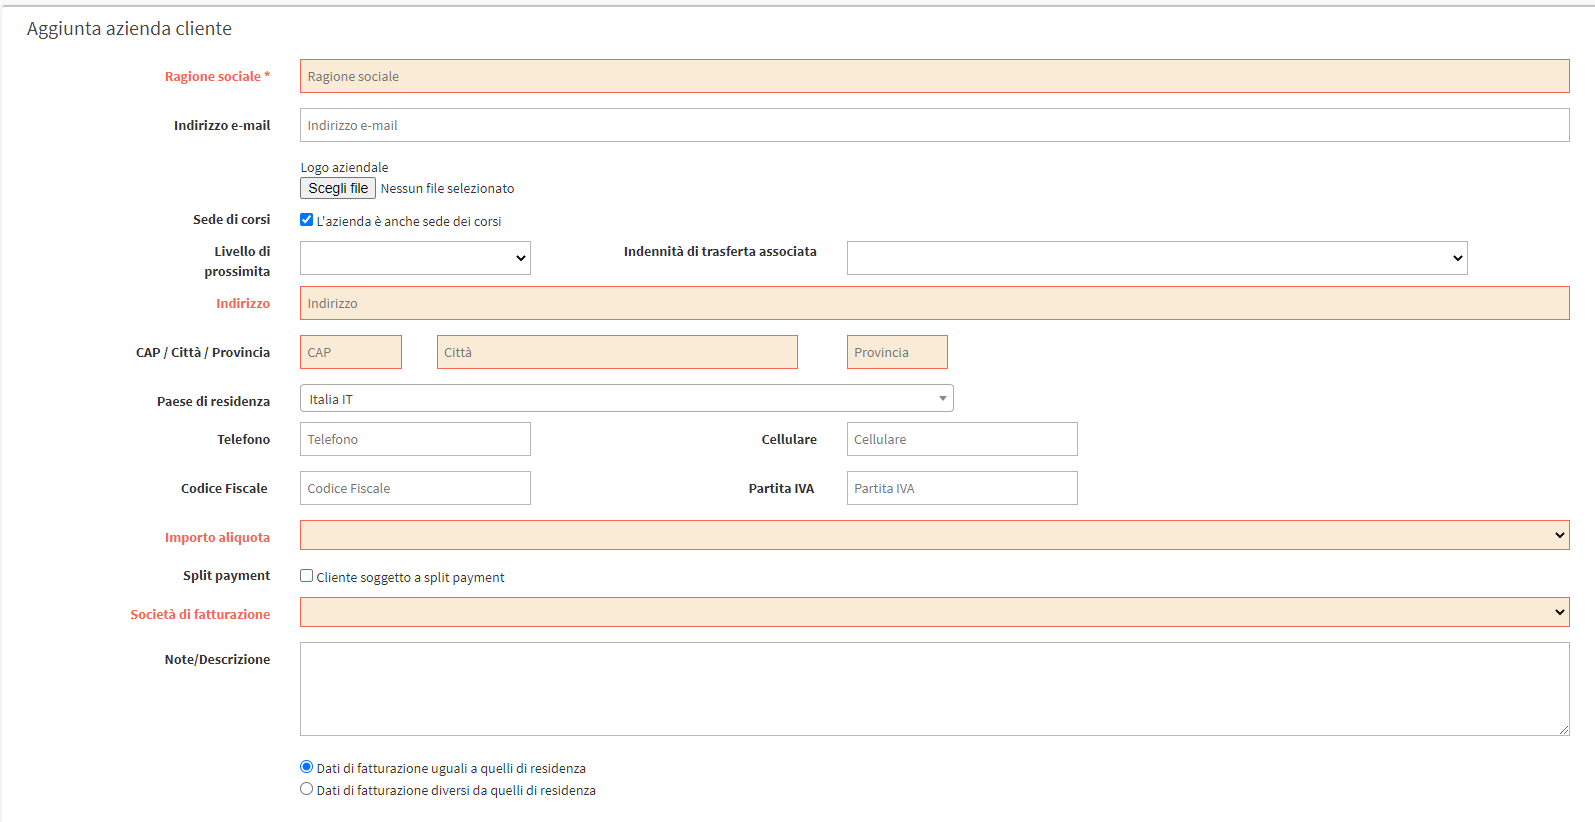
From the screen that opens, fill in the following fields:

- Business Name: Company Name.
- Email address: Business email address.
- Company Logo: Possible Company Logo.
- Course Venue: Check if this company is also a Course Location, this will create a Company Location in Master Data → Locations.
- Proximity level: Value used for corporate flow for payment of Teacher travel.
- Travel allowance: Travel allowance for payment to Teachers.
- Address: Company address.
- ZIP/City/Province: Additional data of the Corporate tenancy.
- Country of residence
- Phone
- Cell phone
- Tax Code
- VAT number
- Amount rate: VAT rate to be applied to the company. Possibility of create additional vat rates in the management.
- Split payment: Allows the disbursement of invoices with Active Split Payment.
- Billing company: Indicate the billing company school for this Company.
- Notes/Description: Private company notes.
- Billing data same/different from residence data: Select if the billing data is different from the default or if you want to set the company as a Public Administration.
- Corporate color: If set in the calendar settings., this company's classes will be shown in this color.
- Employee Privacy Condition: The privacy condition set here takes effect both between the company and the school and for each individual company employee with the school and supersedes the system privacy condition found in Administration → Terms of Service.
When you have finished entering the data, click on the green button Enter customer company:
