Invoicing a Public Administration (PA)
→ Download this guide in PDF format![]()
If the Public Administration has been entered in the Master Data → Client Companies then you will have to navigate to Tax Management → Customers/Suppliers and click the button Edit next to the name of the relevant Client Company.
At this point we should flag the item This is a public administration:
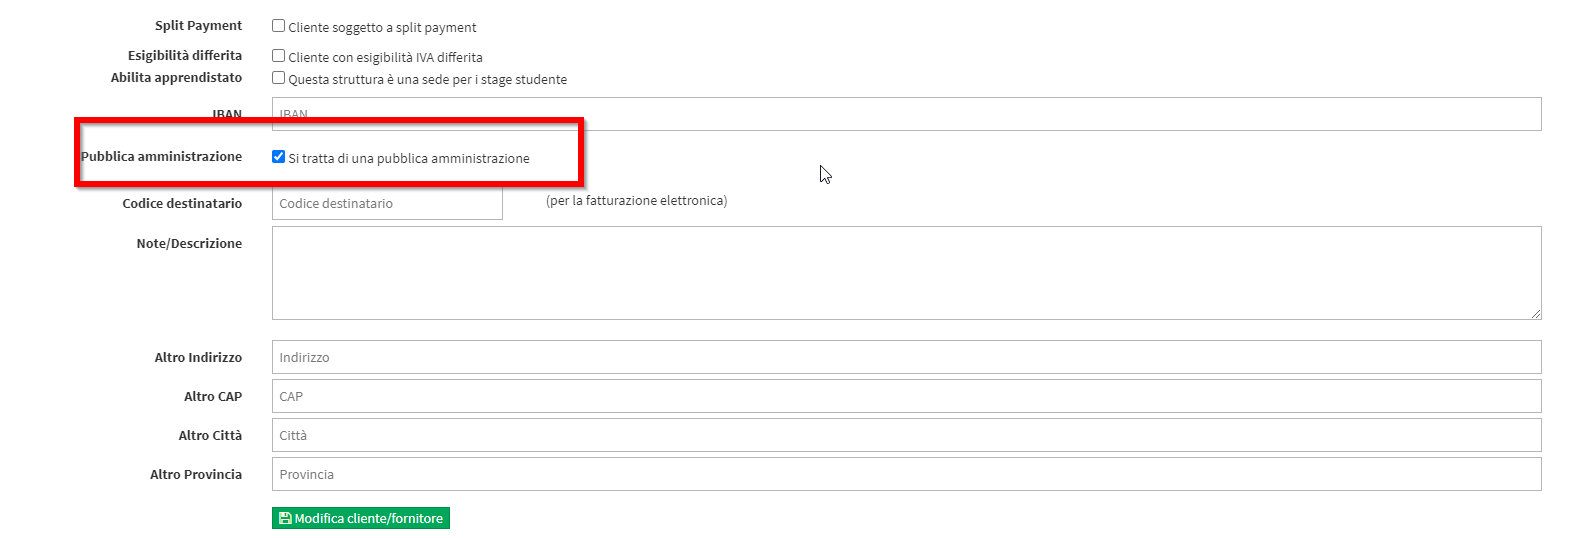
This way when we go to issue invoices for this Client Company marked as Public Administration, the Invoice will have values in line with those required by PAs.
Note: In the case of manually issued invoices, simply create only the Customer/Supplier in Tax Management → Customers/Suppliers, selecting that it is a PA.
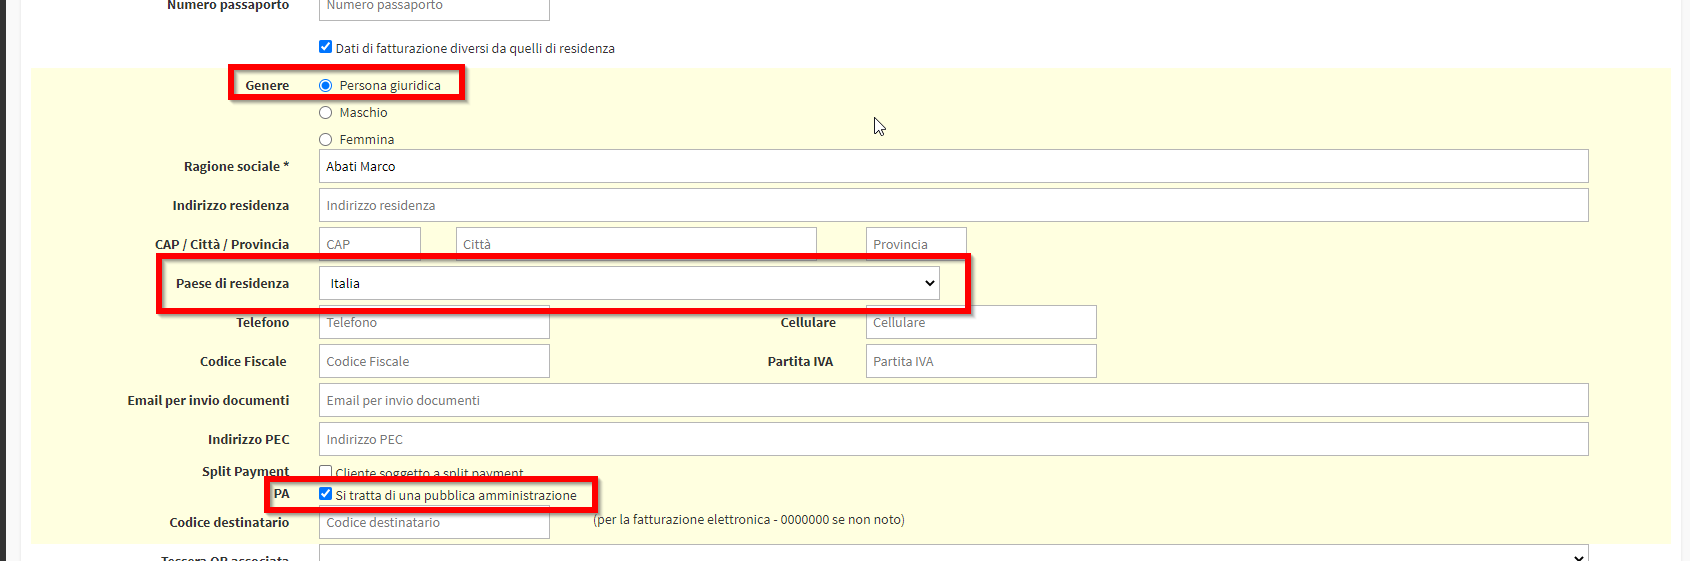
In rare cases it might happen that a Student o Guardian has billing information other than residency information and wants to bill a PA.
In this case navigate to Master Records → Students or Tutors → Menu → Edit →. Billing information other than residence:

In the box that opens, you will need to select these two options in order to enable billing to PAs:
- Legal Person
- Country of Residence: Italy
Only at this point will it be possible to check the item This is a Public Administration:
Additional Invoice Information
NOTE: The additional data in Invoice can only be set if the electronic invoicing is active.
In the Invoices to Public Administrations, it may happen that the following are requested additional codes to be entered in addition to the data normally required.
In this case, you can navigate to Tax Management → Invoices/Credit Notes → Menu → Edit Invoice Attributes, at the top right we will find the section Additional Electronic Invoice Information:
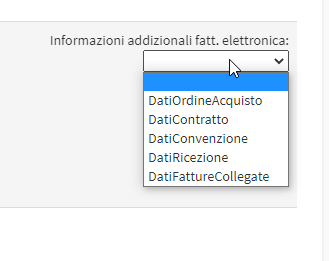
Select one of the items in the drop-down menu., e.g., DataOrderPurchase:
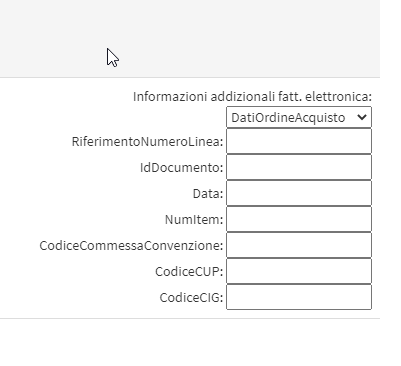
All the additional fields to be added to the Invoice including the Codice CUP and CIG.
NOTE: When entering CUP or CIG code, it is mandatory to also enter the idDocument. A dummy number may also be entered as long as it is free of special characters.
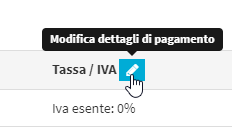
In the section below you can add additional codes for individual products in the Invoice, click the button Edit Payment Details located next to the VAT heading:
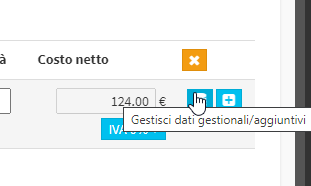
Each item on the Invoice will be editable, then click on Manage Management/Additional Data:
This will open anfurther mask for entering data additional:
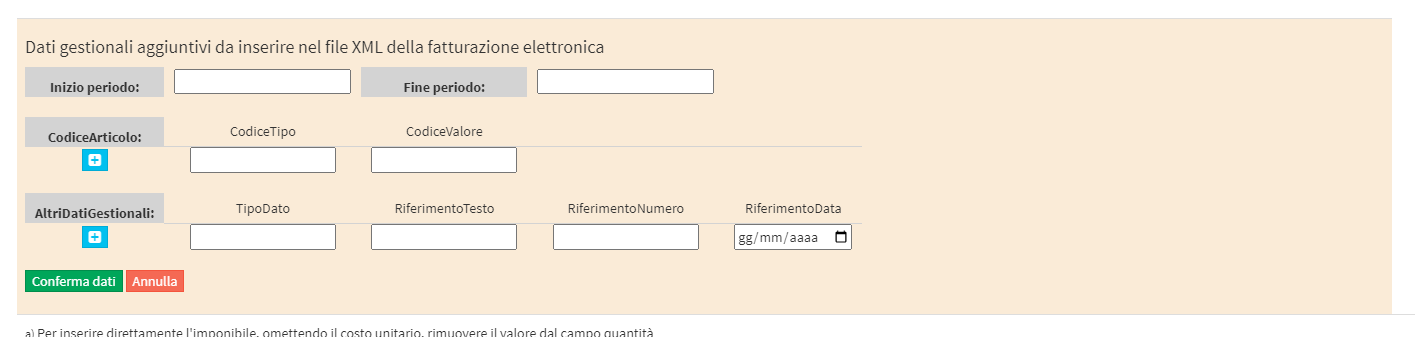
These prove to be very useful when using Teacher Vouchers or Vouchers 18 App.
NOTE: The Additional Numbers in the invoice will not appear in the PDF format but only in the XML Electronic Invoice. It is possible to add these data in the PDF by entering them in the Invoice Notes.
Complete all desired changes, navigate to the bottom of the page and click on Reissue Invoice.