Booklet of spendable lessons on group courses
The booklet of lessons spendable on group courses, is a package of a certain predefined number of hours, which can be used to participate in individual scheduled lessons of one or more group courses.
1. Carnet creation
As a first step, you will need to create the expendable carnet for individual lessons of group courses by navigating to Administration → Economic Settings, and scrolling down to the "Lesson carnet costs". Then fill in the following fields to create the carnet:
- Lecture booklet name: the name of the lecture booklet
- Package hours: the number of hours provided by the carnet
- Duration of hour (in minutes): field related to individual carnet, WILL BE REMOVED (insert symbolically 60)
- Package cost € = the cost of the carnet
- Minimum lesson duration (in minutes) = field for individual carnet, WILL BE REMOVED (enter 60 symbolically)
- Maximum lesson duration (in minutes) = field for individual carnet, WILL BE REMOVED (enter 60 symbolically)
- Step miminum of lesson duration (in minutes) = field related to individual carnet, WILL BE REMOVED (insert symbolically 60)
- Teacher pay: field related to individual carnet, WILL BE REMOVED.
- On teachings: by inserting the following tick, during the student's enrollment it will be possible to choose the teaching to which to link the carnet, which will then be usable for all the subjects that are part of the teaching (E.g. Teaching = English; Subjects = business English, General English, IELTS preparation, etc etc). If the check mark is not placed instead, the carnet will be usable only in those classes whose subject is the one chosen during the student's enrollment
- Sellable online: by placing the following checkmark, the carnet can be purchased independently through the App of ScuolaSemplice

Once the carnet is created, by default it will be individual, so you will need to go into editing it via the first the edit icon and enhance the "Collective course".

Then click the "Edit carnet" to save the operation.
2. Creation of the collective course
From the section Teaching → Group Courses (or Teaching → Courses if the two sections have been merged), click the button in the upper right corner "Create from template" and below that the option "Definition of course types.". From the next page click the "Create new type" (click here to access the guide dedicated to creating a course type).
Then fill in the fields present and enter the check mark "Group carnets"; then choose the carnets previously created that can be used to book the lessons of the group courses that will arise from this template.

After creating the template, you will then need to create the specific collective course and put it on the calendar (via then "Create from template" button and choosing the created type). Click here to access the specific guide on creating a collective course.
3. Student enrollment in the carnet
Student enrollment in a group course carnet, does not differ at all from enrollment in an individual carnet.
Therefore, follow this procedure:
4. Inclusion of students in the lesson by the secretary's office.
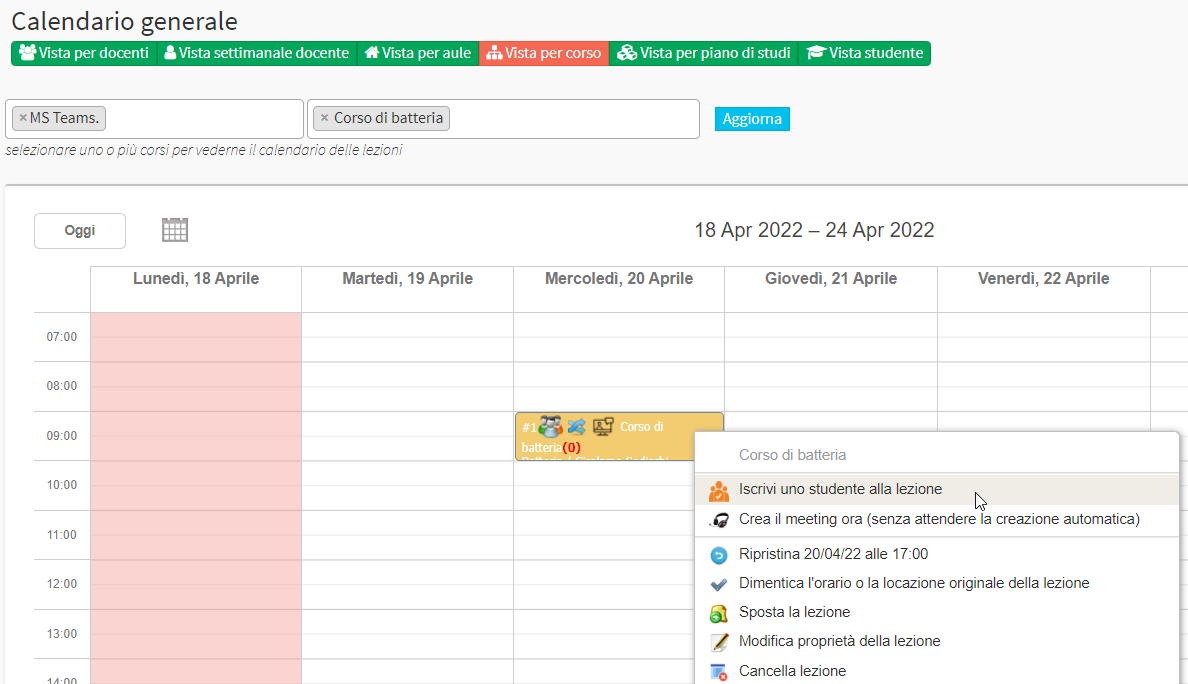
From the general calendar, locate the lesson in which you intend to place one or more students who have purchased a carnet for group courses. Then right-click on the lesson and choose the option "Enroll a student in the lesson".

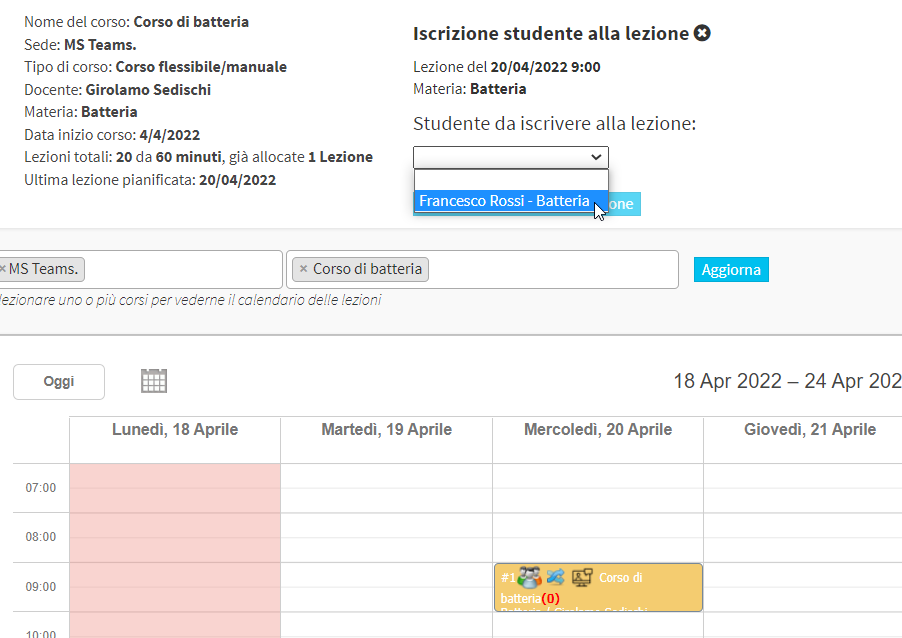
Below, from the new window at the top, choose the student to be included within the lesson using the drop-down menu provided.

Save the transaction by clicking the button below "Enroll the student in the lesson".
5. Independent booking of classes by the student via Web Account
Attention: the feature of independent booking of lessons in a group course by the student is currently available using the Web Account (click here to access the guide explaining how to provide students with access to their Web Account).
In the near future, the functionality will also be released via Mobile App.
To allow students to independently book group course lessons via their group carnet make sure that you have enabled independent booking of lessons by students by navigating to Configuration → Settings → Settings related to students and tutors.
Click here to access the specific guide and obtain complete information regarding this type of enablement.
The student, after logging in to their reserved web area, should click on the menu item Lesson Reservation.

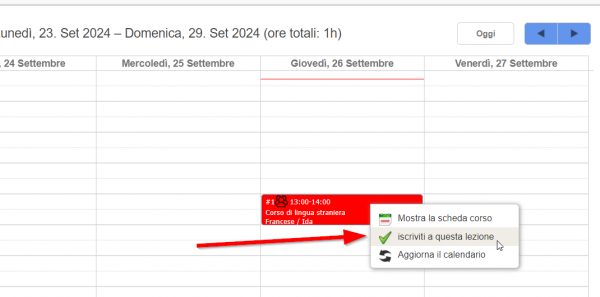
Below, after logging into the calendar, simply right-click on the lesson in which the student would like to participate and choose the option Sign up for this lesson.
