Enabling faculty to upload teaching materials for their courses
This guide will explain how to enable lecturers to upload teaching materials to their courses.
To enable this function you will have to go to Configuration→ Settings→ Settings related to teachers:
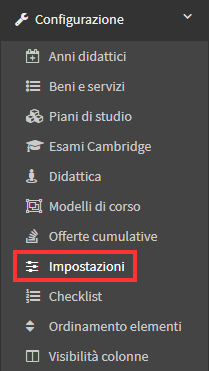
Once here you will have to scroll down to the "Disk Space Management" section and place a check mark on "Enable document management for faculty."

By enabling this option it will be possible to indicate the maximum upload space that each teacher will have available beyond which he/she will no longer be able to add Files unless he/she first frees up space by deleting previous ones:

Once teachers have saved the changes they have just made, they will be able to proceed to add the attachments to their courses.
By logging into the system using a teacher account in the left column will be the Documents section:

Teachers will need to log into it and click on the "Upload Document" button in the upper right corner:
![]()
On the page that will open you will be able to enter Name, Description and select the file you want to upload to the system using the "Browse" button, once you have filled in all the fields you can proceed to upload the document using the appropriate "Upload Documents" button:

Once completed, it will be possible to view the uploaded document from the list provided:

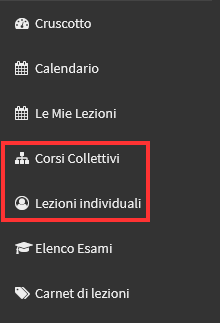
At this point to enter attachments into courses, faculty will need to access the Collective Courses or Individual Lessons section:
Then entering the course tab you will find the "Course Attachments" field:
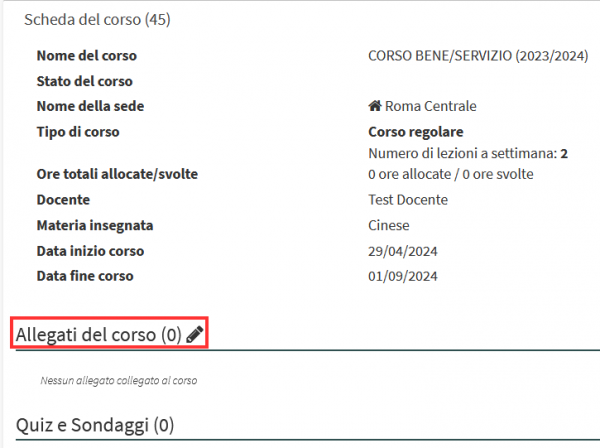
Clicking on the Pencil will then allow you to add attachments to the course, to do so you will then have to click on "Attach a new document."

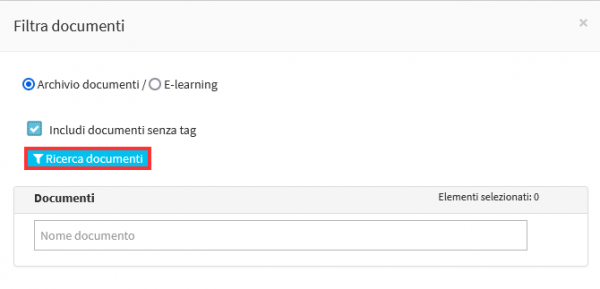
A mask for searching documents will then be shown:
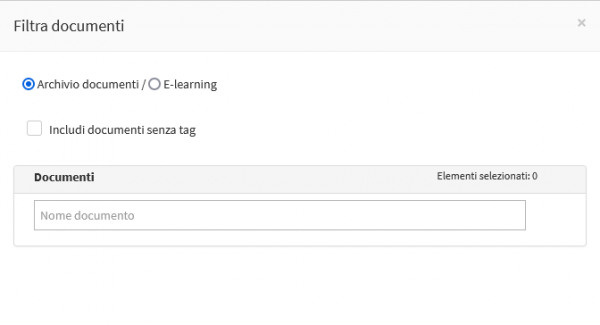
One should then place a check mark on "Include documents without tags" and click on "Document Search."
Previously uploaded documents will then be shown:
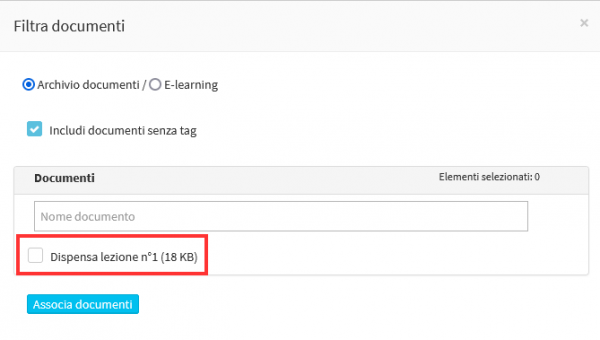
You then select what you would like to attach to the course and click on "Associate Documents" it will be linked to the course:
