Using a custom field as a student identifier
Sometimes students are assigned a unique identifier from an external entity, or through preprinted cards, or from a pre-existing management system.
In this case, by entering a custom field linked to the student table and assigning it a unique code, a new option can be activated that allows the system to display the value of that custom field as the student's ID code, instead of the one assigned by the system.
Then navigate from the menu item Configuration → Custom fields. At this point, if not already done, you will need to create a new custom field by filling in the following fields:
- Custom field name: the name of the field that will be used as the new student identifier (e.g., "Student ID"
- Code: unique code to be assigned to the field (e.g. "idstud").
- Table(s): via the drop-down menu, choose the table "Student"
- Type: choose "Text field" option as the custom field type.
- Order: order in which the custom fields are listed in the section in which they are applied, it will then be necessary to enter a number (e.g., 1)
Click the green + button to add the new field.

Click here for more information regarding the configuration of custom fields.
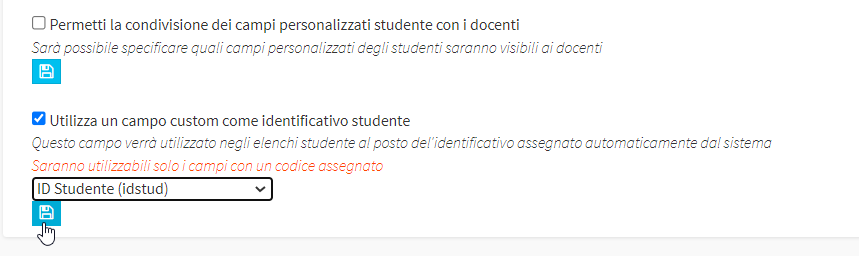
Then enter the checkmark "Use a custom field as student ID," choose via the drop-down menu below the field that was just created, and click the blue save button to finish the operation.