Planning a Regular Course by Periods or "Until Date"
This guide will explain how to plan a Regular Course up to a certain date and how to plan it in periods.
Regular course planning up to a certain date
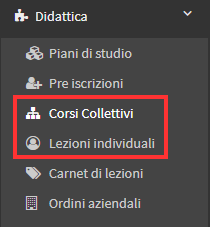
To do this type of planning you will have to go into Didactics→ Collective Courses/Individual Lessons:
Once the course in question has been identified, thecourse's Schedule of Classes must be accessed using the appropriate button from those on the right-hand side of the course row:

After entering the Class Schedule you will have to click on the "Edit Weekly Schedule" button:

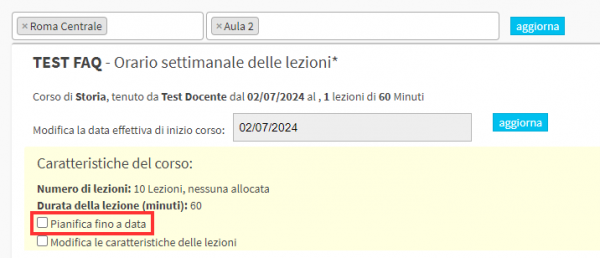
At this point you can proceed with the planning of the course, you will then have to put a check mark on "Plan to date."
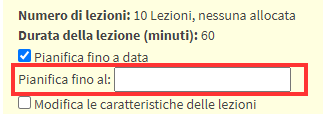
And then enter the date to which you want to schedule the course:
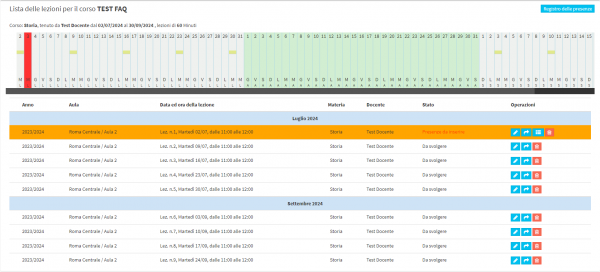
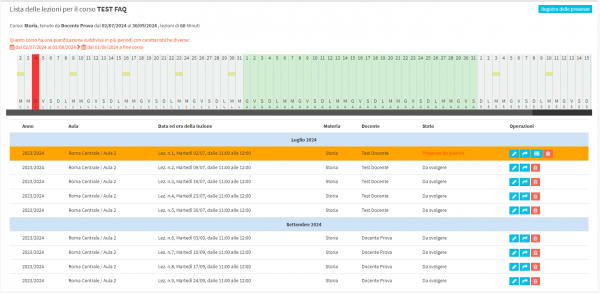
Therefore, classes will be scheduled only until the date indicated:

Plan a regular course in periods
In order to schedule a Regular Course in periods there are two possible procedures to be performed; first, it is necessary to schedule it up to a certain date(Previous Paragraph).
Once this planning is done you can proceed to planning the second period of the course, to do this you will need to Suspend the course from the Course Tab section using the appropriate "Suspend Course" button:
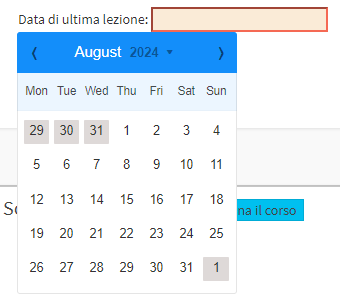
 One must then enter as the date of the last session a date later than the date of the last previously planned class and proceed to adjourn:
From here, two procedures can be followed to plan the second period of a course.
For the first procedure, once you have suspended the course, you will have to go to the Class Schedule of it and click on Edit Weekly Schedule.
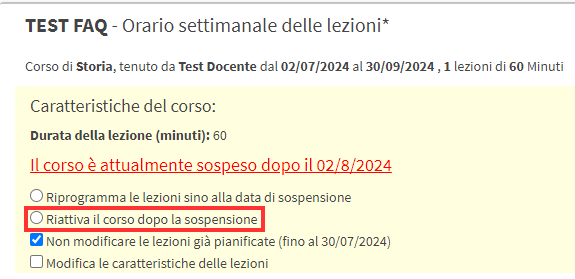
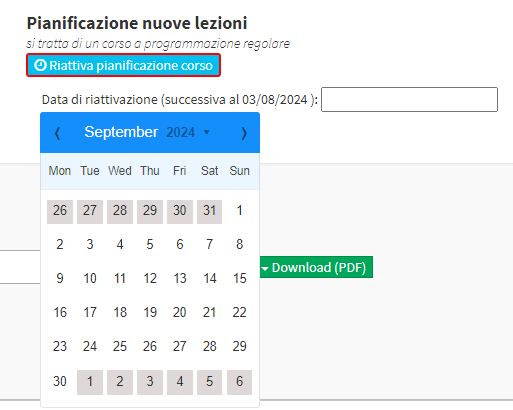
The option "Reactivate the course after suspension" should then be selected:
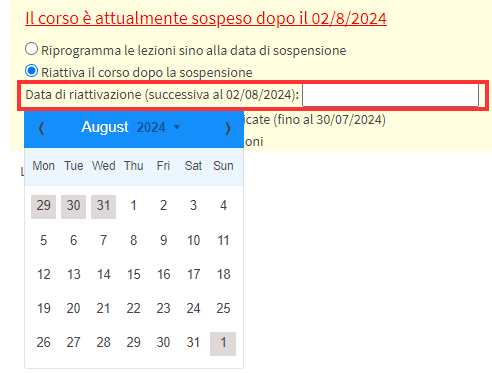
The field to enter the course reactivation date will then be shown, which to be safe should be as close as possible to the date of the first class of the new course period:
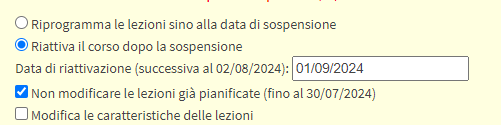
Once you have entered the date you will have to place the checkmark "Do not change already scheduled classes."
Verifying the schedule then will add the remaining classes to the course:
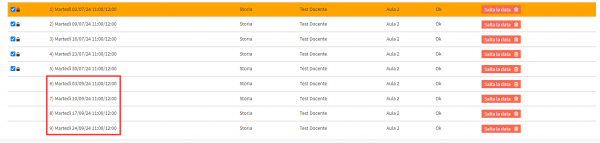
Then by going to Course Lecture Schedule you will be able to view the full schedule of classes:
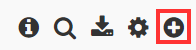
On the other hand, for the second procedure, after suspending the course, you will have to access the General Calendar of the system, once here you will have to click on the(+) button in the upper right corner:
Fields will then be shown for you to be able to select the course or carnet for which you want to continue planning, since this is a Collective Course you will have to use the "Select Course" field:

Through this field, you can search for the suspended course by entering the course name or by scrolling through the list that will be shown:

Once selected, the "Reactivate Course Schedule" button will be shown and must be clicked, and a date as close as possible to the first lesson of the second course period must then be entered in the "Reactivation Date" field:
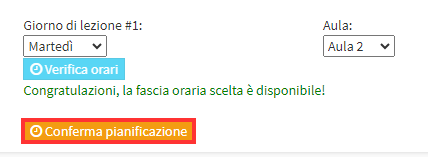
When the date is selected, fields related to the characteristics of the lesson will be shown:

Once filled in you will have to verify the time entered using the "Verify Schedules" button provided:

If the times entered do not conflict with classes already in the system the message "Congratulations, the time slot you have chosen is available!" will be shown, you should then click on the "Confirm Schedule" button:
Then by going to theSchedule of Classes for the course, it will be possible to view the full schedule of it with the two periods:
By following the two procedures listed above it will be possible to divide classes into additional periods, simply suspend in course on the date where the period will end and follow one of the two procedures to plan the new period