Manual issue of an Invoice
Issuing a manual invoice can come in handy when you want to invoice a payment, but the student enrollment and thus the purchase order has not yet been made.
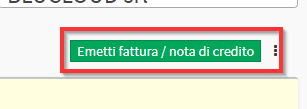
To issue an invoice manually navigate to Tax Management → Invoices / Credit Notes and click the green button in the upper right hand corner Issue Invoice / Credit Note:
From the screen that opens Enter the name of the responsible student/guardian or use the search field below in case of a different type of client:
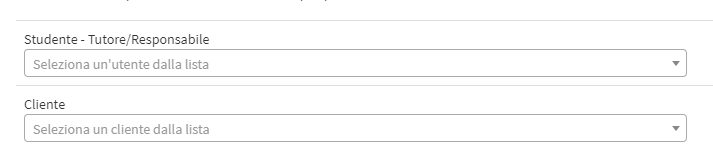
Note: Which must be entered into the system in advance from Tax Management → Customers/Suppliers.
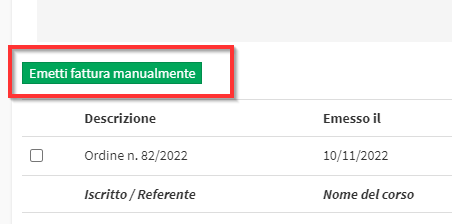
If there are open orders with pending payments for the customer in question, ignore them and click the green "Issue invoice manually":
Then fill in the following fields:
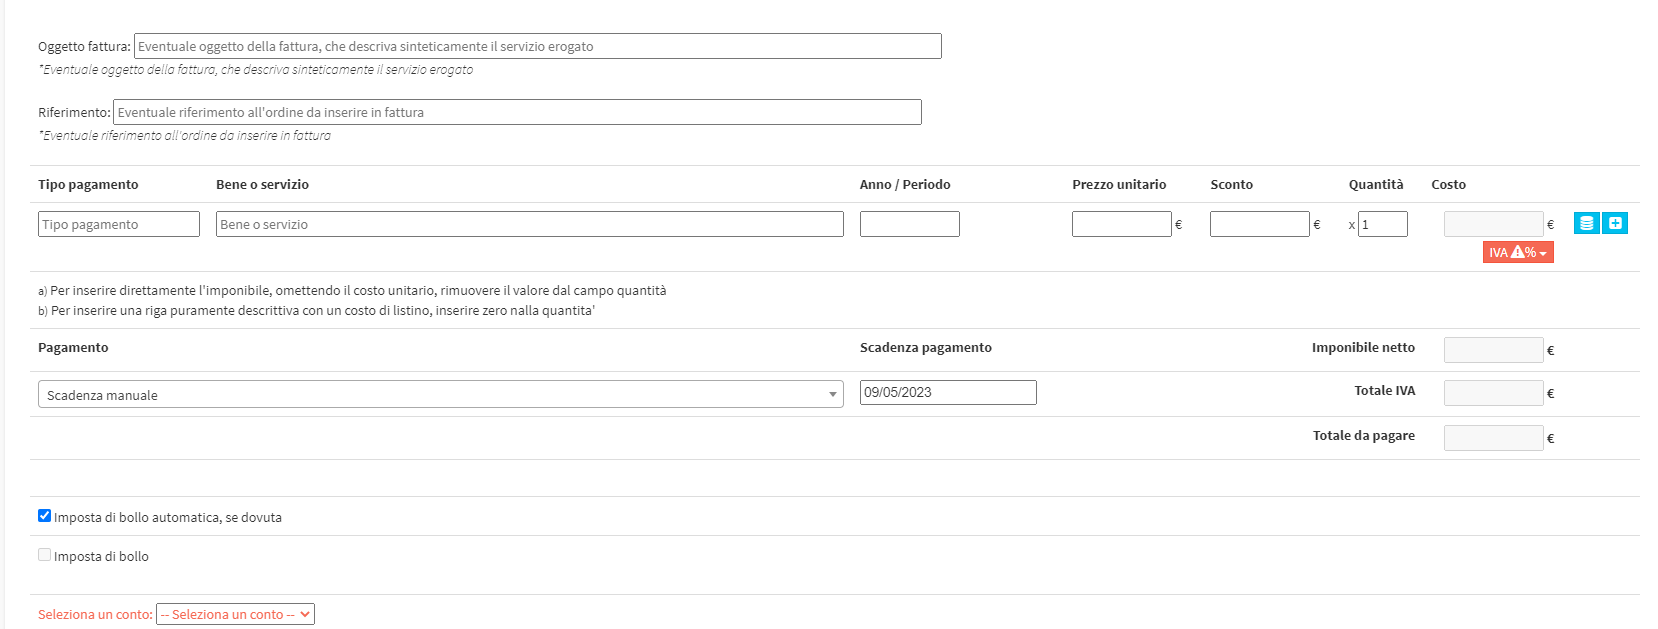
- Issue date (top): invoice issue date, default is today's date
- Invoice object: invoice subject, if any, briefly describing the service provided
- Reference: any reference to the order to be included in the invoice
- Additional electronic invoice information: In case of electronic billing, it will be possible to add the following data:
- Purchase order data
- Contract data
- Convention data
- Reception data
- Related invoice data
- Payment type: additional description on payment type, e.g., "down payment" or "balance"(MANDATORY INFORMATION)
- Good or service: The name of the good or service sold for which an invoice is being issued(MANDATORY INFORMATION)
- Year/Period: The reference year of the Good
- Unit price: The unit price of the good or service(MANDATORY INFORMATION).
- Discount: Unit discount applied to the Good or service.
- Quantity: the quantity of the good or service at the indicated price
- Cost: the total amount of that good and service calculated by the system based on the fields previously filled in
- Tax/VAT: select a VAT rate from those configured in the system
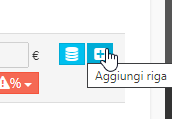
Click the blue icon with the "+" to add any additional rows:
Once the entry of the Goods/Services is finished, the section regarding the payment:

From the drop-down menu the following options will be available:
- leave the invoice as payable, choosing one of the previously entered payment terms (click here to read the article on entering payment terms)
- Leave the invoice as payable, manually entering the new due date
- record the invoice as paid by entering a payment method (click here to read the article on entering additional methods)
The last section to be completed will cover the stamp, account and notes:

Automatic stamp duty, if due: By checking the following option, the system will affix the stamp duty automatically, if due.
Stamp duty: if you do not check the previous checkbox, you will be able to choose to check this checkbox, manually enter the value of the stamp duty, and check the checkbox below to have the stamp duty considered to be due.
Select an account: you will also need to select a business account from those entered in fiscal configuration, or choose the "No account" option (click here to read the article on entering new accounts).(REQUIRED INFORMATION)
Finally, enter any notes regarding the credit note in the appropriate field, and click Issue invoice to conclude the transaction.