Integration of ScuolaSemplice with Email Parser via Zapier
Zapier allows for automation within ScuolaSemplice regarding the automatic creation of new contacts.
This integration is often used to automatically import/update contacts on ScuolaSemplice from one's school's website (WordPress site) as a result of a user's use of an online registration form.
To begin configuration, navigate to Configuration → Integrations and expand the section API accounts for connection to external systems.:
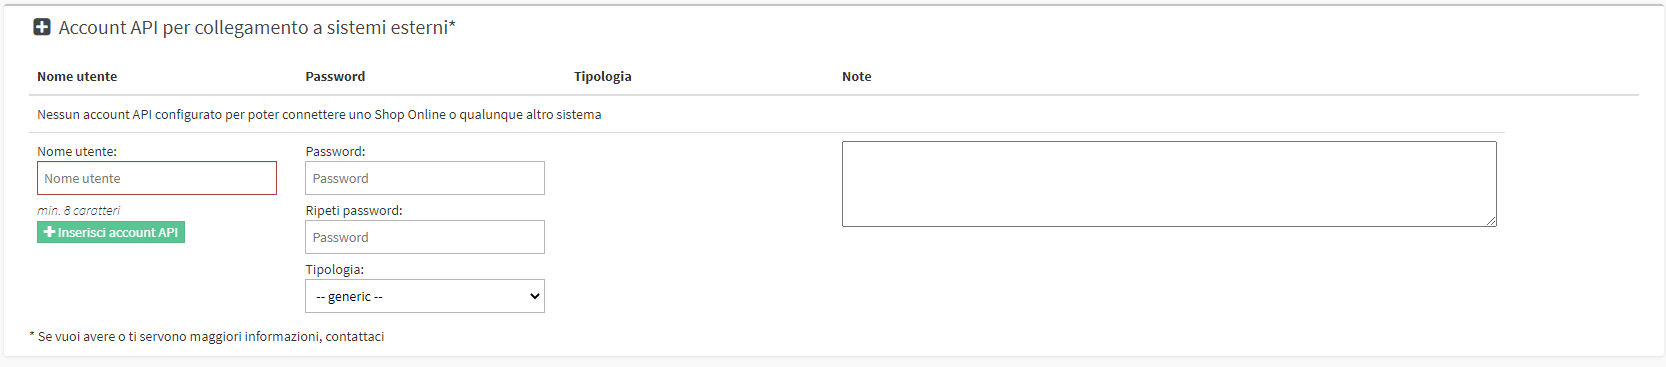
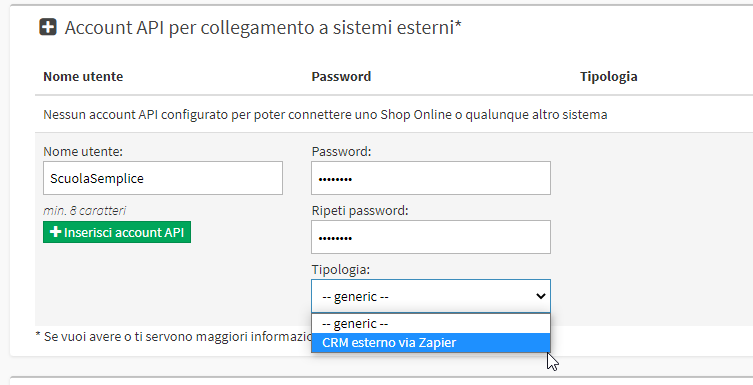
Then create a new connection, setting a User Name, a Password and entering the Integration Type which will be External CRM via Zapier:
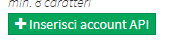
To finish the creation click Enter API account:
After creation, there will be available in the newly generated row some options that can be enabled or disabled, this is done by clicking in the appropriate button next to each option:
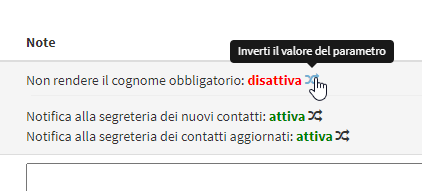
- Don't make the last name mandatory
- Notification to voicemail of new contacts
- Notification to secretary of updated contacts
Now you will need to do the log-in o create a Zapier Account to continue configuration by navigating to https://zapier.com/
Once inside the Zapier Web page there will be a section Make a Zap (or directly from the homepage), in the first box of this section the Email Parser by Zapier application should be entered
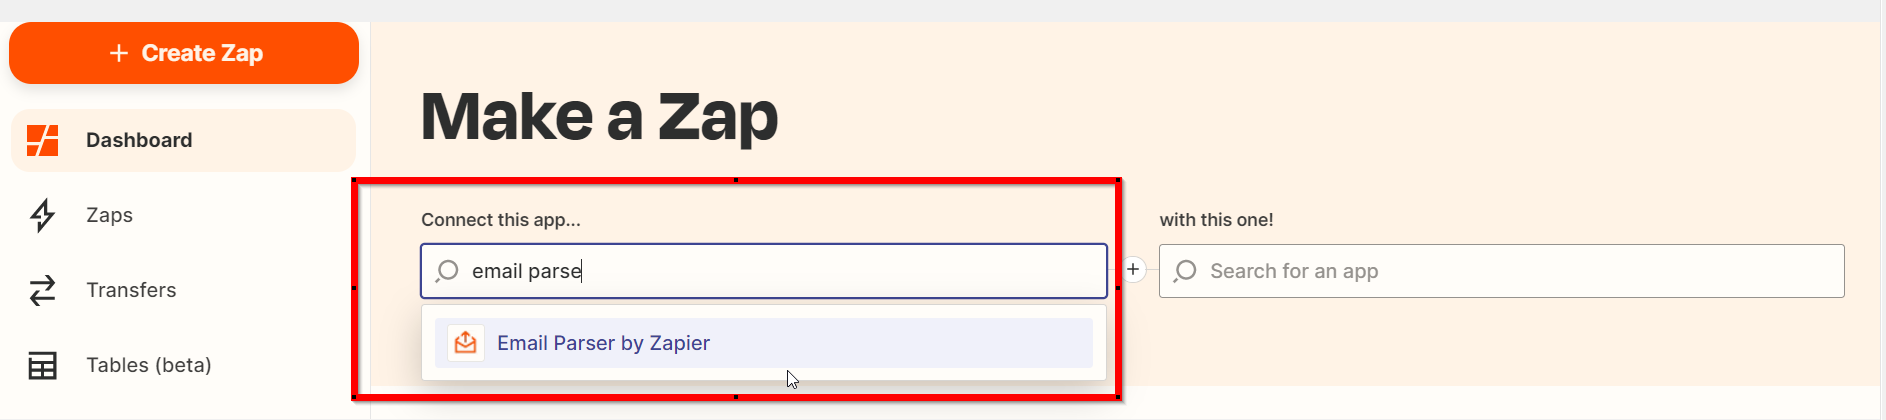
and in the second the management ScuolaSemplice.
Below, in the left search field "When this happens" it will be necessary to choose the option "New Email"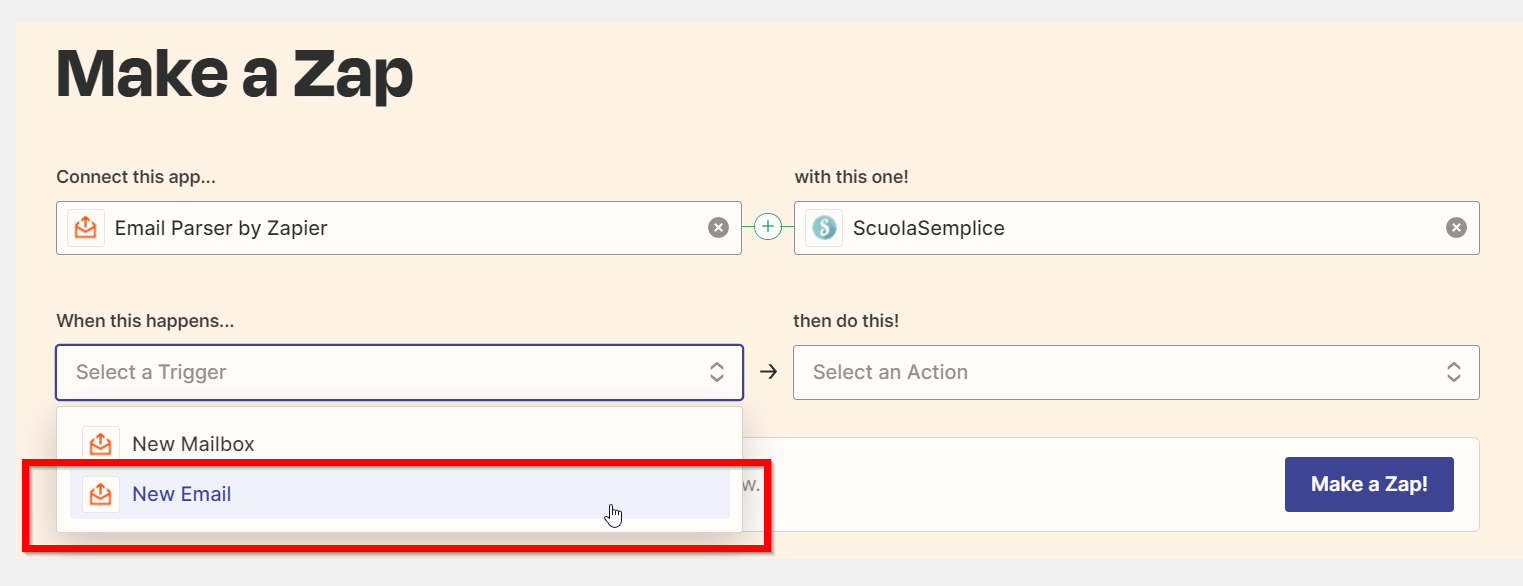
and, in the search field next to "then do this!" the only option present "Create Lead".
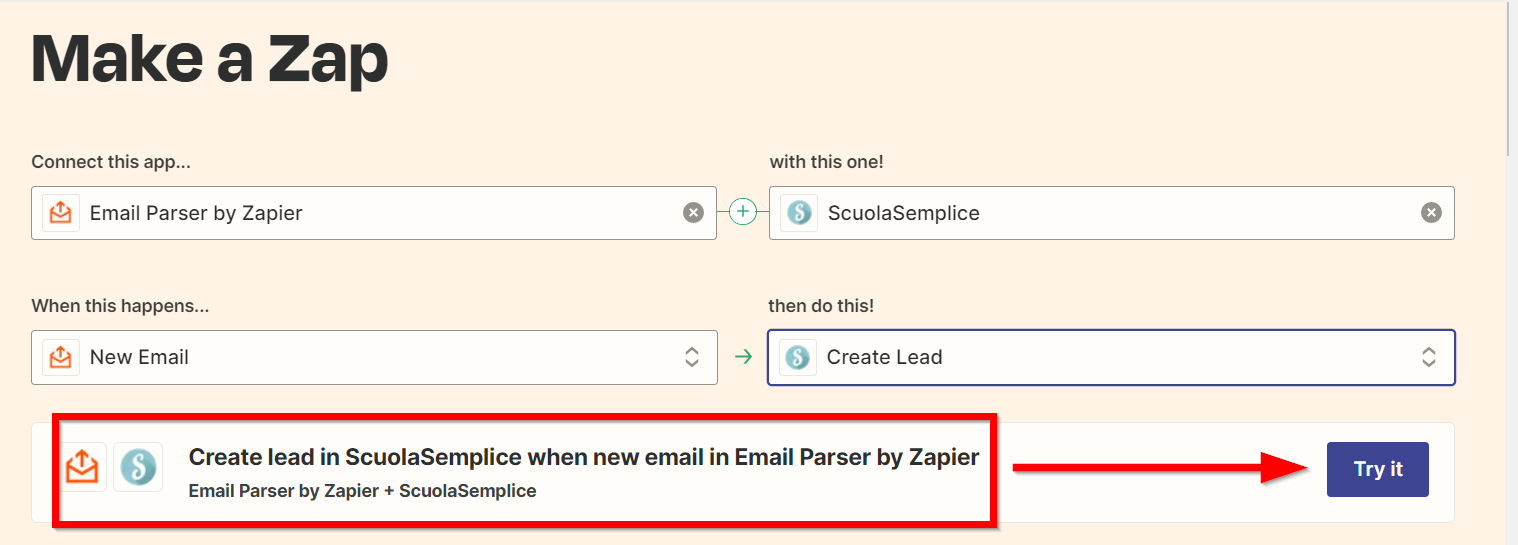
Below these two fields Zapier will now then indicate the Event (Trigger) and Action (Action) selected. Click the "Try it" to proceed with the procedure.
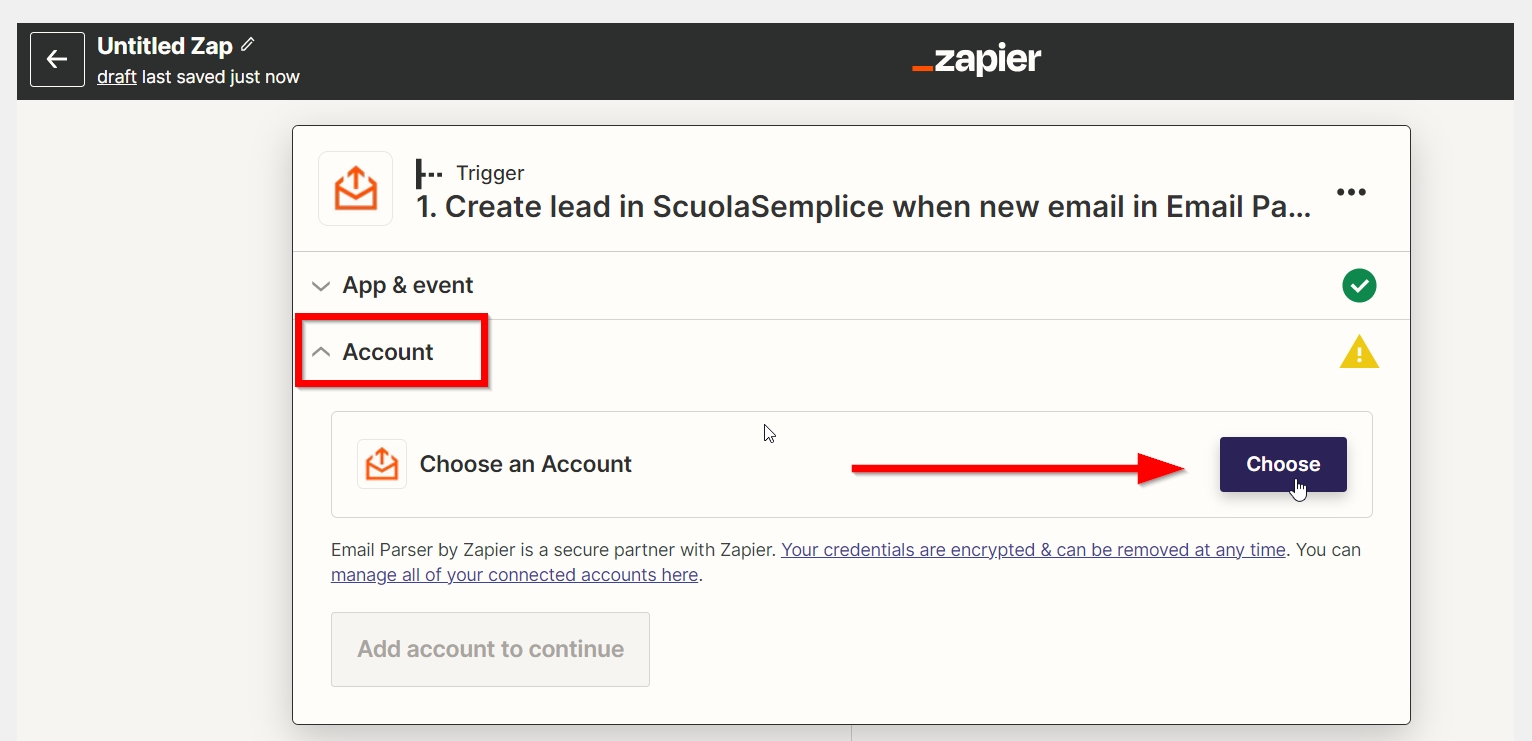
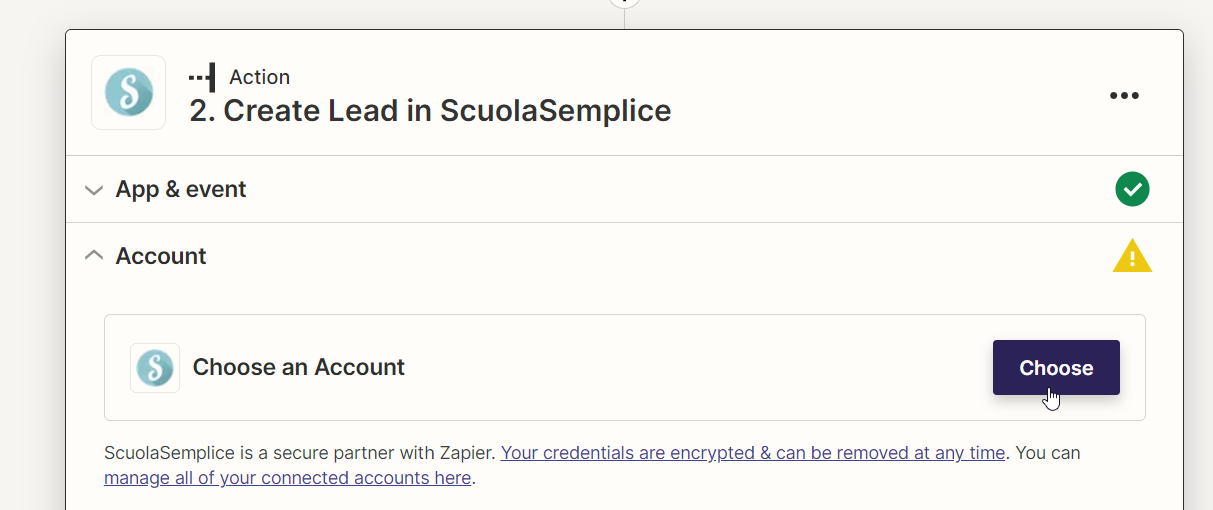
Now click above the first section "1. Create lead in ScuolaSemplice when new email in Email Parser by Zapier." and below in the Account subsection to then click the "Choose"
Then click below on the "Connect a new account" and, from the new window that opens, login back to your Zapier account with your credentials by clicking the "Login with you zapier account".
From the next page, click the "Authorize" button to allow the connection between the Zapier account and the Parser application.
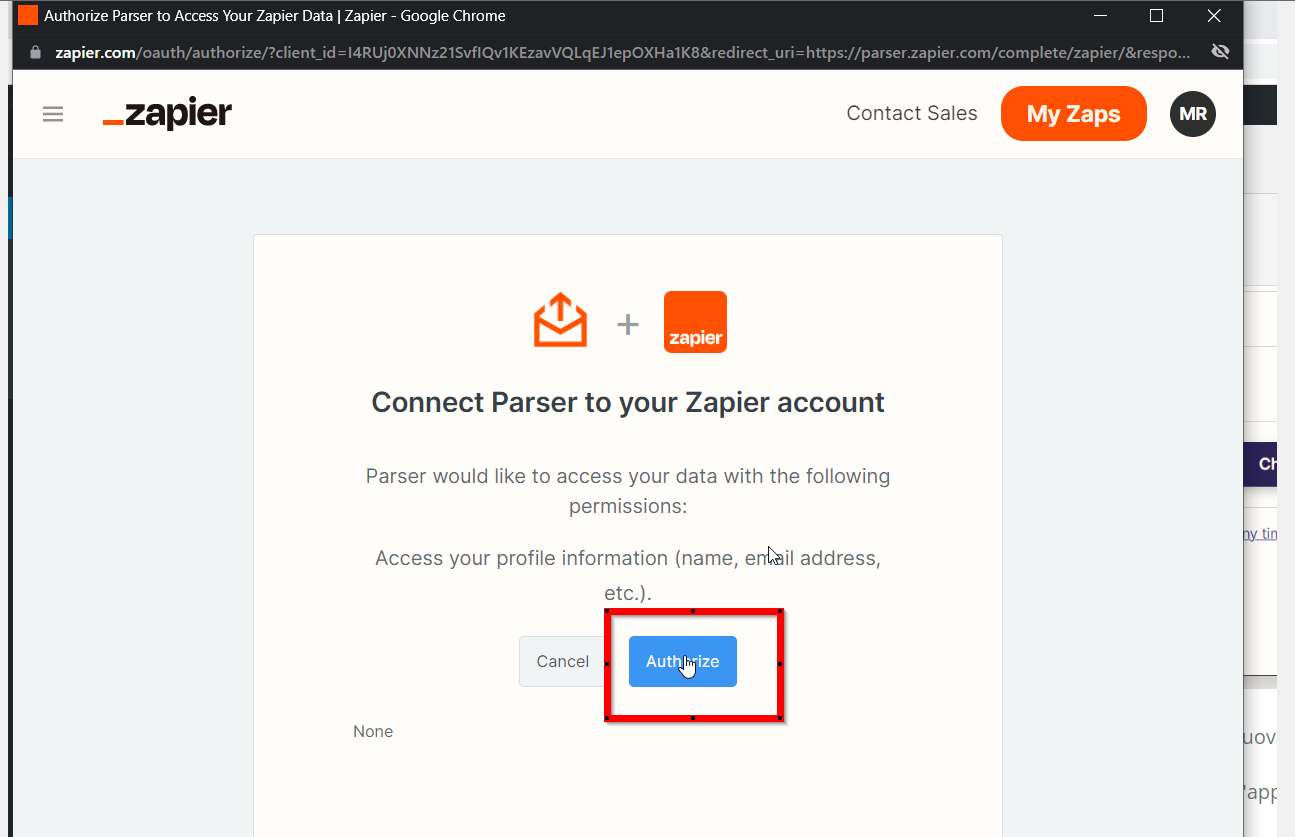
From the next page, click the "Authorize" again in order to proceed to the next step.
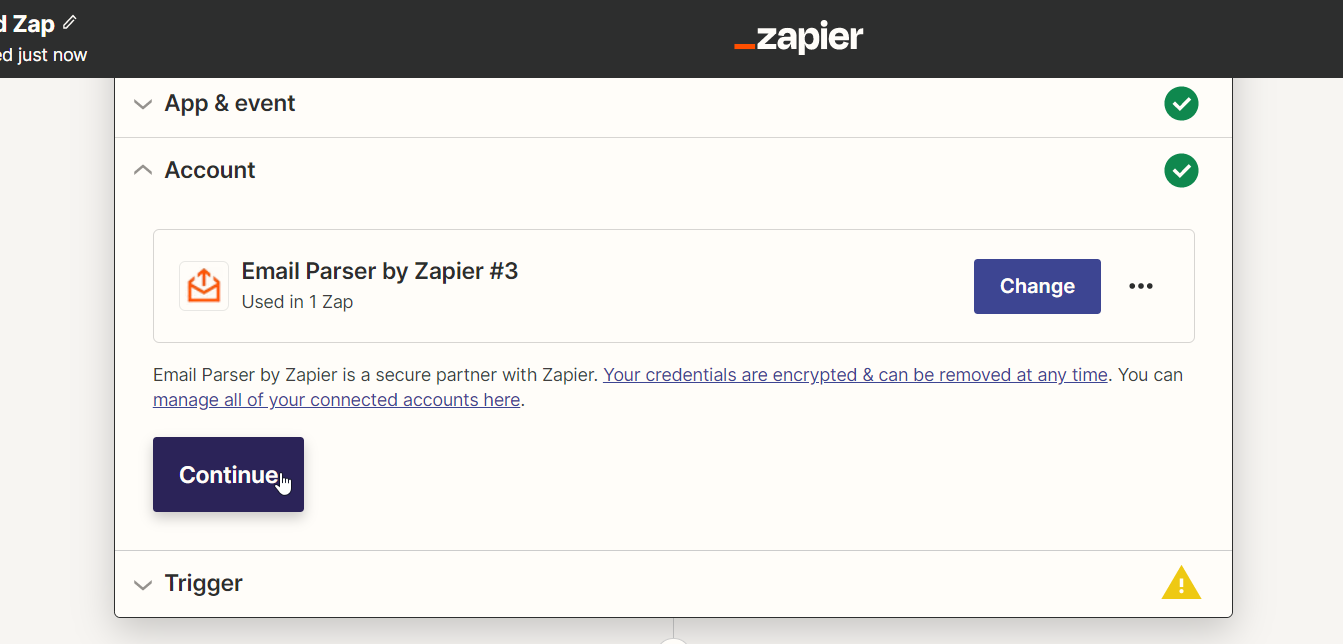
Now click the "Continue" to go on with the procedure.
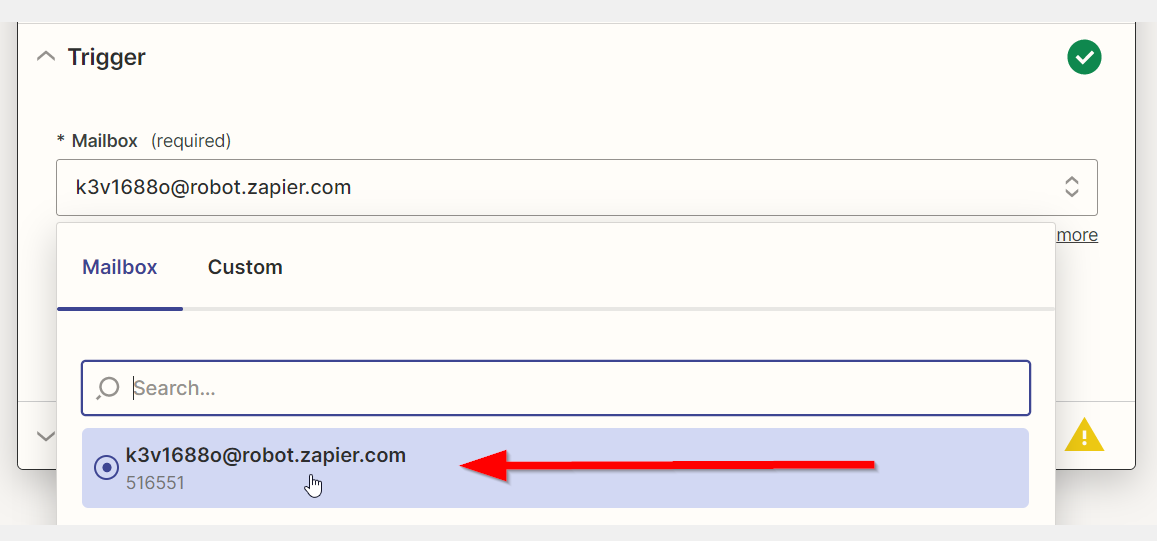
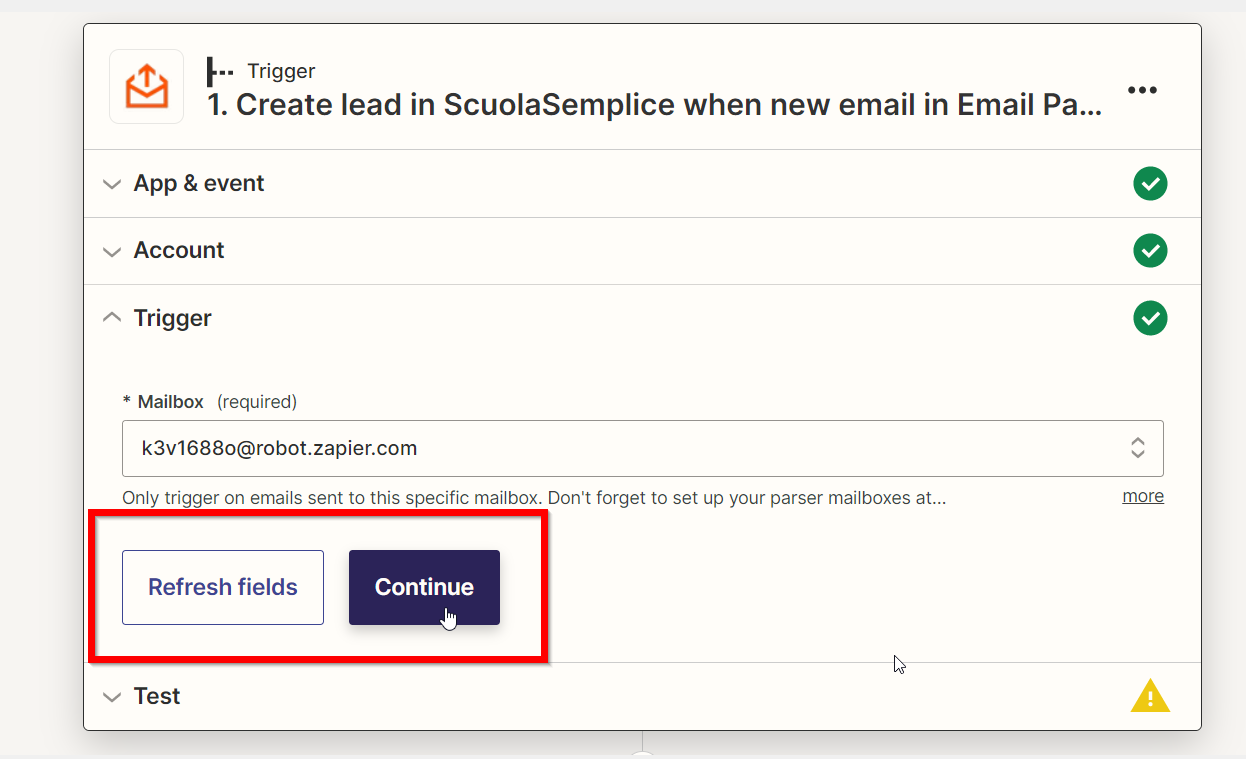
At this point the "Trigger" and you will need to select the Robot mailbox that Zapier previously created.
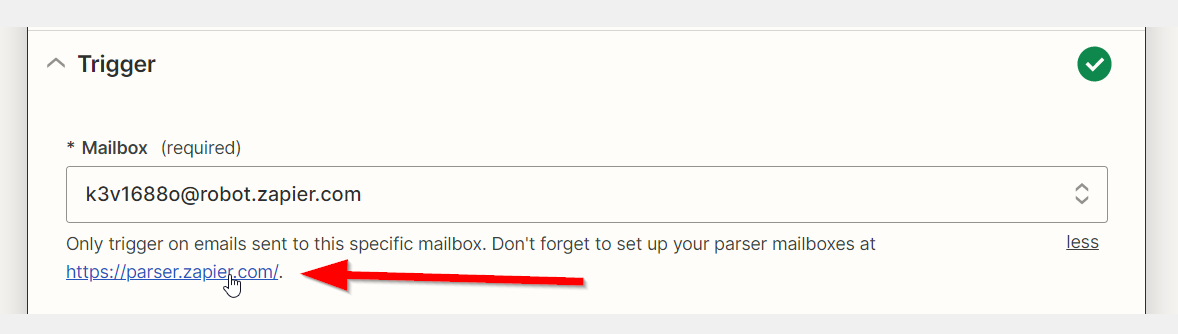
Now, if it wasn't during the previous steps, click the small caption "more" to expand the wording below and access the website https://parser.zapier.com/ to perform the setup of the Robot mailbox created, with all the instructions that Zapier will need to transpose to receive the user data it will receive by email.
Log in now to Email Parser by Zapier.
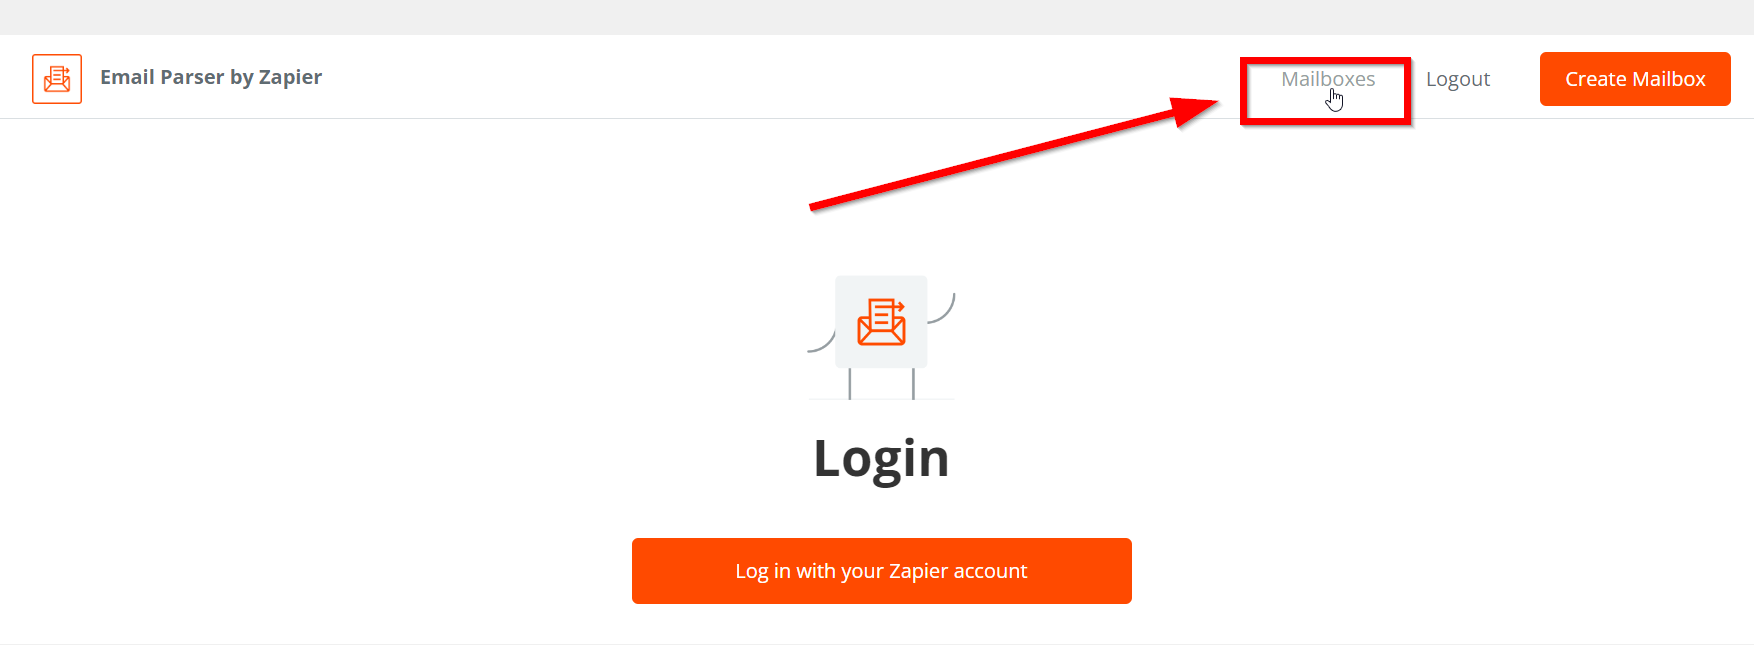
On the next page click at the top right on Mailboxes to access your Zapier mailbox.
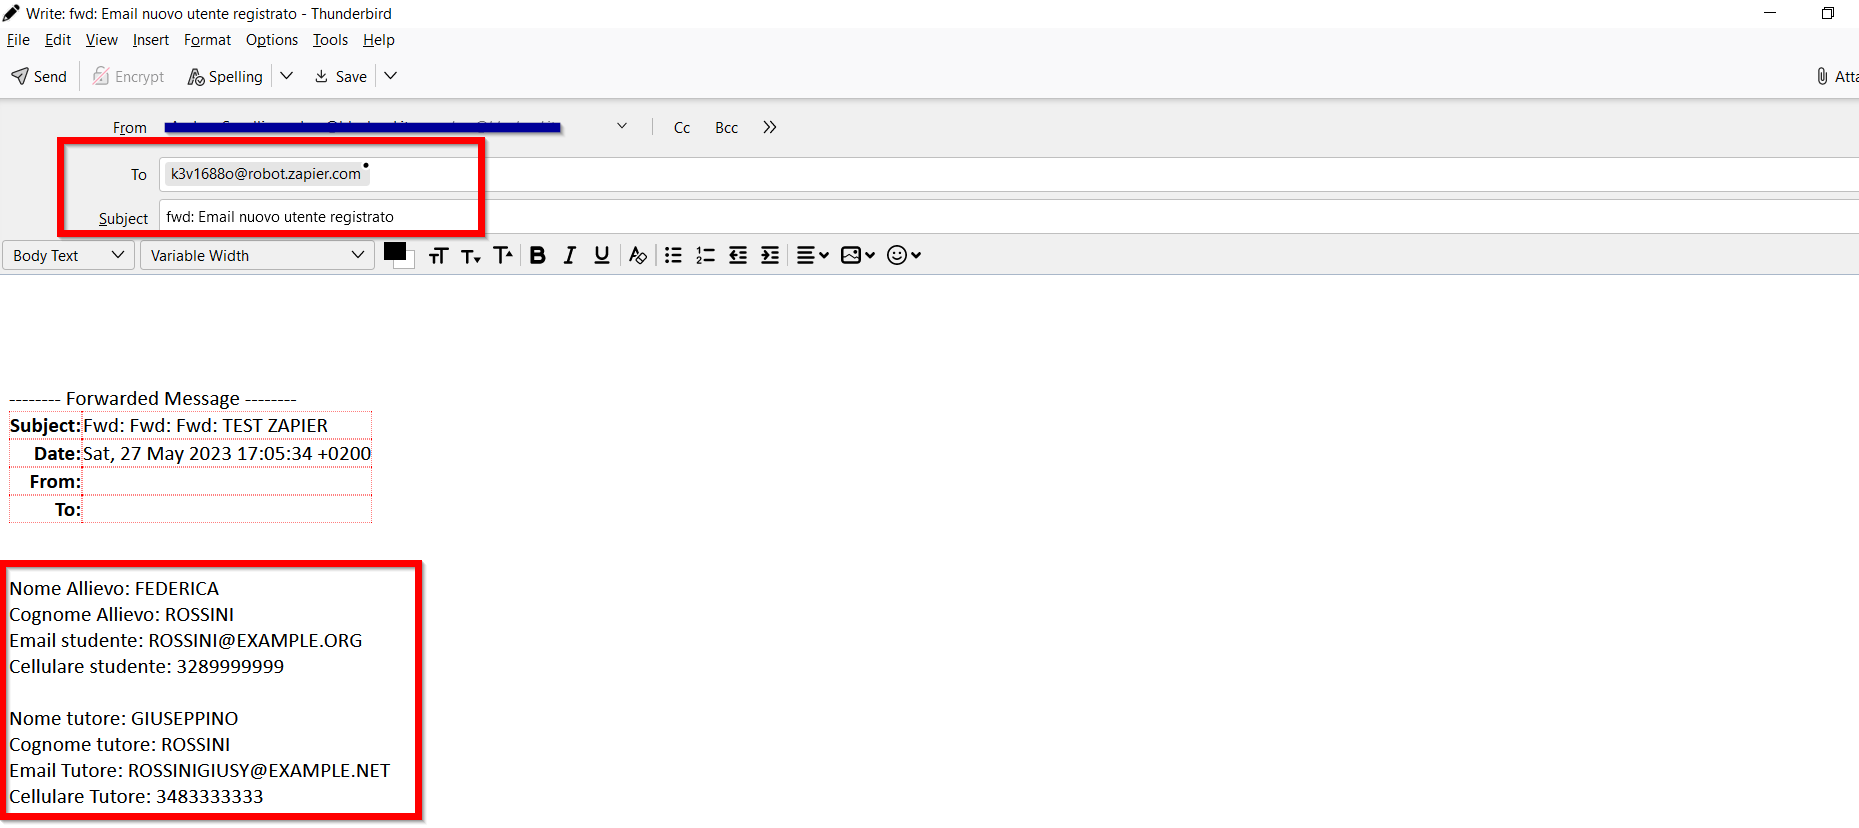
At this point, from one's actual inbox (e.g., from Gmail, Thunderbird, Outlook, etc.) one will need to forward an email received with the subscribed user's completed data via one's website, to the email address generated by Zapier (e.g., k3v1688o@robot.zapier.com)
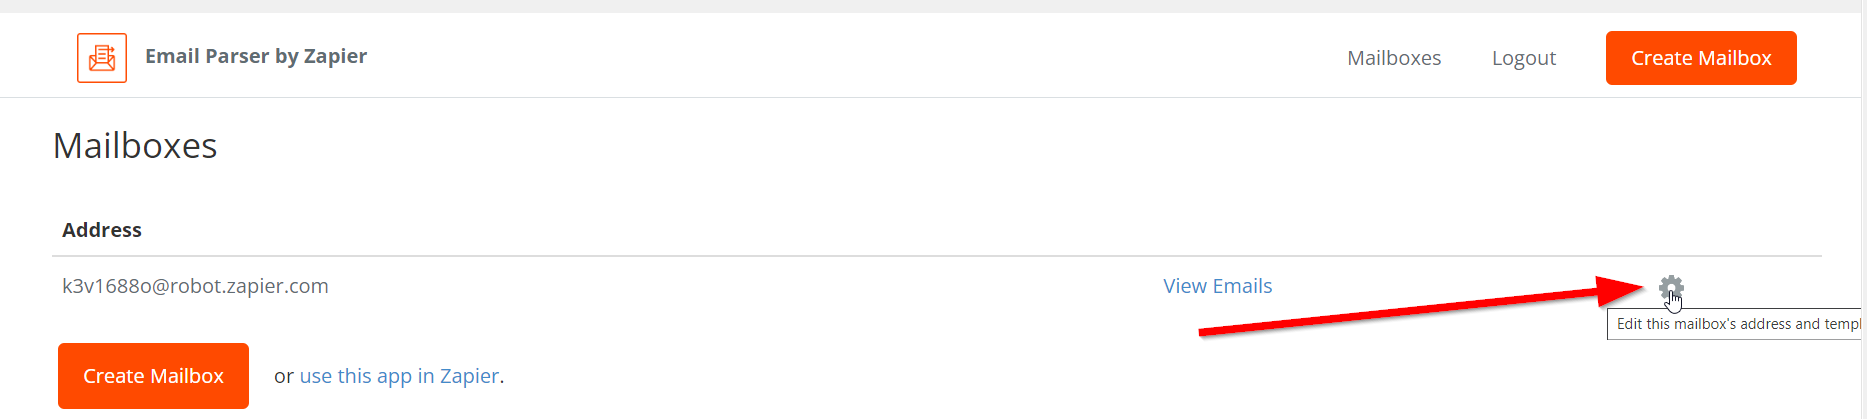
Now click the little button with the gear symbol on the line of your mailbox to access template creation.
At this point, in the editable text area, the email that has just been sent/forwarded will be present, and it will be possible to proceed with the simple construction of the template.
Simply highlight with the cursor the portions of text that Zapier will need to extract each time it receives an email following a user registration, and indicate what type of data it is, like this:
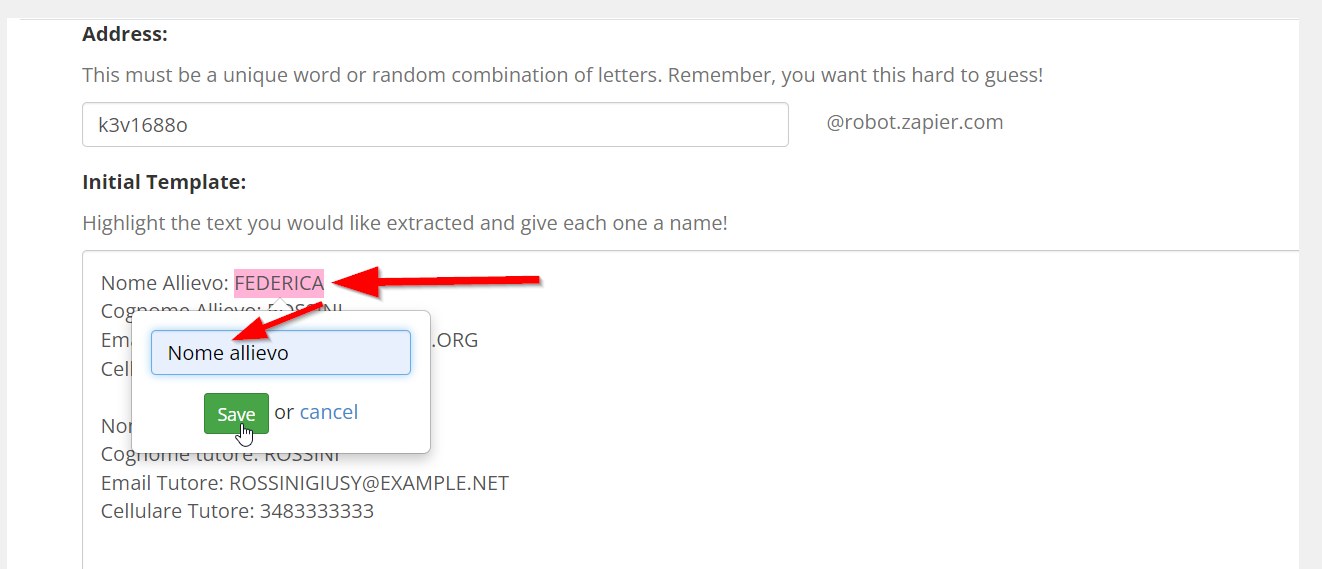
It will then be necessary to perform this simple step with all the data that Zapier will need to extract and send to the management system ScuolaSemplice, so for example: student name, last name, email, cell phone, date of birth, address, city, zip code, course of interest, preference on day, preference on time, tutor name, tutor last name, tutor email, etc.
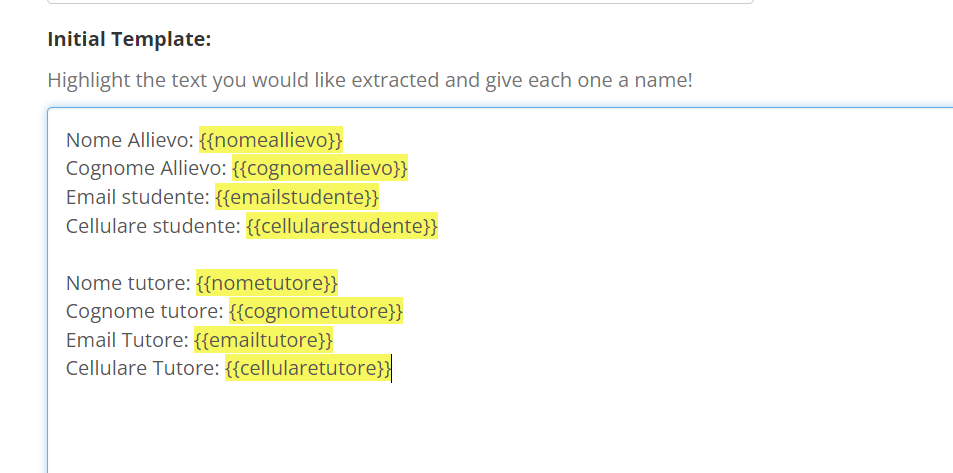
The end result should then look like this, with all the values in curly brackets next to the fields that Zapier is to parse and extract.
Then scroll down slightly and click the blue "Save address and template" to save the operation.
Returning now to the page where you were making the interconnection between Email Parser by Zapier and ScuolaSemplice, click first the Refresh fields button and then Continue.
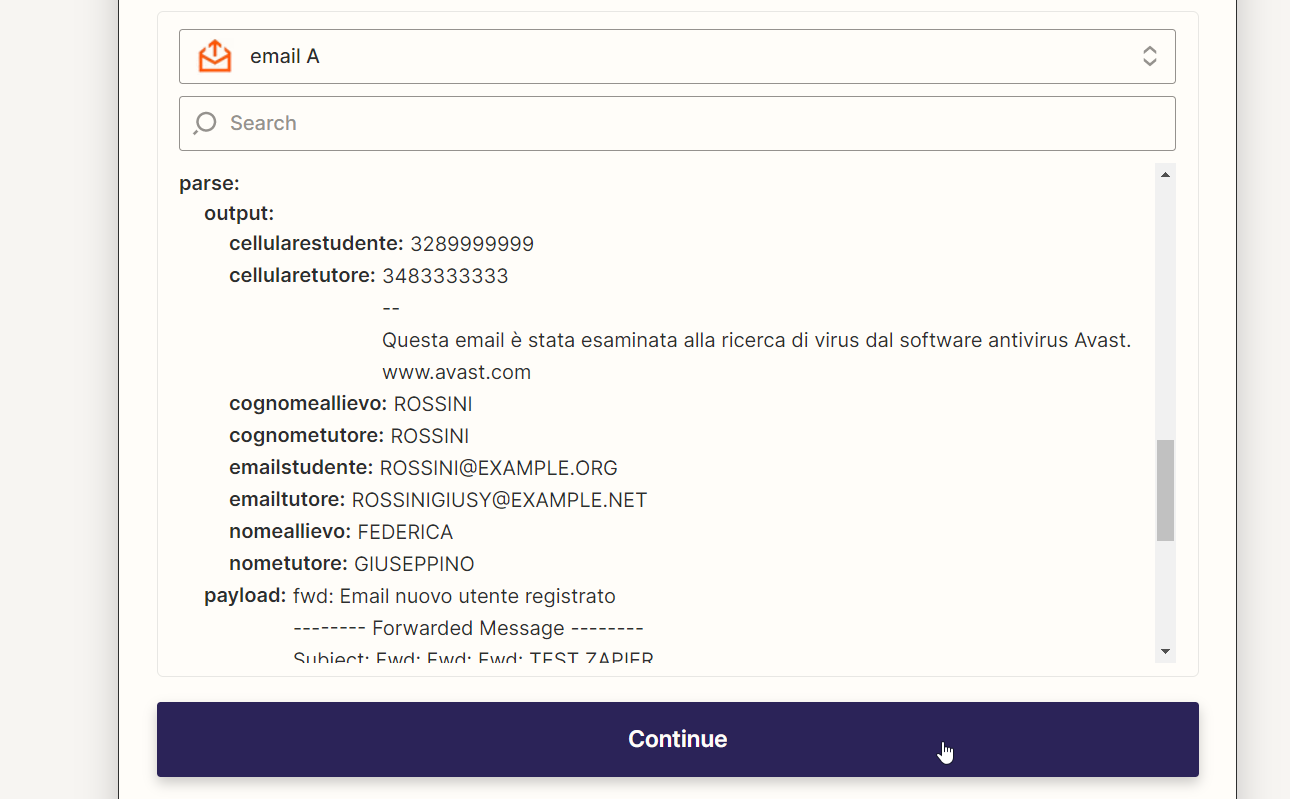
Click the Test trigger button below, and Zapier will go and look for the last email it received in its robot mailbox (thus the one that was sent/sent in the previous step), thus specifying on the screen the data it received and the data it will then go and extract based on the template that was configured in the previous step.
Now click the Continue button.
At this point it will be time to perform the same steps with ScuolaSemplice, then from the Account section click the Choose
and below Connect a new account

This will open the connection page to Scuolasemplice, i fields to be filled in will be as follows:
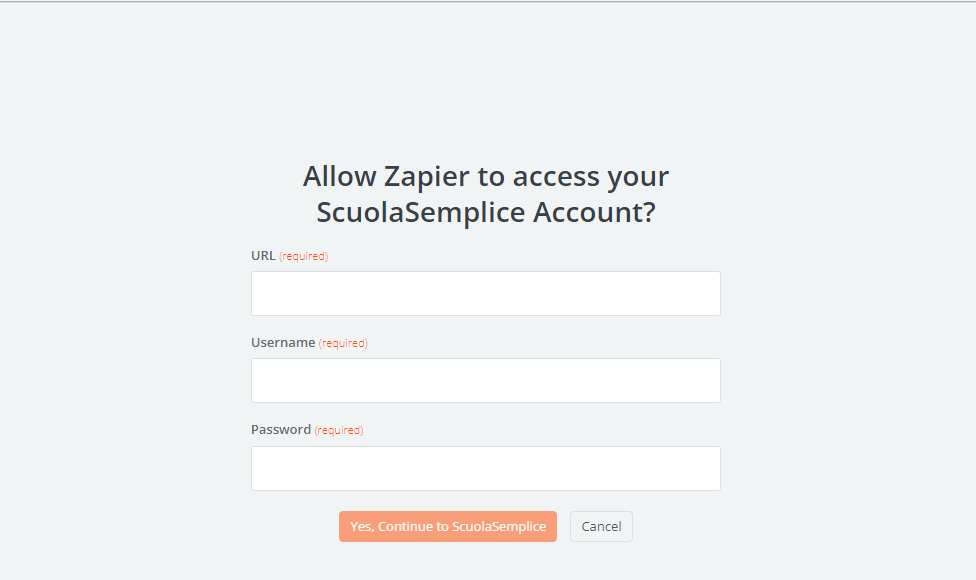
- URL: Url of your own management system, e.g. https://demo.scuolasemplice.it/
- Username: Username created in the first step of this guide in the Configuration → Integrations → API account for connection to external systems
- Password: Password created in the first step of this guide in the section Configuration → Integrations → API account for connection to external systems
When you have finished entering the data, click the Yes, Continue to ScuolaSemplice and then on Continue, a list of all fields on ScuolaSemplice of both the student and tutor, both standard and custom ones created later, will be loaded.

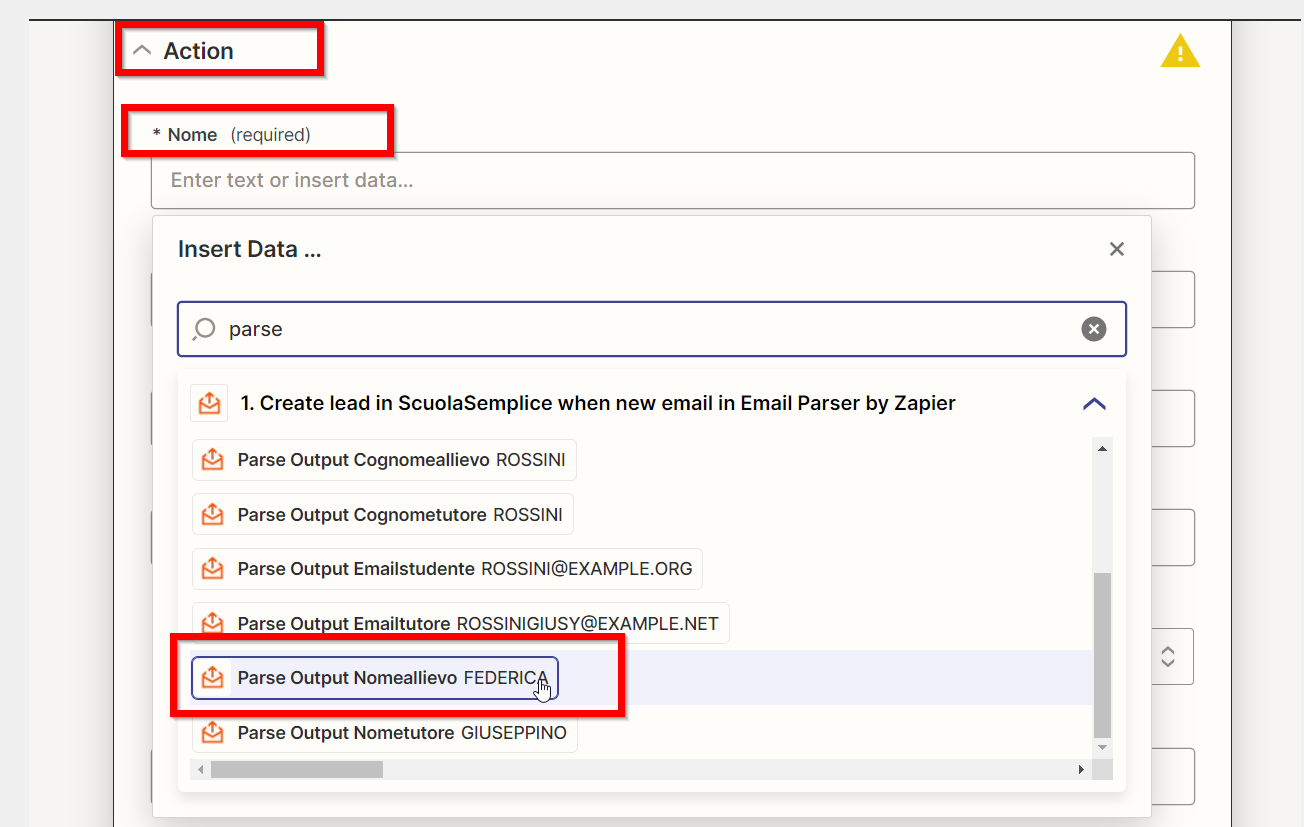
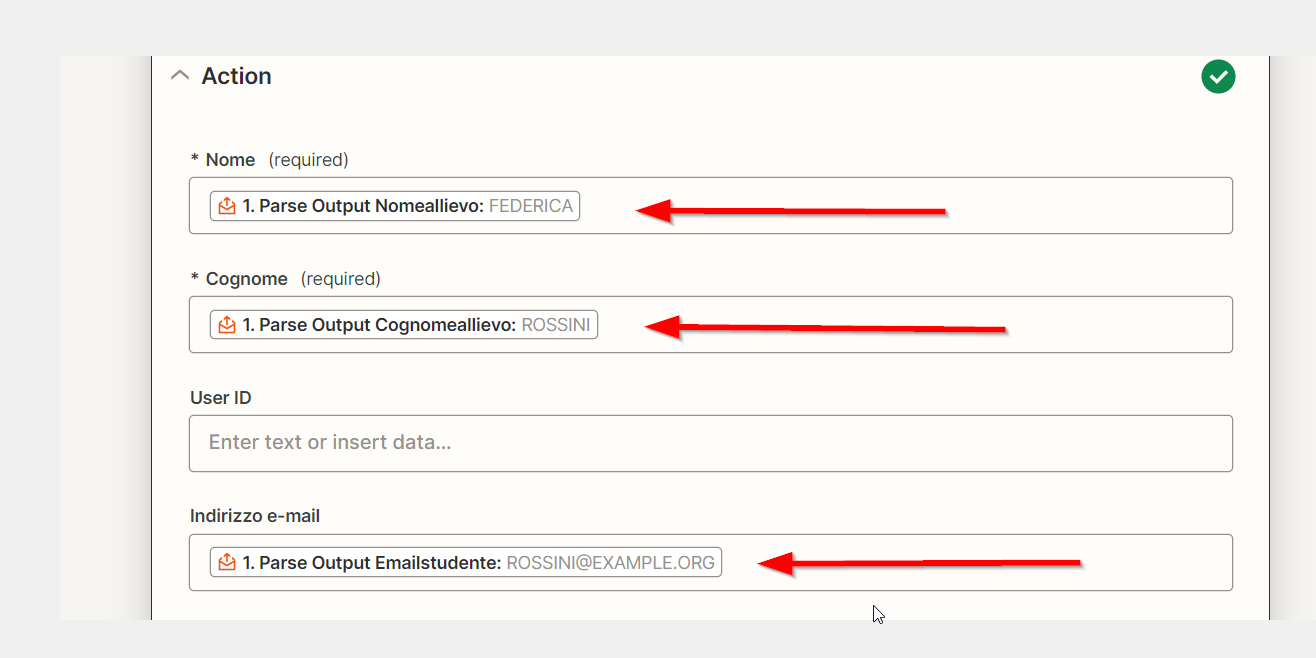
At this point, for each of those you want to be filled in automatically whenever an email is received regarding the registration of a new user to your Web site, you will need to specify the correspondence between the field of ScuolaSemplice and the value created on Email Parser by Zapier through the template configuration you made in one of the previous steps, in both the student and parent fields, like this:
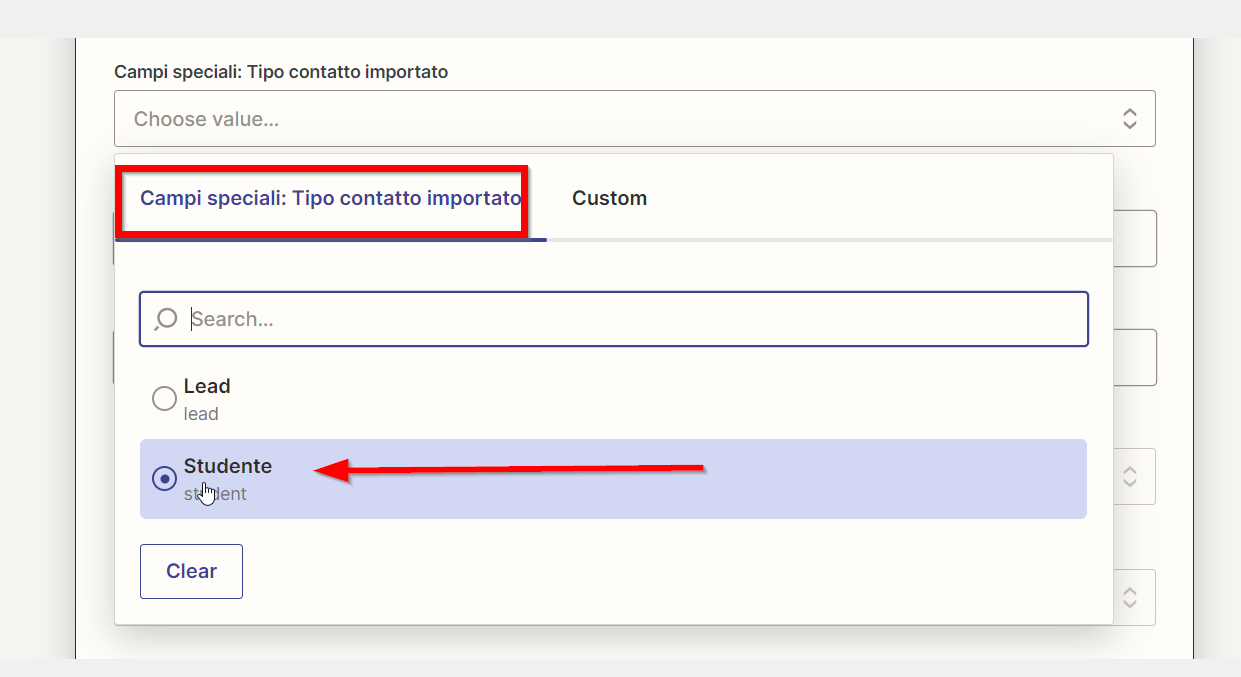
IMPORTANT. In this step, at the field "Special fields: imported contact type" you will need to choose the option "Student".
Now scroll down to the bottom of the list of fields and click the Continue button, followed by Test Action.
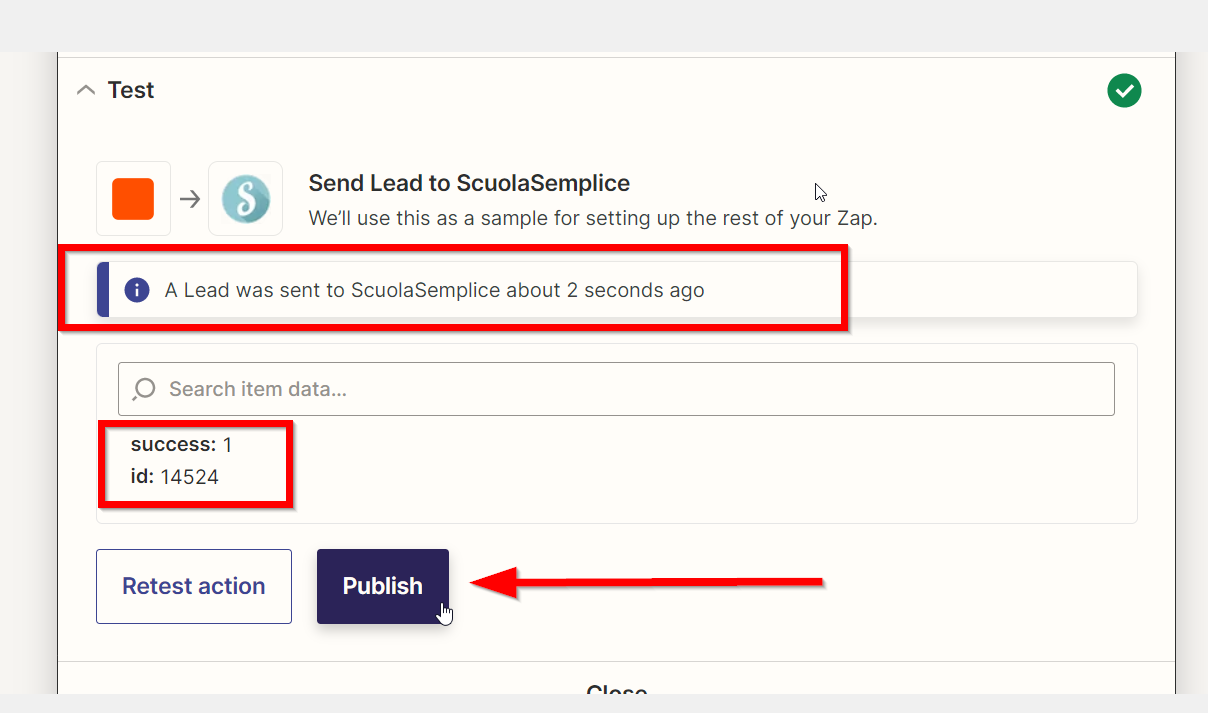
After a few seconds of waiting for the request to be processed, Zapier will indicate that that contact has been successfully sent to ScuolaSemplice and you can now finish the process by clicking the Publish button.
At this point the integration will be successfully completed.
ScuolaSemplice will then create a new master record for both student and guardian (and create them linked) each time Zapier receives an email with the list of user data entered in the enrollment form on its Web site.
ScuolaSemplice will instead update a registry already in the system if the First Name, Last Name and Email fields entered by the student (and/or his or her guardian) are the same.
It will instead go on to create a new master record if any of these data are different.