Management of Student Membership Cards
To enable the management of card numbers to be associated with the membership fee, navigate to Administration → Economic Settings and expand the "Student Membership Dues.".
Insert below the check mark "Assign a card to the student's registration fee.":
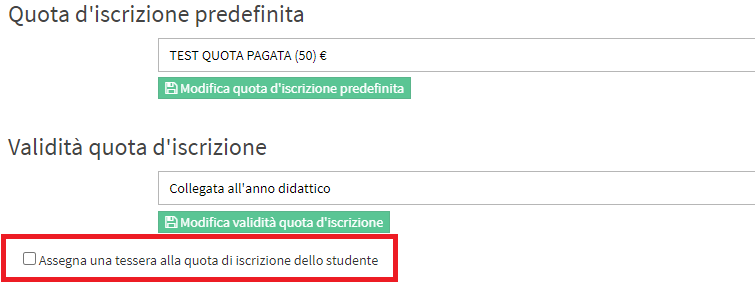
E save the changes:

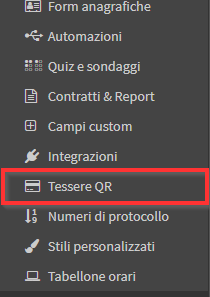
At this point, navigate to the new enabled section Configuration → QR Cards:
Enter the check mark in the upper left corner "Enable management of physical cards" and below the check mark "Assign a card to the student's enrollment fee":

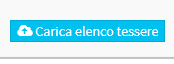
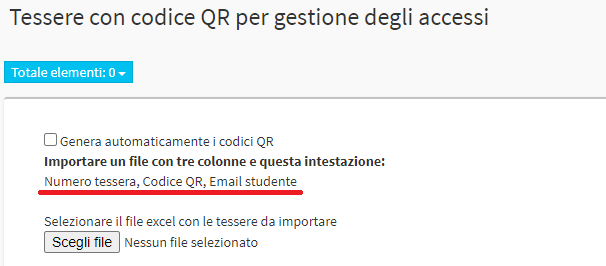
At this point, you will need to upload the list of card numbers that can be associated with students when signing up for membership fees. Then click the button in the upper right-hand corner "Upload list of membership cards":
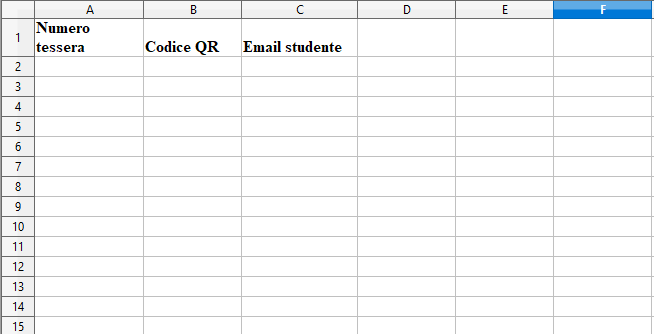
As instructed by the system, you will need to create an XLS file consisting of three columns with the following headers: Card Number, QR Code, Student Email.
- Membership number: the number that will be associated with the user who subscribes to the membership fee(Required)
- QR code: the QR code to be associated with the physical card that students will use to access the class and record their attendance(Optional, to be used only if the qr code attendance detector module has been activated)
- Student Email: in case you want to associate the card number with the student already in the system, directly then when uploading the card numbers and not later in the enrollment phase, enter the email associated with the student(Optional)
Please note: This section of the management system is used both to manage the association of a membership number to the student who subscribes to the membership fee and to create a physical card with an associated QR code that students can use to gain access when actively stamping.
Class management with QR code is a premium module. Contact business@blucloud.it to request its activation.
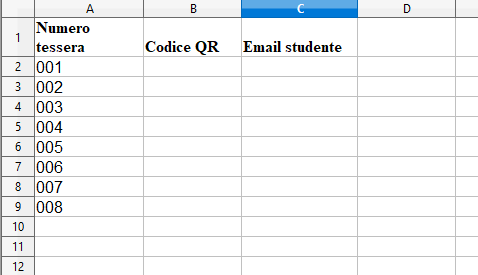
Then compile the for example like this:
Upload it to the section where the file creation instructions were, then clicking the button in the upper right corner "Upload tile list":

Save the operation by clicking the green button "Complete the import".
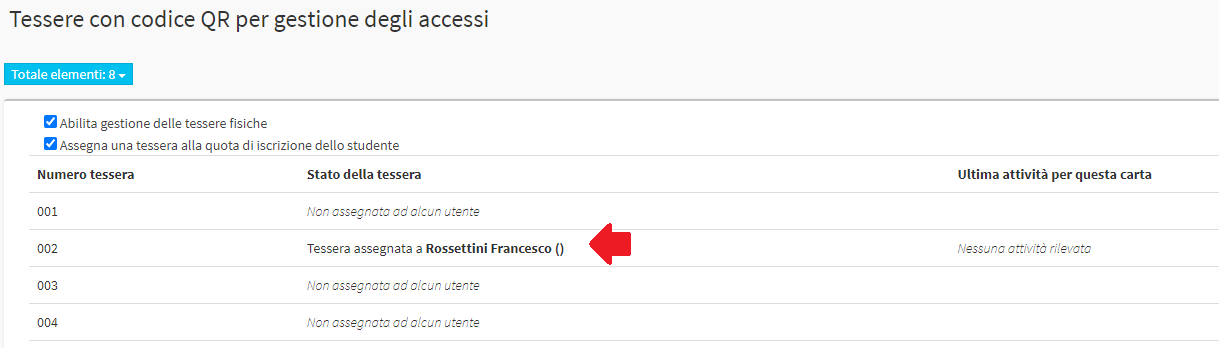
The system will show below on the screen the list of imported card numbers:
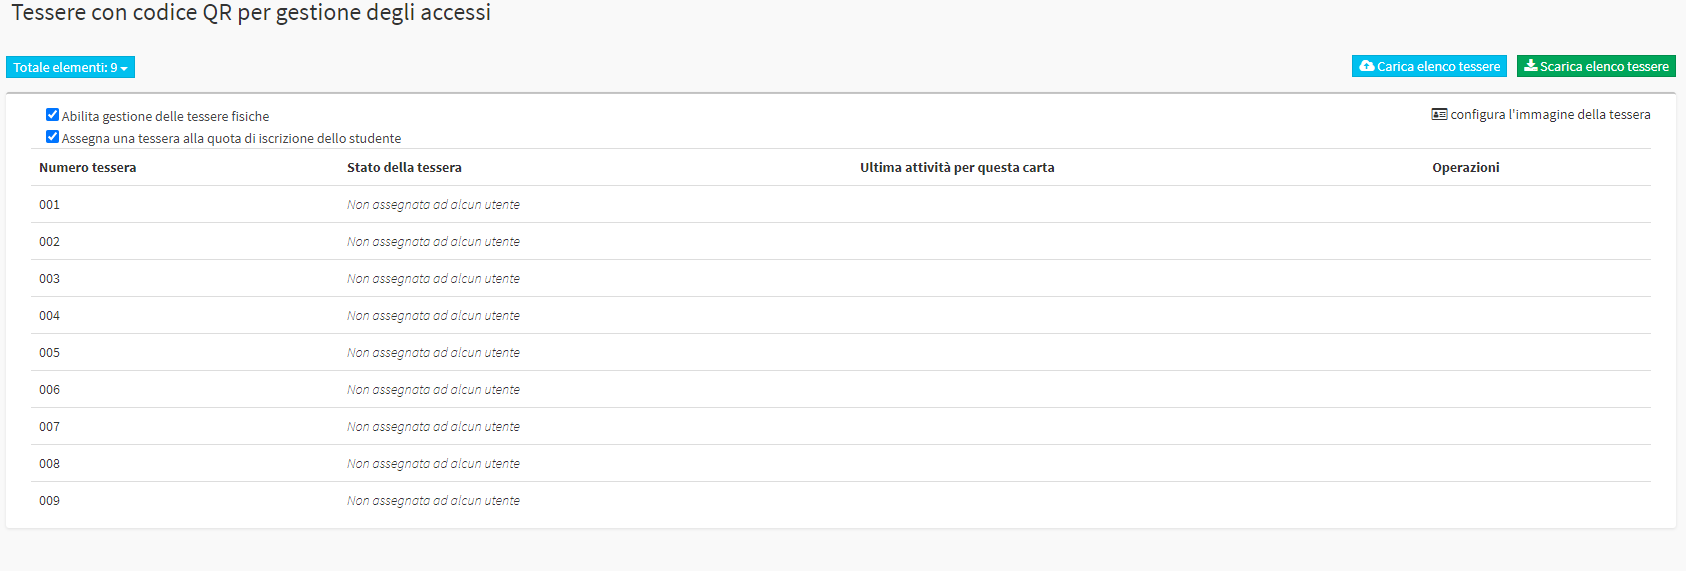
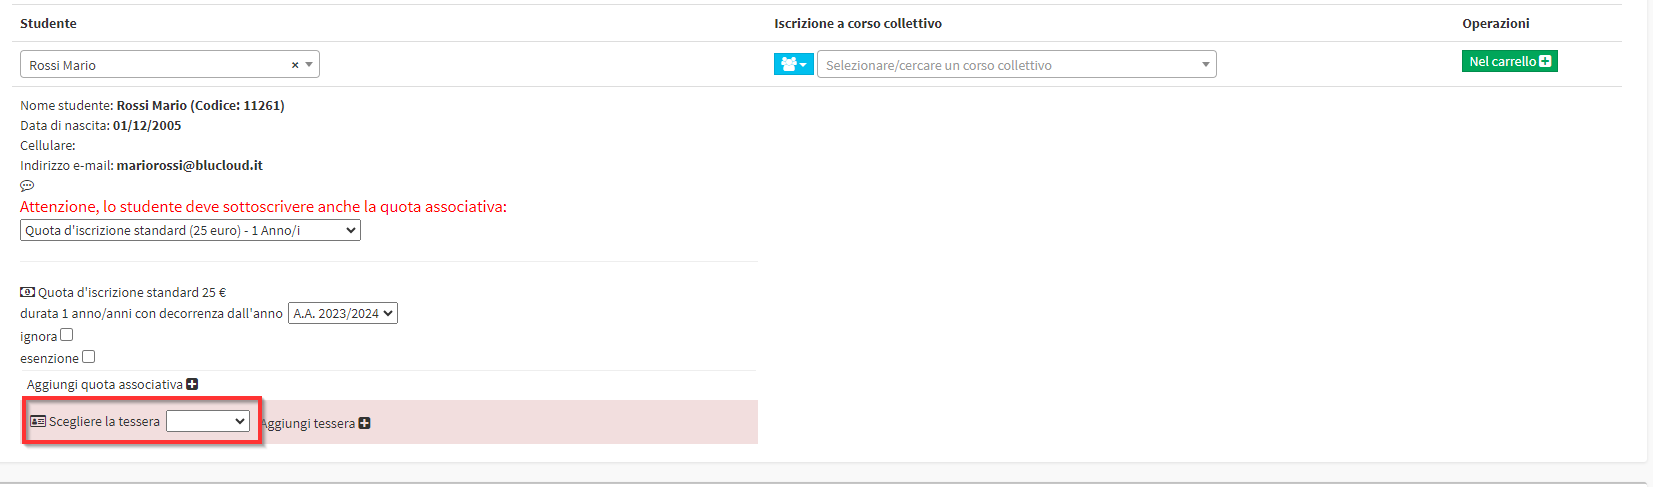
If, as in the example in the image above, the card numbers were imported without immediately making the association with the users at import, it will be possible to assign them to students in the enrollment phase at the same time as choice of the membership fee to be subscribed, like this:
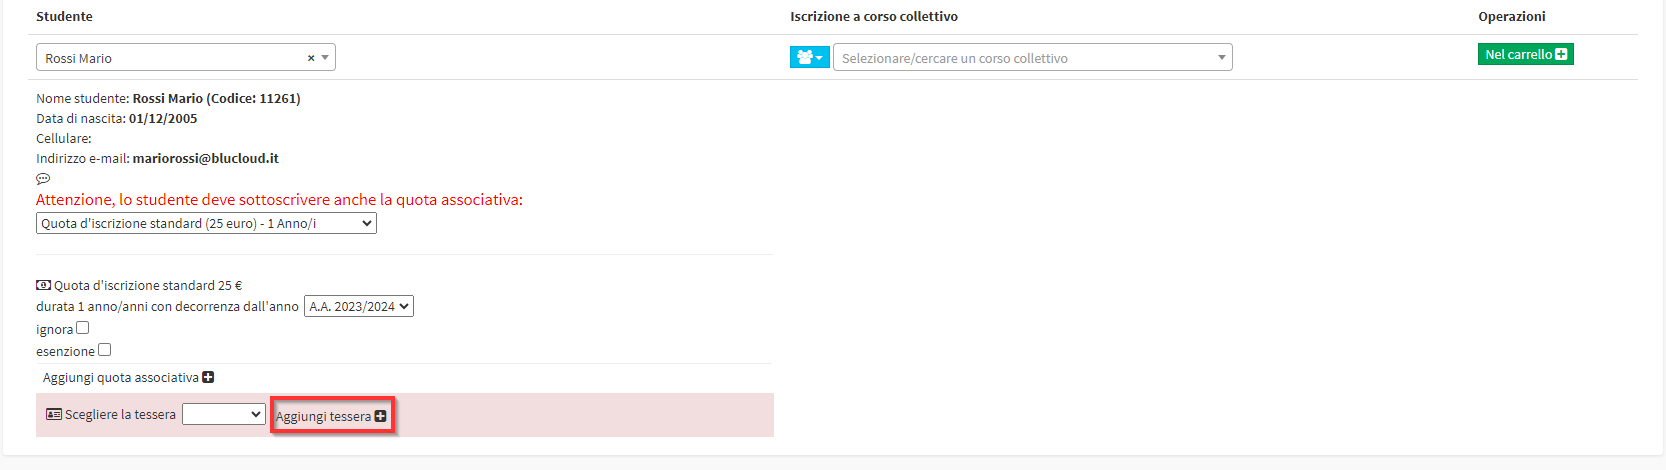
In case you want to add a new card click on the appropriate button Add card:
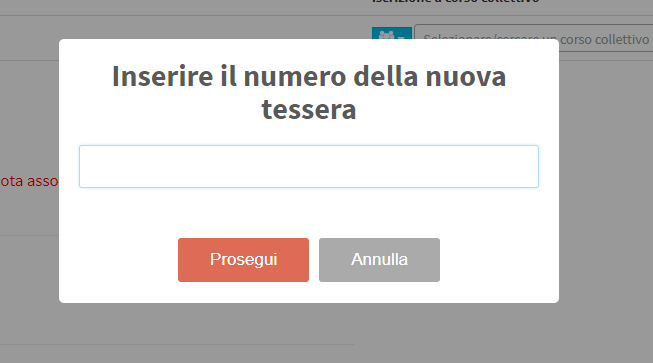
From the pop-up that opens, enter the number of the new card:
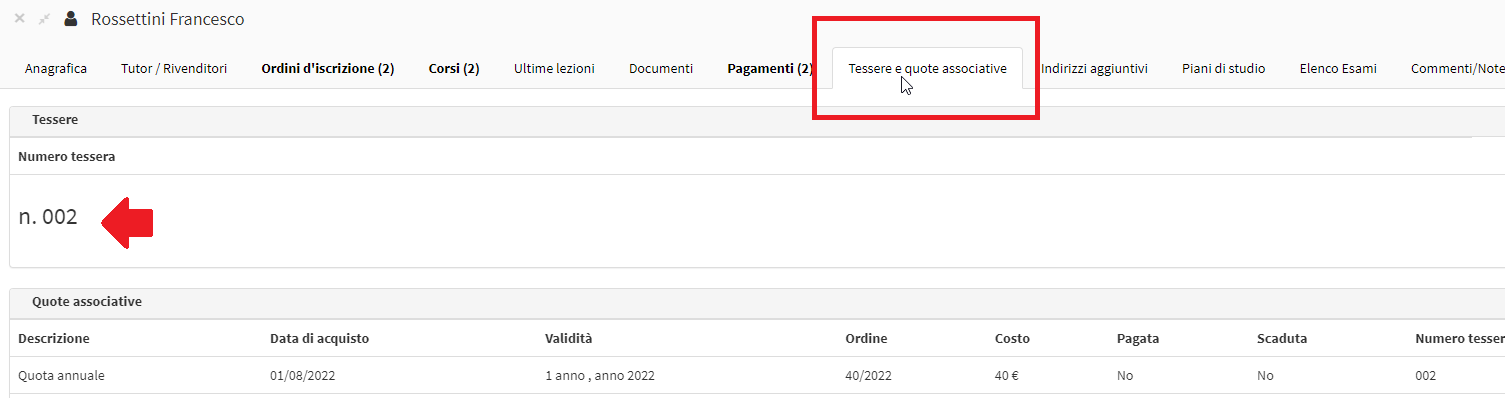
Upon completion of registration the card number associated to the student, may be displayed from the user's tab in the Tab Membership Cards and Dues:
Or in Configuration → QR Cards: