Issuing self-invoices
This guide will explain the process to be followed when issuing Self-Invoices.
Self-invoices can be issued in two ways:
- Creating it manually
- Linking it to an expenditure of the Master output
1. Manual creation of a Self-Invoice
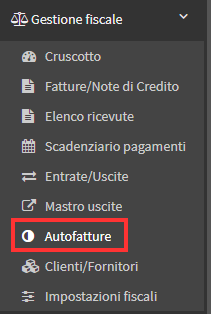
To issue aSelf-Invoice manually you will need to access the section Tax Management→ Self-Invoices:
Once here you will have to click on the green "Issue Invoice/Credit Note" button:

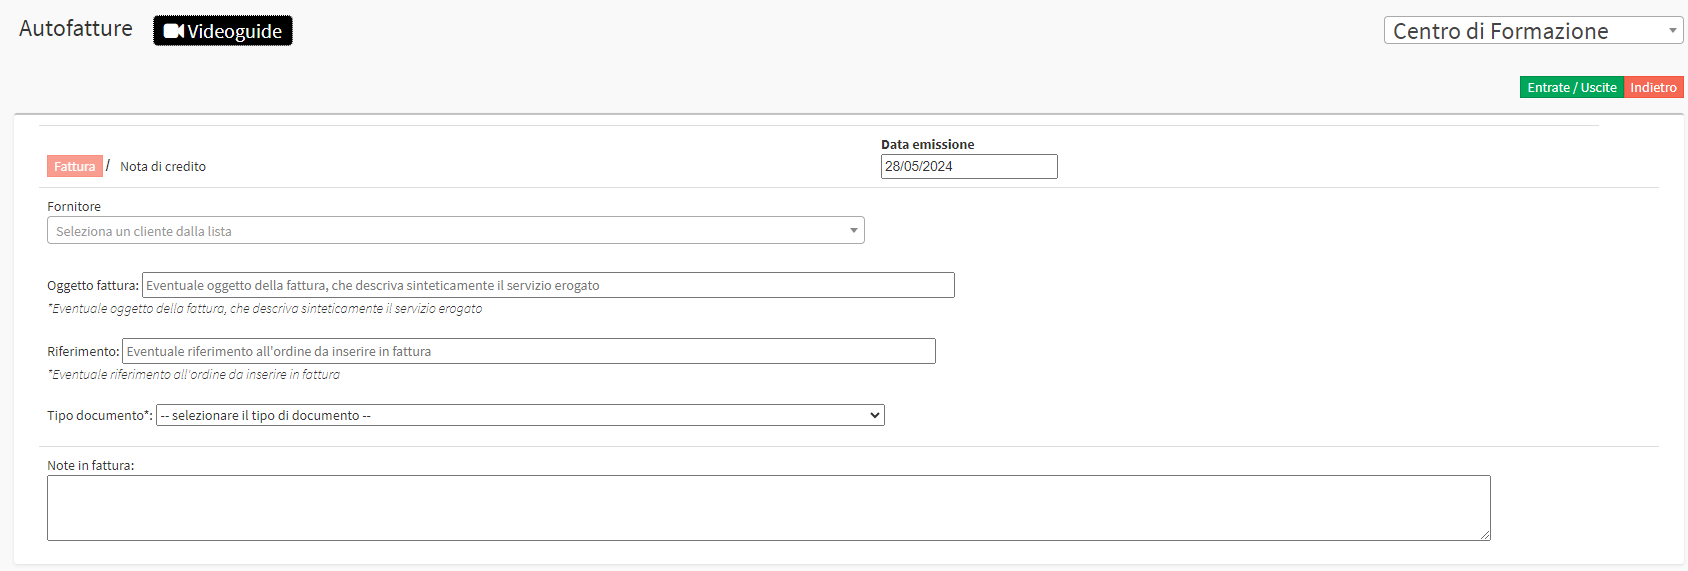
You will then be shown the Form where you can enter the supplier's details, invoice subject, reference and document type as well as any notes:
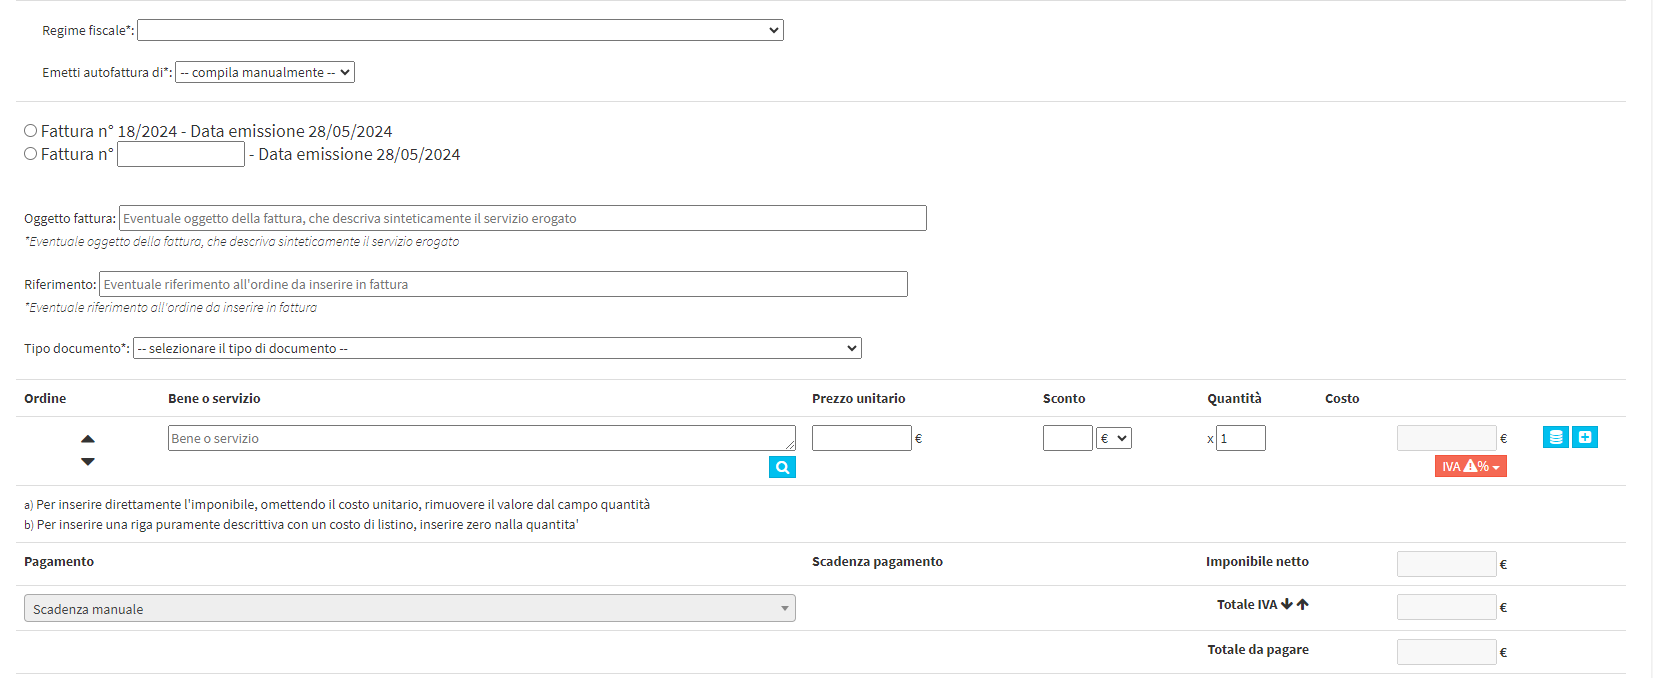
After entering the Supplier, the right side will show the fields in which you can enter data about the order we are billing as well as the CUP and CIG codes:

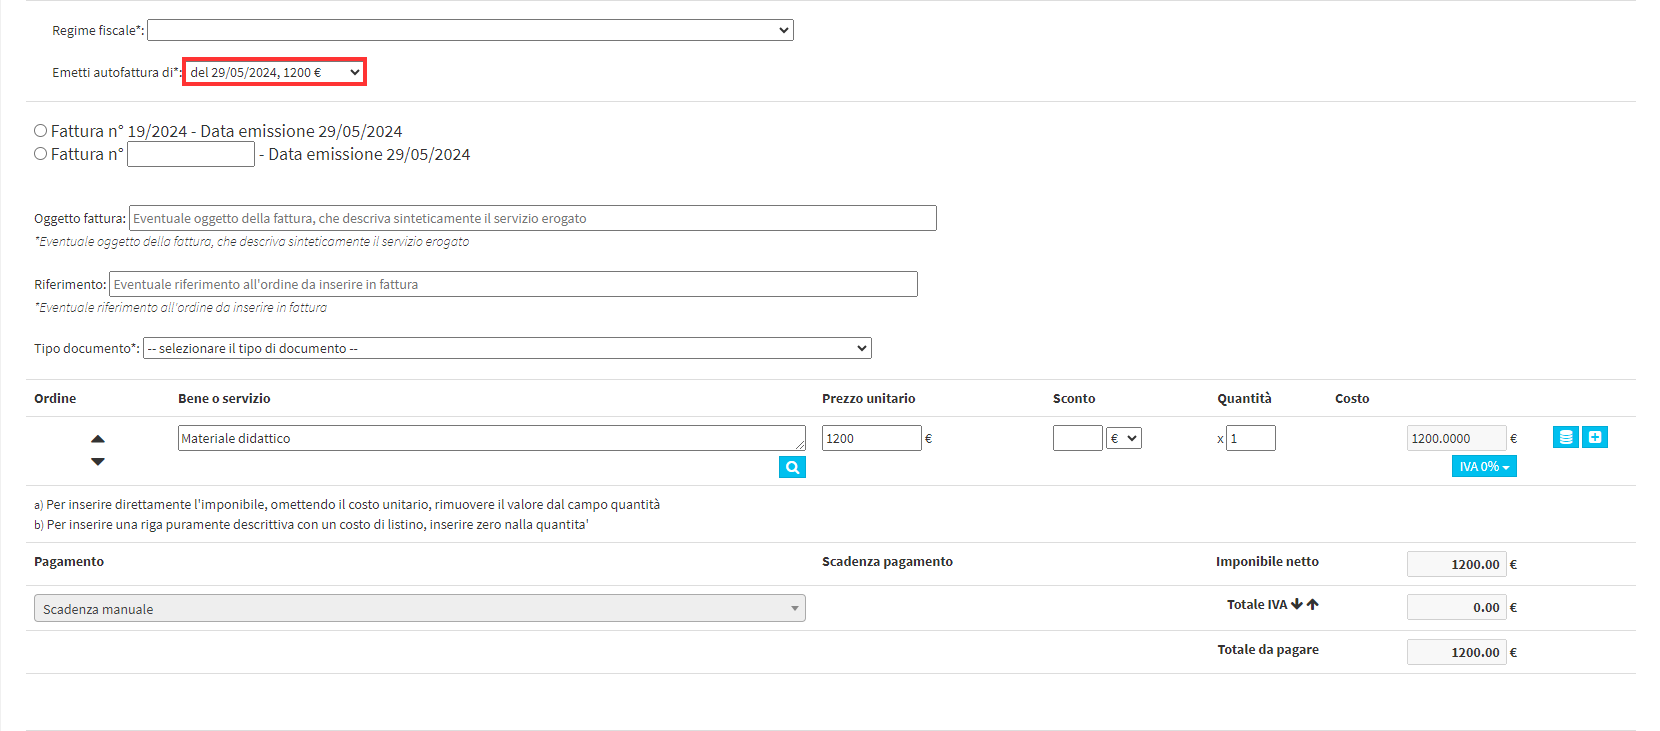
In the bottom part, on the other hand, it will be possible to enter invoice data such as: invoice number, related goods, price and payment due date:
Once all the necessary data has been entered, it will be possible to issue the invoice using the appropriate "Issue Invoice" button:

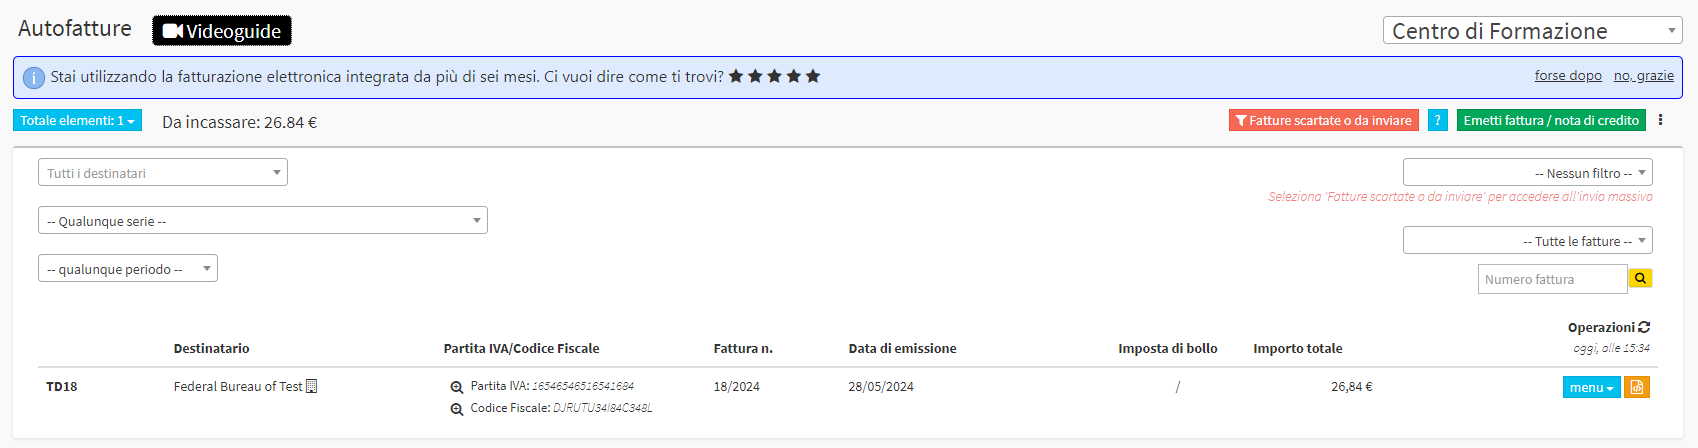
It will then be placed in the list of self-bills where you can manage any changes or view it:
2. Linking a Self-Invoice to an Expense in the Expense Master.
The second method is to link aSelf-Invoice to an expense previously entered in the Expenditure Master, for guidance on recording an expense in the Expenditure Master click here.
After entering the expense on the Expense Master you can issue an invoice related to it by going to Tax Management→ Self Invoices by clicking on the Issue Invoices/Credit Notes button.
Once the supplier linked to the expense is then entered in the Expenditure Master, it will be possible to select in the "Issue self-bill of" field the expense entered above:
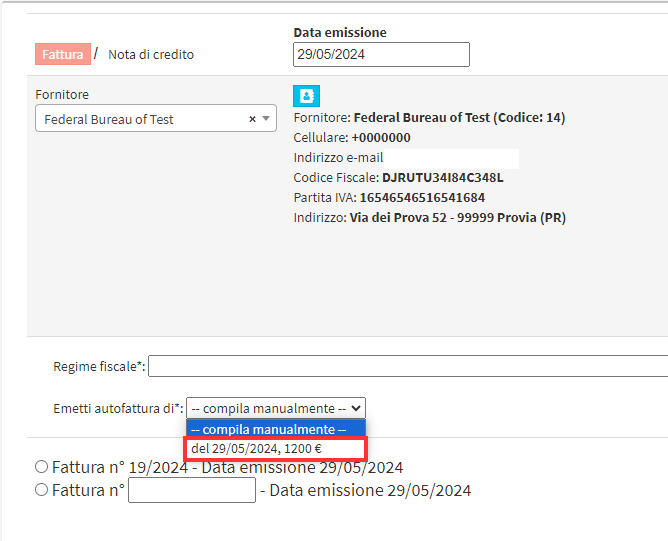
The mandatory fields will then be automatically filled in and theSelf-Invoice can be issued:
Once issued it will be visible in the Self-Invoice list where it can be managed:

In the section Tax Management→ Self Invoices there is a video guide at the top regarding the creation of them where the whole process is explained step by step:
