Student attendance management via QR code
To get more information about package activation on Attendance Management via QR Code contact us at: commercial@blucloud.it.
This guide will explain the process to be followed to configure and use Time and Attendance Management through the use of QR Code:
- Set up QR code reader account
- Download the app ScuolaSemplice QR Reader
- Enabling courses to track attendance via QR code
- QR Code Reading and Input List.
1. QR code reader account setup.
To create the account related to the QR code reader in order to detect student attendance, navigate from the main menu to Configuration → Integrations and access the "QR code reader attendance detector" section.
First you will need to configure the QR-based attendance method for which you can either select the use of tablets at the entrances or via geolocated app through the teacher (for guidance on the second option click here), you will then have to set the opening times of the gates that will be created later and the tolerance settings in case of any student tardiness:
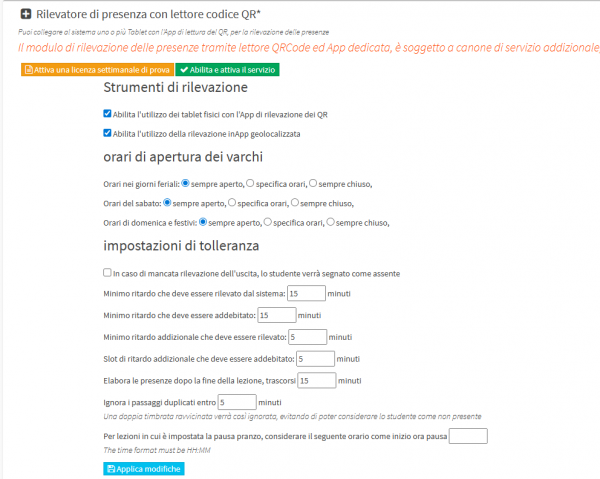
Le tolleranze configurabili sono:
- Minimo ritardo che deve essere rilevato dal sistema: Permette di configurare il ritardo minimo necessario con il quale verranno assegnati dei minuti di ritardo nella lezione
- Minimo ritardo che deve essere addebitato: Rappresenta il numero minimo di minuti che verranno assegnati quindi anche se l’opzione precedente ha valore minore di 15 minuti verranno comunque addebitati 15 minuti di ritardo
- Minimo ritardo addizionale che deve essere rilevato: Numero di minuti dopo la prima rilevazione del ritardo (punto 1) o successive per addebitare ulteriori minuti di ritardo
- Slot di ritardo addizionale che deve essere addebitato: Minuti di ritardo che verranno addebitati per la seconda e le successive rilevazioni
Once you have entered all the settings you can move on to creating a QR Reader account:

- Username: the username of the account, must be at least 8 characters long
- Password: the account password
- Repeat password: repeat the password entered in the previous field
- Location: the educational location in which the attendance detector will be used.
After choosing the location, you will need to leave the "Installation at an entrance/exit door" flag in case you intend to install only one detector at an entrance/exit door; removing the flag instead, via the drop-down menu, will allow you to specify the classroom in which the detector will be placed. - Notes: any description notes
Click the "Insert QR reader account" button to save the operation.
Once the account has been created, it will be possible to enable the Green Pass detection function by placing a check mark on its line, it will then be possible to specify:

- Detection of green pass only (does not detect QR of ScuolaSemplice)
- Delinquency detection for platform-registered users (first name, last name, and date of birth)
- Do not store in input/output data from Green Passes
Click the icon below to save the enablers entered.
2. Downloading the app ScuolaSemplice Attendance Reading
Navigate to your own store (Play Store) and download the App "ScuolaSemplice QRreader"

Once downloaded and logged in, fill in the following fields:

- Web address: enter the web address of your installation in full (e.g., nomescuola.scuolasemplice.it)
- Username: enter the username of the account created in your installation for the attendance tracker
- Password: enter the password for the account created in your installation for the attendance tracker
Click the "Verify Configuration" button to allow the App to check that the account information entered is valid
Then check that in step 2 the verification result is positive:
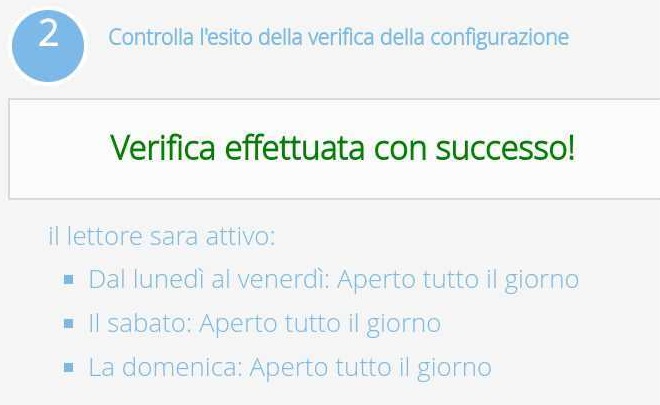
WARNING. Write the above data correctly, also paying attention to upper/lower case, to allow the application to recognize the account created.
In step 3 it will be necessary, via the switch present, to choose the front camera of the tablet, which will be used to read the QR code of the students'
Finally, in step 4, create a security PIN to be entered each time you log in (e.g.12345).

Once these simple and quick steps are taken, the attendance tracker will be ready to read student QR codes.

3. Enabling courses to track attendance via QR code.
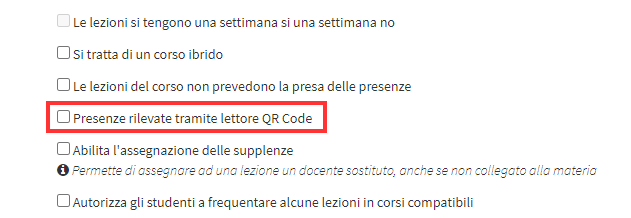
The last step is to enable the courses for which you intend to track student attendance via QR code so that the attendance record automatically synchronizes following school entry and exit swipes
Navigate to Didactics → Group Courses to access the course section. At this point, either by going into editing an already created course or when creating a new course, simply enter the checkmark "Attendance detected by QR Code reader."
4.QR Code Reading and Input List
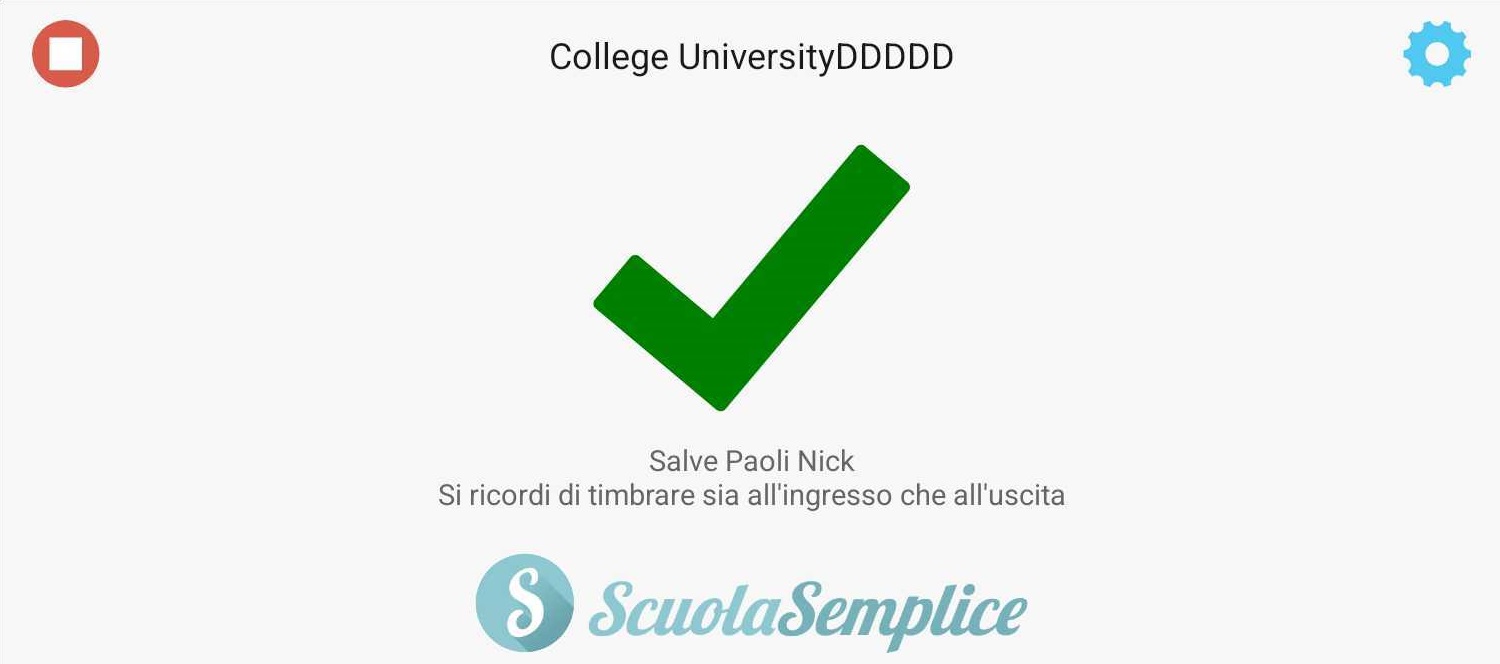
To perform QR Code reading, students will need to open their personal app and clicking on their name at the top will show them the QR Code which they will need to have read from the tablet located at the entrance used:

Once the reading is done, if it is successful, a read confirmation message will be displayed in the QR Reader and the student can continue:
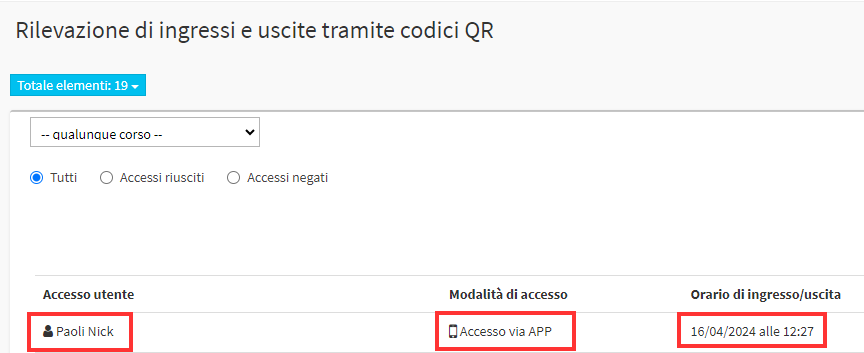
To view the complete list of entries that have been made you will have to enter Financial Management→ Entries:
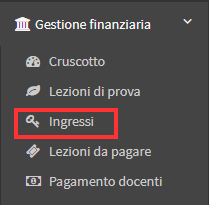
Here the complete list will be shown and you can filter for which course you want to monitor inputs.
The list will show the Name, access mode, day and time of entry/exit, and, if set, the gate used to gain access