Configuration and use of time table on Smart TV
ScuolaSemplice provides the use of a Public Scoreboard containing the Schedules of the Courses that will be held on the day, so that they can be projected on a Smart TV or Public Monitor inside the Venue, useful for Students and Lecturers to quickly view the Schedule and Classroom of their classes.
Note: Only 1 screen can be used at a time in the Free version. To use multiple display boards at once contact us by email at commercial@blucloud.it
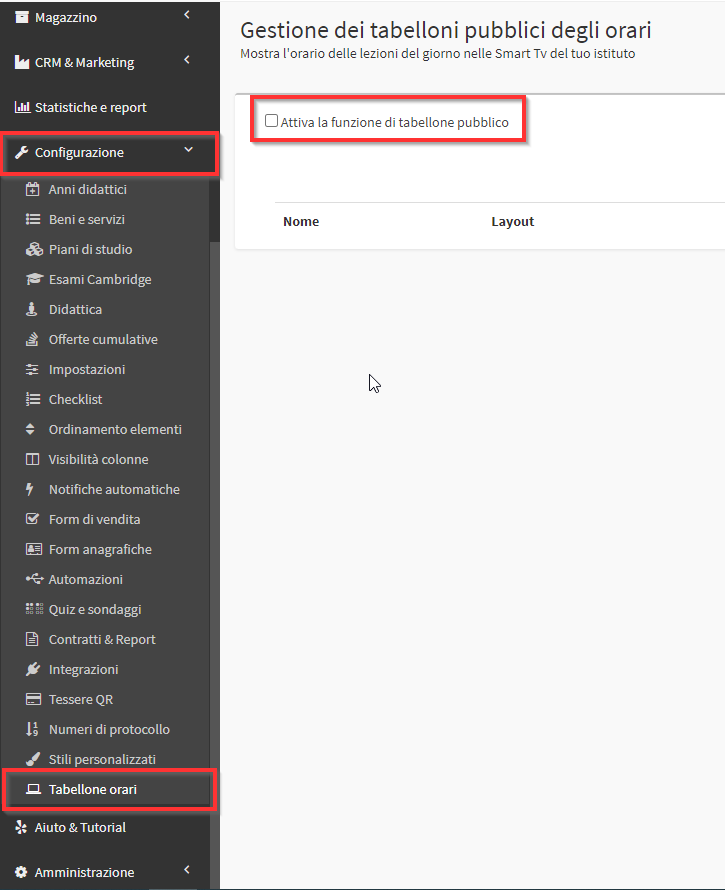
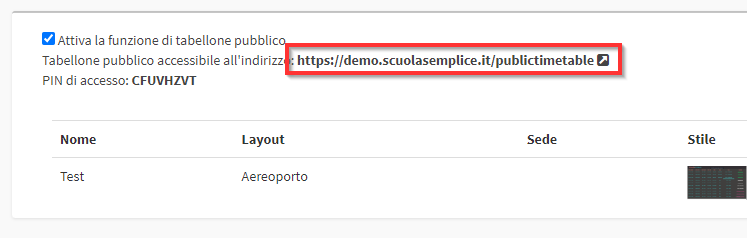
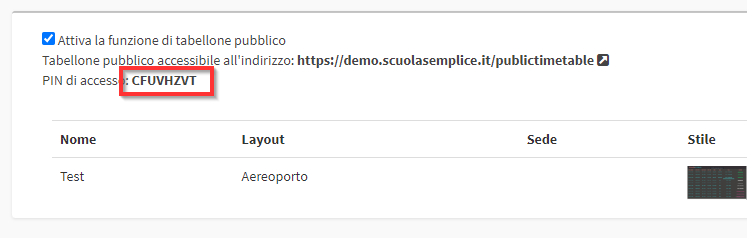
Navigate to Configuration → Time Table and click on Activate the public bulletin board function:
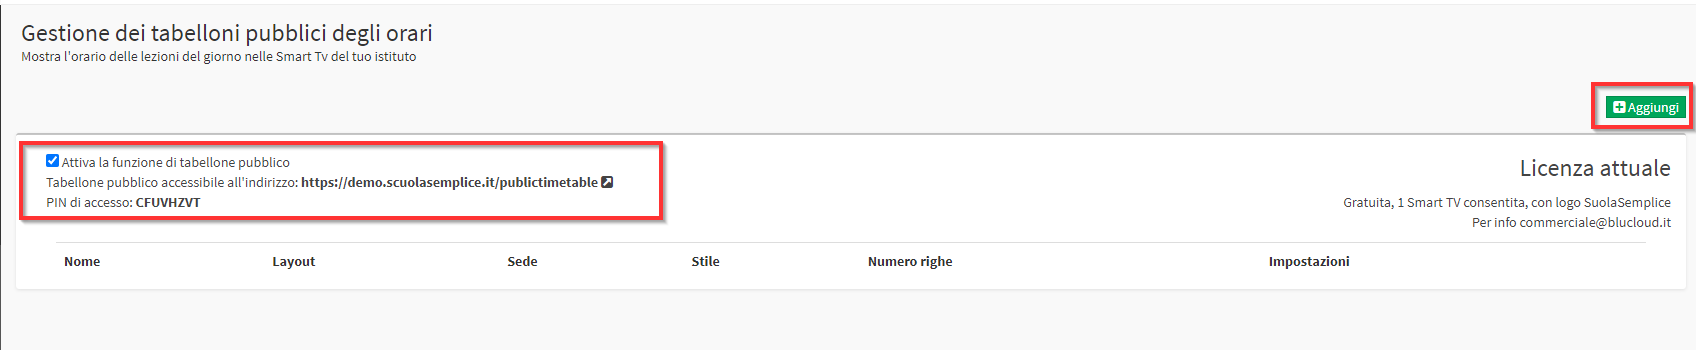
It will show the link to access the Schedule Board and the PIN for access, click on the green button Add to create a new Scoreboard:
The screen for adding a new board will appear:
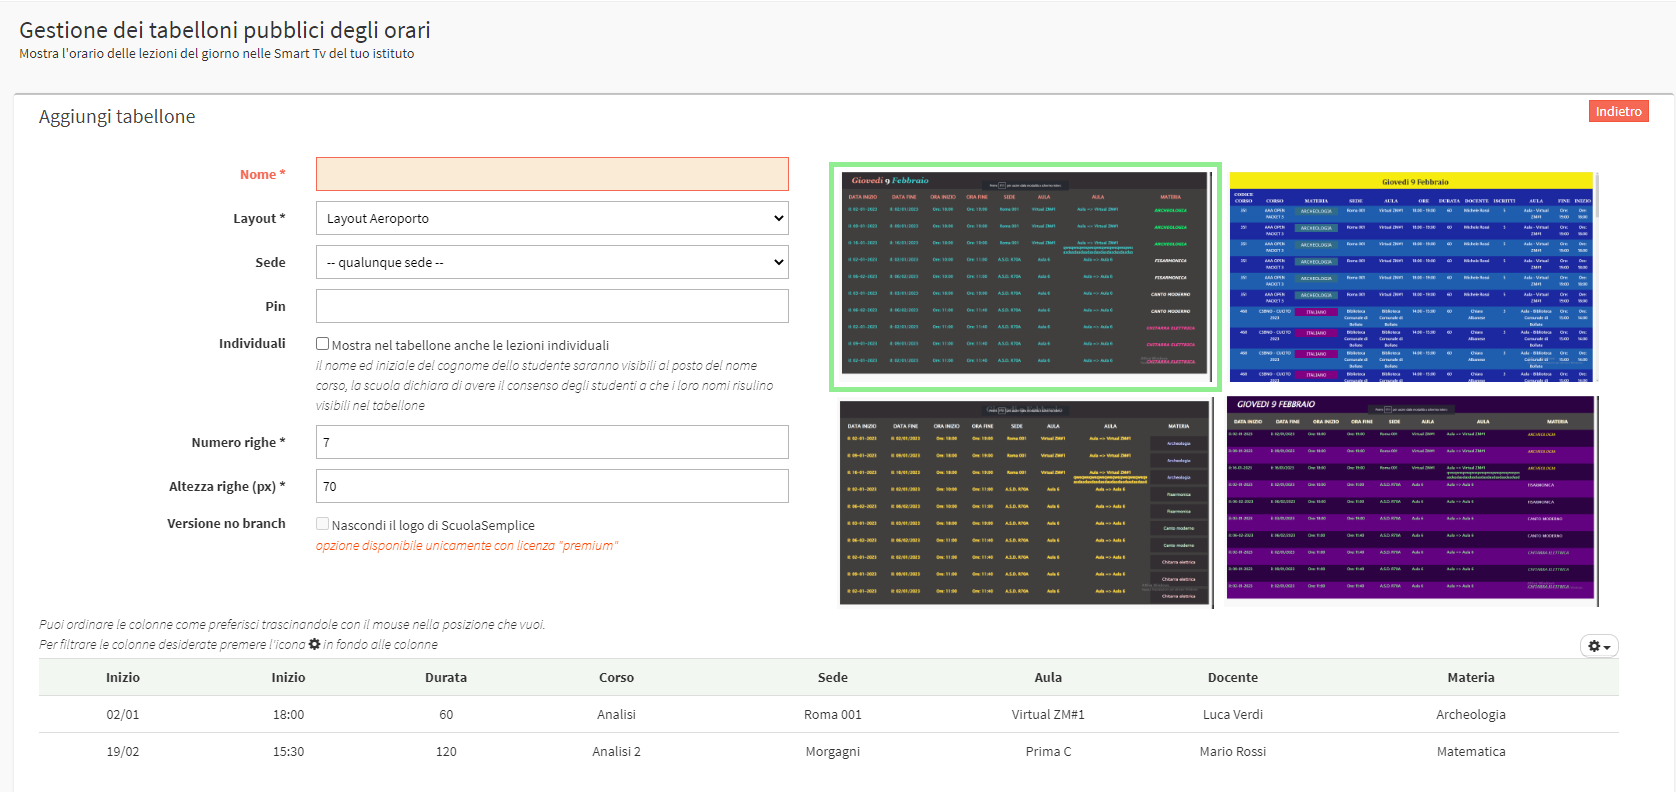
The featured voices will be:
- Name: The Name of the board we are creating (visible only to the Secretariat).
- Layout: Select the reference Layout. Currently there is only Airport Layout which allows the use of four different quadrants selectable on the right (to create new Layouts with custom quadrants, contact the sales department at commercial@blucloud.it)
- Venue: The Location of the courses that will be shown on the board.
- Pin: The Access Pin for the use of this board.
- Individuals: Check if you also want to show Individual Courses on the board. The Student's First Name and Last Name initial will appear in the Course Name (e.g., Simone. P)
- Number of rows: The maximum number of rows to be displayed on the single page of the display board
- Row height (px): The height of a single row in the display board (in pixels)
- Show page number: If checked, shows the current page number and the total page number in the upper right corner of the display board.
- No branch version: Allows you to hide the ScuolaSemplice logo at the bottom of the page (available only for Premium customers)
In the second part of the page you will be able to view, edit and create new columns in the scoreboard:
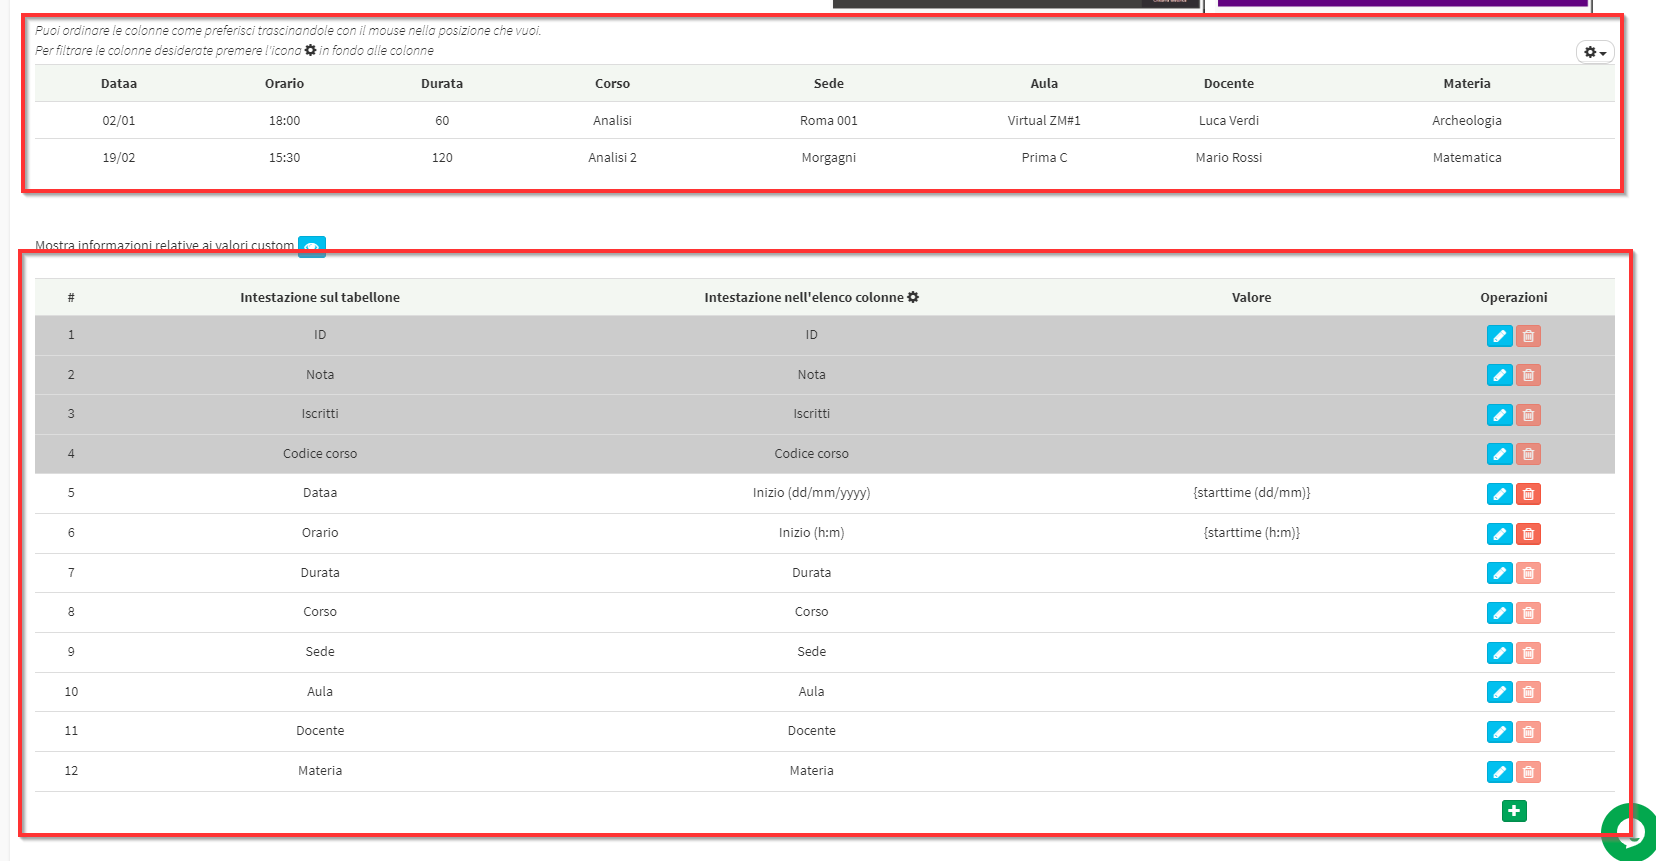
In the first pane you can see the columns that make up the scoreboard with the possibility di move them, display new ones, or hide them..
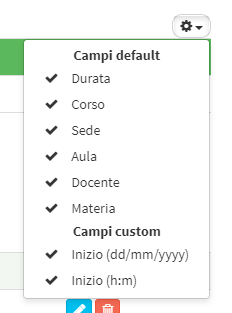
In order to insert or remove an existing column click on thegear icon in the upper right corner and check the item of interest:
To create a new column click the green icon + in the second pane of the screen:

Fill in the required fields:
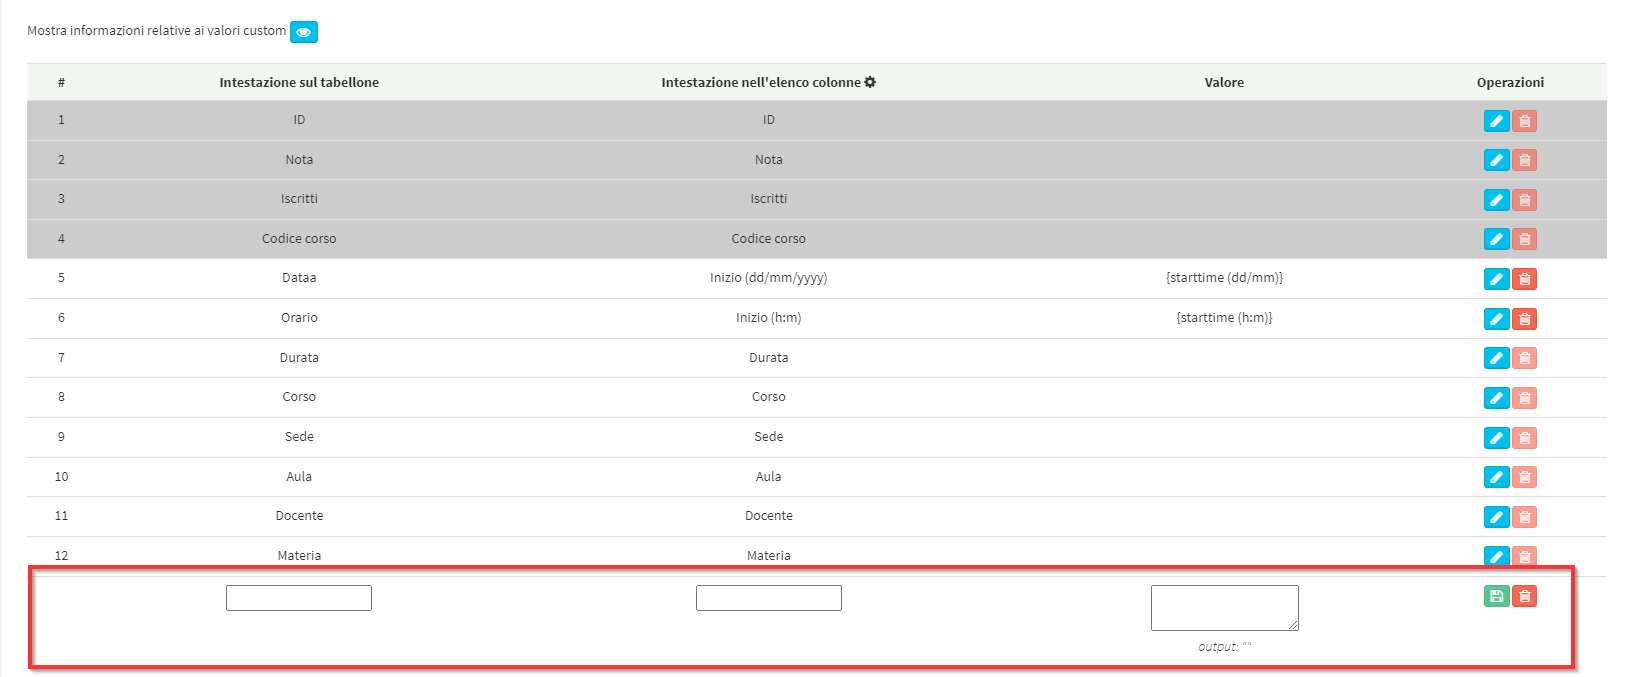
- Header on the scoreboard: Public column header on the scoreboard
- Header in column list: Internal name of the Column (often the same as the first entry).
- Value: Enter the data to be shown under the scoreboard column. It will be possible to enter placeholders from those available.
Below is the table of insertable values:
Scoreboard Placeholders
Placeholders related to data that can be entered into the schedule board| SIGNAGE | VALUE | NOTES |
|---|---|---|
| {locationName} | Name of the Venue | |
| {classroomName} | Classroom Name | |
| {duration} | Class Duration. | |
| {teacherFullName} | Teacher's full name | |
| {courseName} | Course Name | |
| {enrollements} | Number of participants | |
| {subjectTitle} | Matera of the lesson | |
| {courseCode} | Course Code | |
| {startdate} | Report Lesson Start Date and Time | Date format customizable by inverting values as desired (dd-mm-yyyy h:m:s) |
| {enddate} | Report date and time of end of class | Date format customizable by inverting values as desired (dd-mm-yyyy h:m:s) |
Legend Scoreboard
Date format legend| LEGEND | VALUE | NOTES |
|---|---|---|
| yyyy | Four-digit year format (e.g., 2023) | |
| yy | Two-digit year format (e.g., 23) | |
| mm | Month (e.g. 06) | |
| dd | Day (Ex. 31) | |
| h | Now (Ex. 13) | |
| m | Minutes (e.g. 50) | |
| s | Seconds (ex.30) |
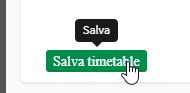
Once you have finished making changes to the timetable you need to click on the green button at the bottom of the page Save timetable:
As a final step you will need to navigate to the link that appears in Configuration → Time table:
And enter the Access pin:

At this point choose the display board to be displayed and enter the chosen Pin in the Displayboard Configuration:

The Scoreboard will appear chosen:
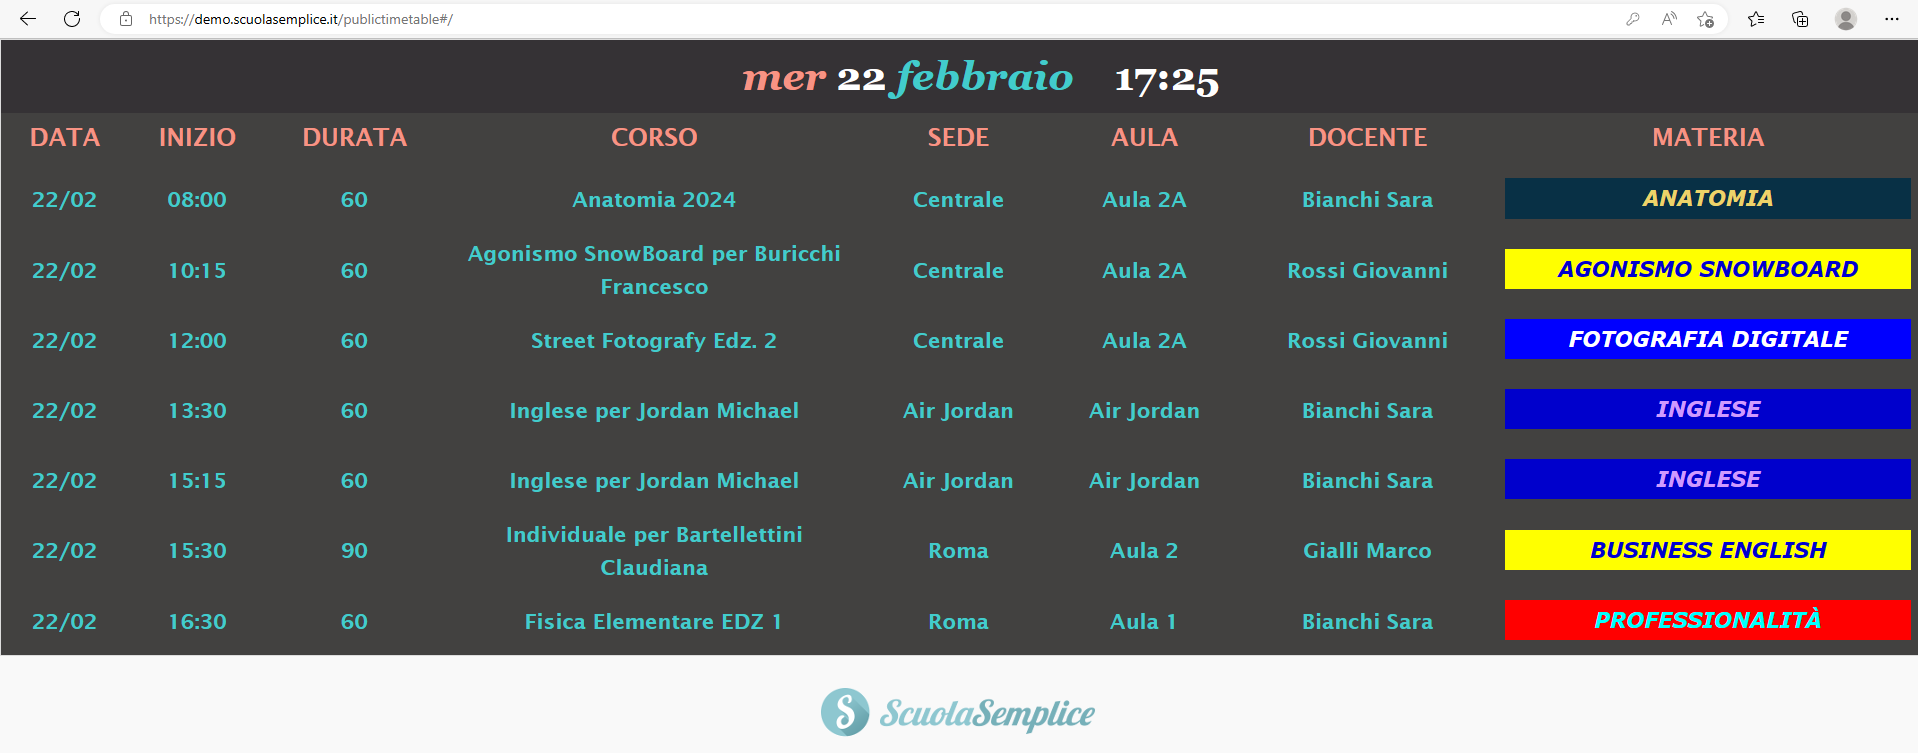
The scoreboard automatically updates every 30 seconds and changes pages if the Courses to be displayed exceed the display limit on a single page.