CRM - Management of private and corporate contacts/leads
To access the CRM (Customer Relationship Management), in which you can better manage the school's potential customers, navigate to CRM & Marketing → Leads (CRM).
1. CRM configuration.
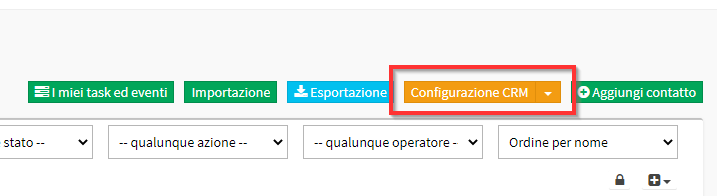
To configure the school's CRM, entering new statuses attributable to prospects and new tasks to be assigned to various system administrators, click the yellow button CRM Configuration:
From the next screen, type the name of the state and/or new activity and click the button "+" To complete the operation.
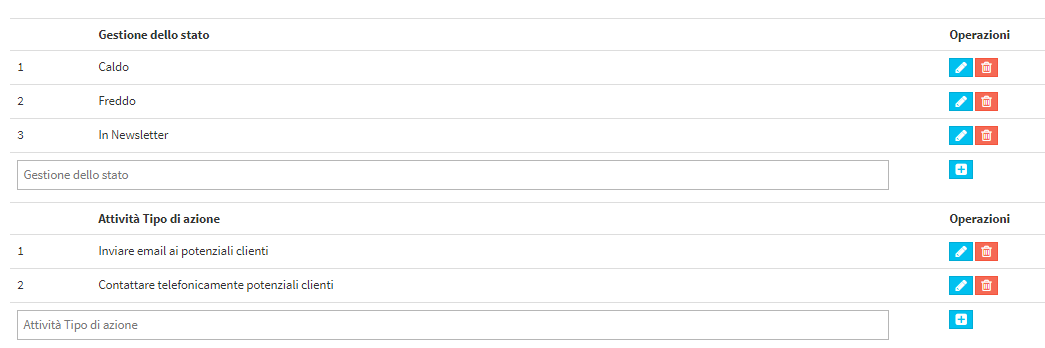
The states and activities added to the system, may be modified and/or removed at any time by clicking the corresponding icon.
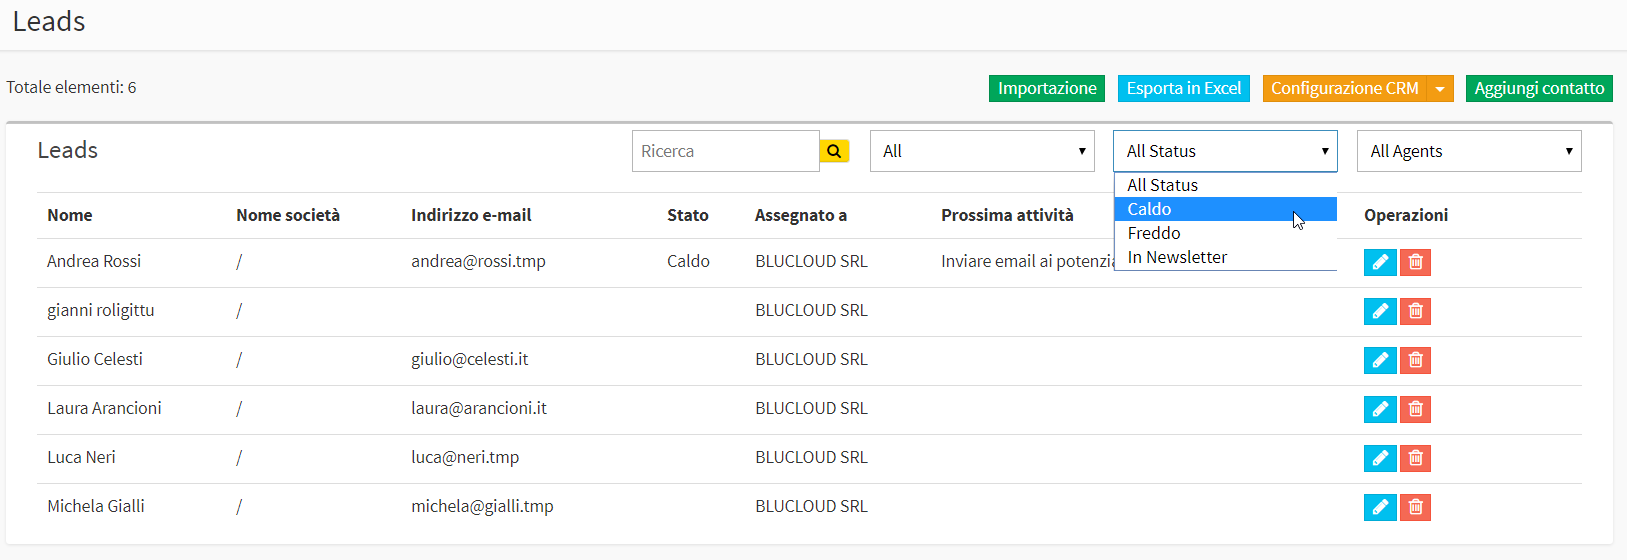
Status can be associated with business contacts (leads) either at the master data entry stage or at a later stage by clicking the name of the lead itself. Once the leads have been entered configured and associated with the various master data of the potential customers entered, it will be possible to filter the list of leads by individual status.
2. Master data entry of potential customers
The system provides for both the entry of potential customers in a manual one at a time, and the massive import of into a pre-existing leads archive via excel file.
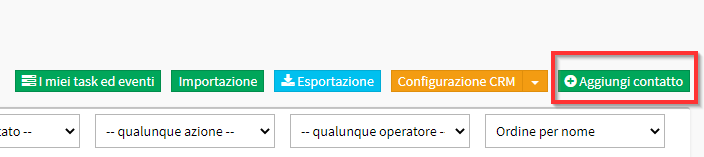
For the first option, click the button in the upper right corner Add Contact:
Next, add the following information:

- Company Name: Enter the Client Company of the contact, if any.
- Name*: the name of the business contact (the only field that must be filled in).
- Last name: The last name of the business contact.
- Acquisition date: Enter the date on which the data was recorded.
- E-mail address: Contact email address.
- Tax Code: The tax code of the contact.
- Address: the street address of the business contact.
- City / Zip / Province: City, ZIP code and province of domicile of the business contact.
- Phone: fixed number of the business contact.
- Mobile: mobile number of the business contact.
- Gender: choose between male or female.
- Status: choose from the drop-down menu a status to associate with the lead, from those configured in the system.
- Assigned to.: choose from the drop-down menu a system administrator with whom to associate the lead.
- Date of birth.: date of birth of the business contact.
- Privacy: Indicate whether the contact has agreed to the privacy policy.
- Notes: enter any notes related to the contact.
IMPORTANT: In addition to the fields already present by default, other custom fields can be added to enrich the leads' information (click here to read the article on configuring custom fields).
The lead uses the same custom fields as the students, which can be remarkably useful for highlighting their interests.
Click the button Add Contact to finish the operation:
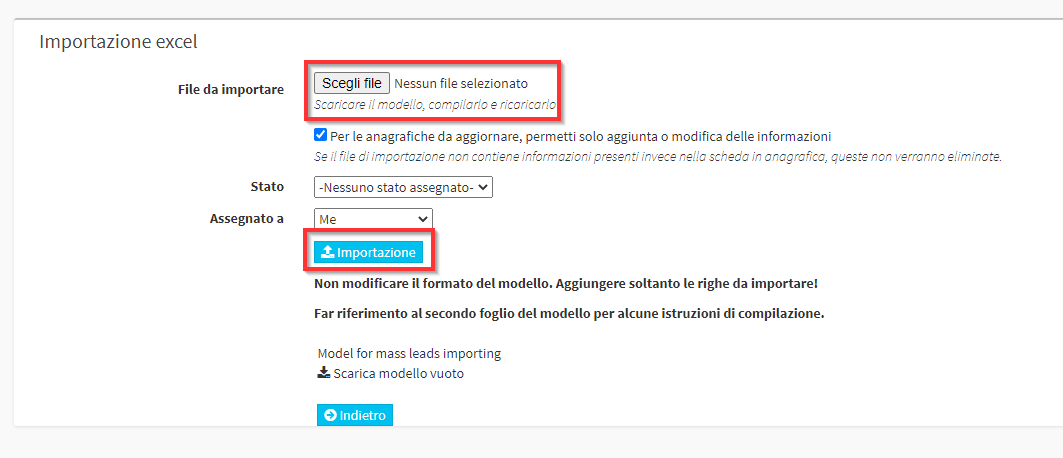
For the second option, click the buttons Import:

From the next page, click Download blank template:
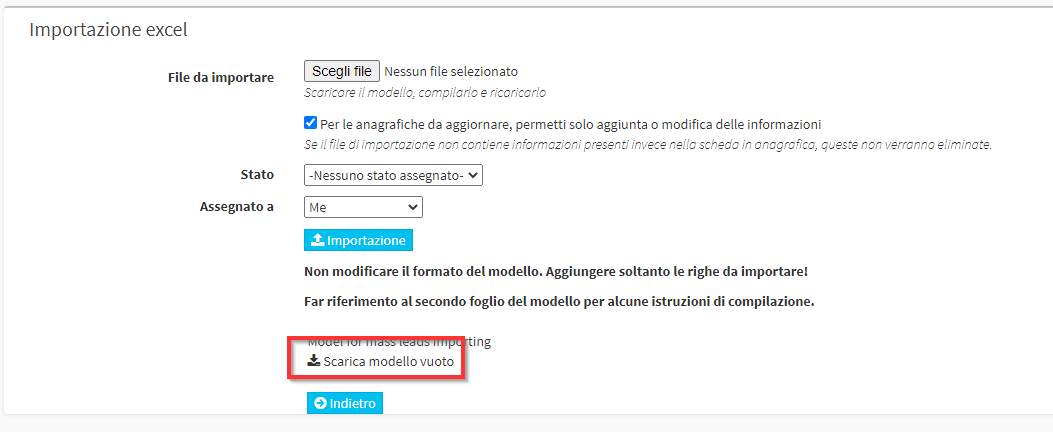
Then open the Excel file you just downloaded and enter the required information (this is the same information listed above for manual entry of leads master data, which can in turn be enriched via custom fields).
After filling out the template for the massive import of prospects, return to the previous page, upload the file and click the Import to complete the operation:
N.B. The massive import of a pre-existing leads archive, allows custom fields to be imported as well.
3. Exporting Leads.
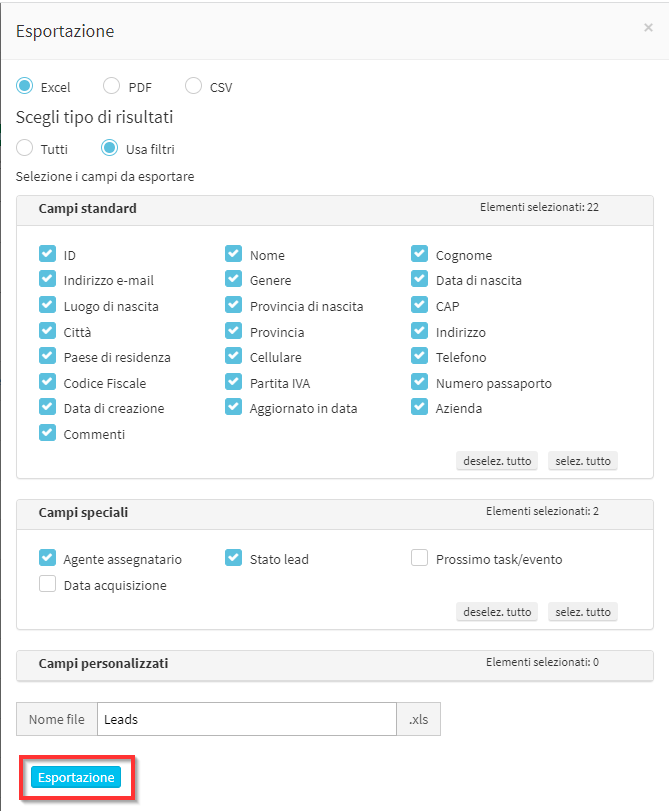
Instead, by clicking the Export to Excel, you can Export the list of Leads with all the information related to them:

Indicate the fields affected by the export and click on Export:
4. Changes and updates to Contacts
By clicking directly on the name of the individual contact it is possible to enter it to make any changes e updates.
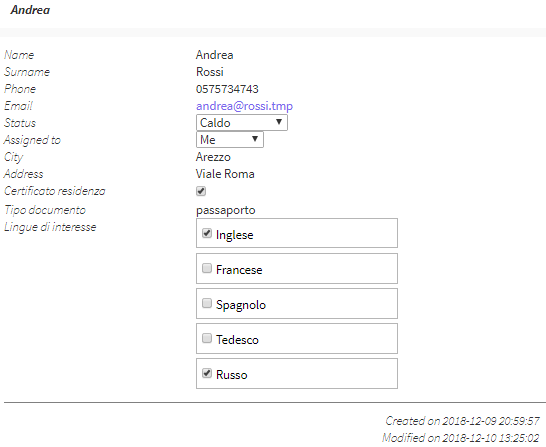
The system shows the information about the specific potential client entered previously. Of this information, editing is allowed:
- Status: the status to be associated with the lead among those configured in the system
- Assigned to: the system administrator user to whom to assign the specific lead
- Custom Fields: the system allows you to quickly edit the lead's custom fields (only if these fields have checkboxes to be valorized, for other types of fields you need to enter the master data edit, clicking the Edit lead)
From the following page, you can also perform the following operations:
- Comments: enter one or more comments related to the lead. For each comment added, the system shows who commented and when, and allows changes to be made.
- Edit lead: edit lead master data in a complete way
- Convert lead to customer: convert potential customer to school customer; if chosen this option, the lead will be removed from CRM and will be placed in the student list
- Remove lead: remove the potential customer from the system
- Return to list view: return to list of leads
- ADD TASK: assign a task to an operator, for which enter:
- Assigned to: the system administrator user with whom to associate the specific lead
- Task type: the type of task, from those previously entered into the system (from CRM Configuration)
- Task title: the task title
- Task description: the description of the task
- Deadline: deadline day and time by which to complete the activity
- Send immediate notification to the assignee: Validate the following checkbox, in case you want to send an immediate notification to the assigned operator
- Send reminder: Validate the following checkbox, if you intend to set up a reminder to be sent to the assigned operator, related to the assigned task
5. Gestione dei Task ed Eventi
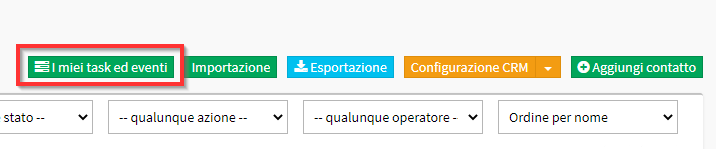
In ScuolaSemplice you can manage your own tasks and events, to view them click the green button My Tasks and events in the CRM screen:
La pagina sarà divisa in due parti: i Task e gli Eventi:
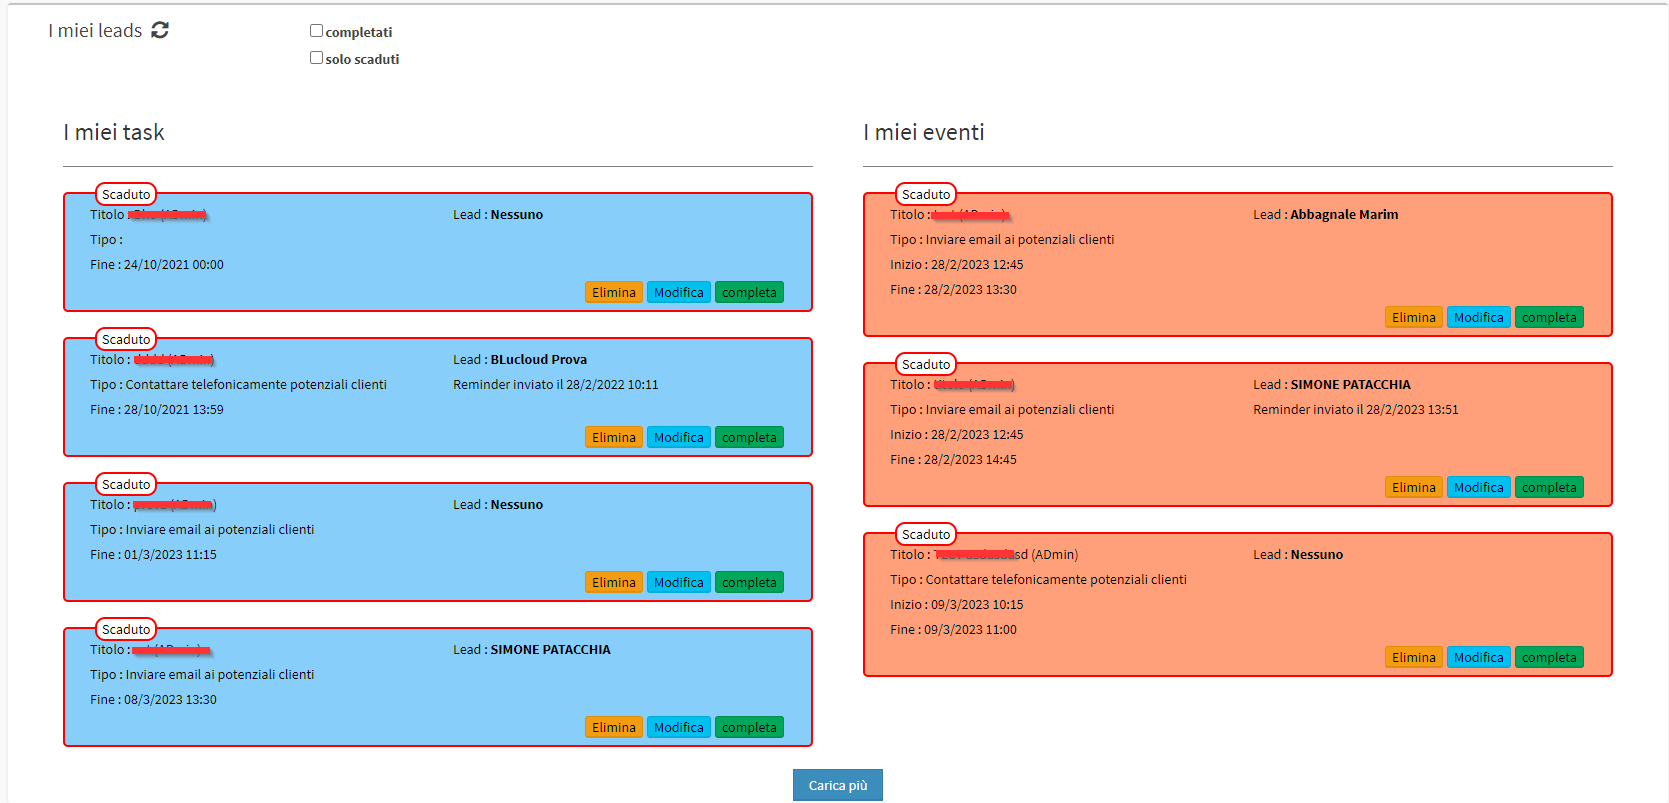
These can be created within the individual Lead or in the Personal Calendar.
For more information on Tasks and Events read the following guide.